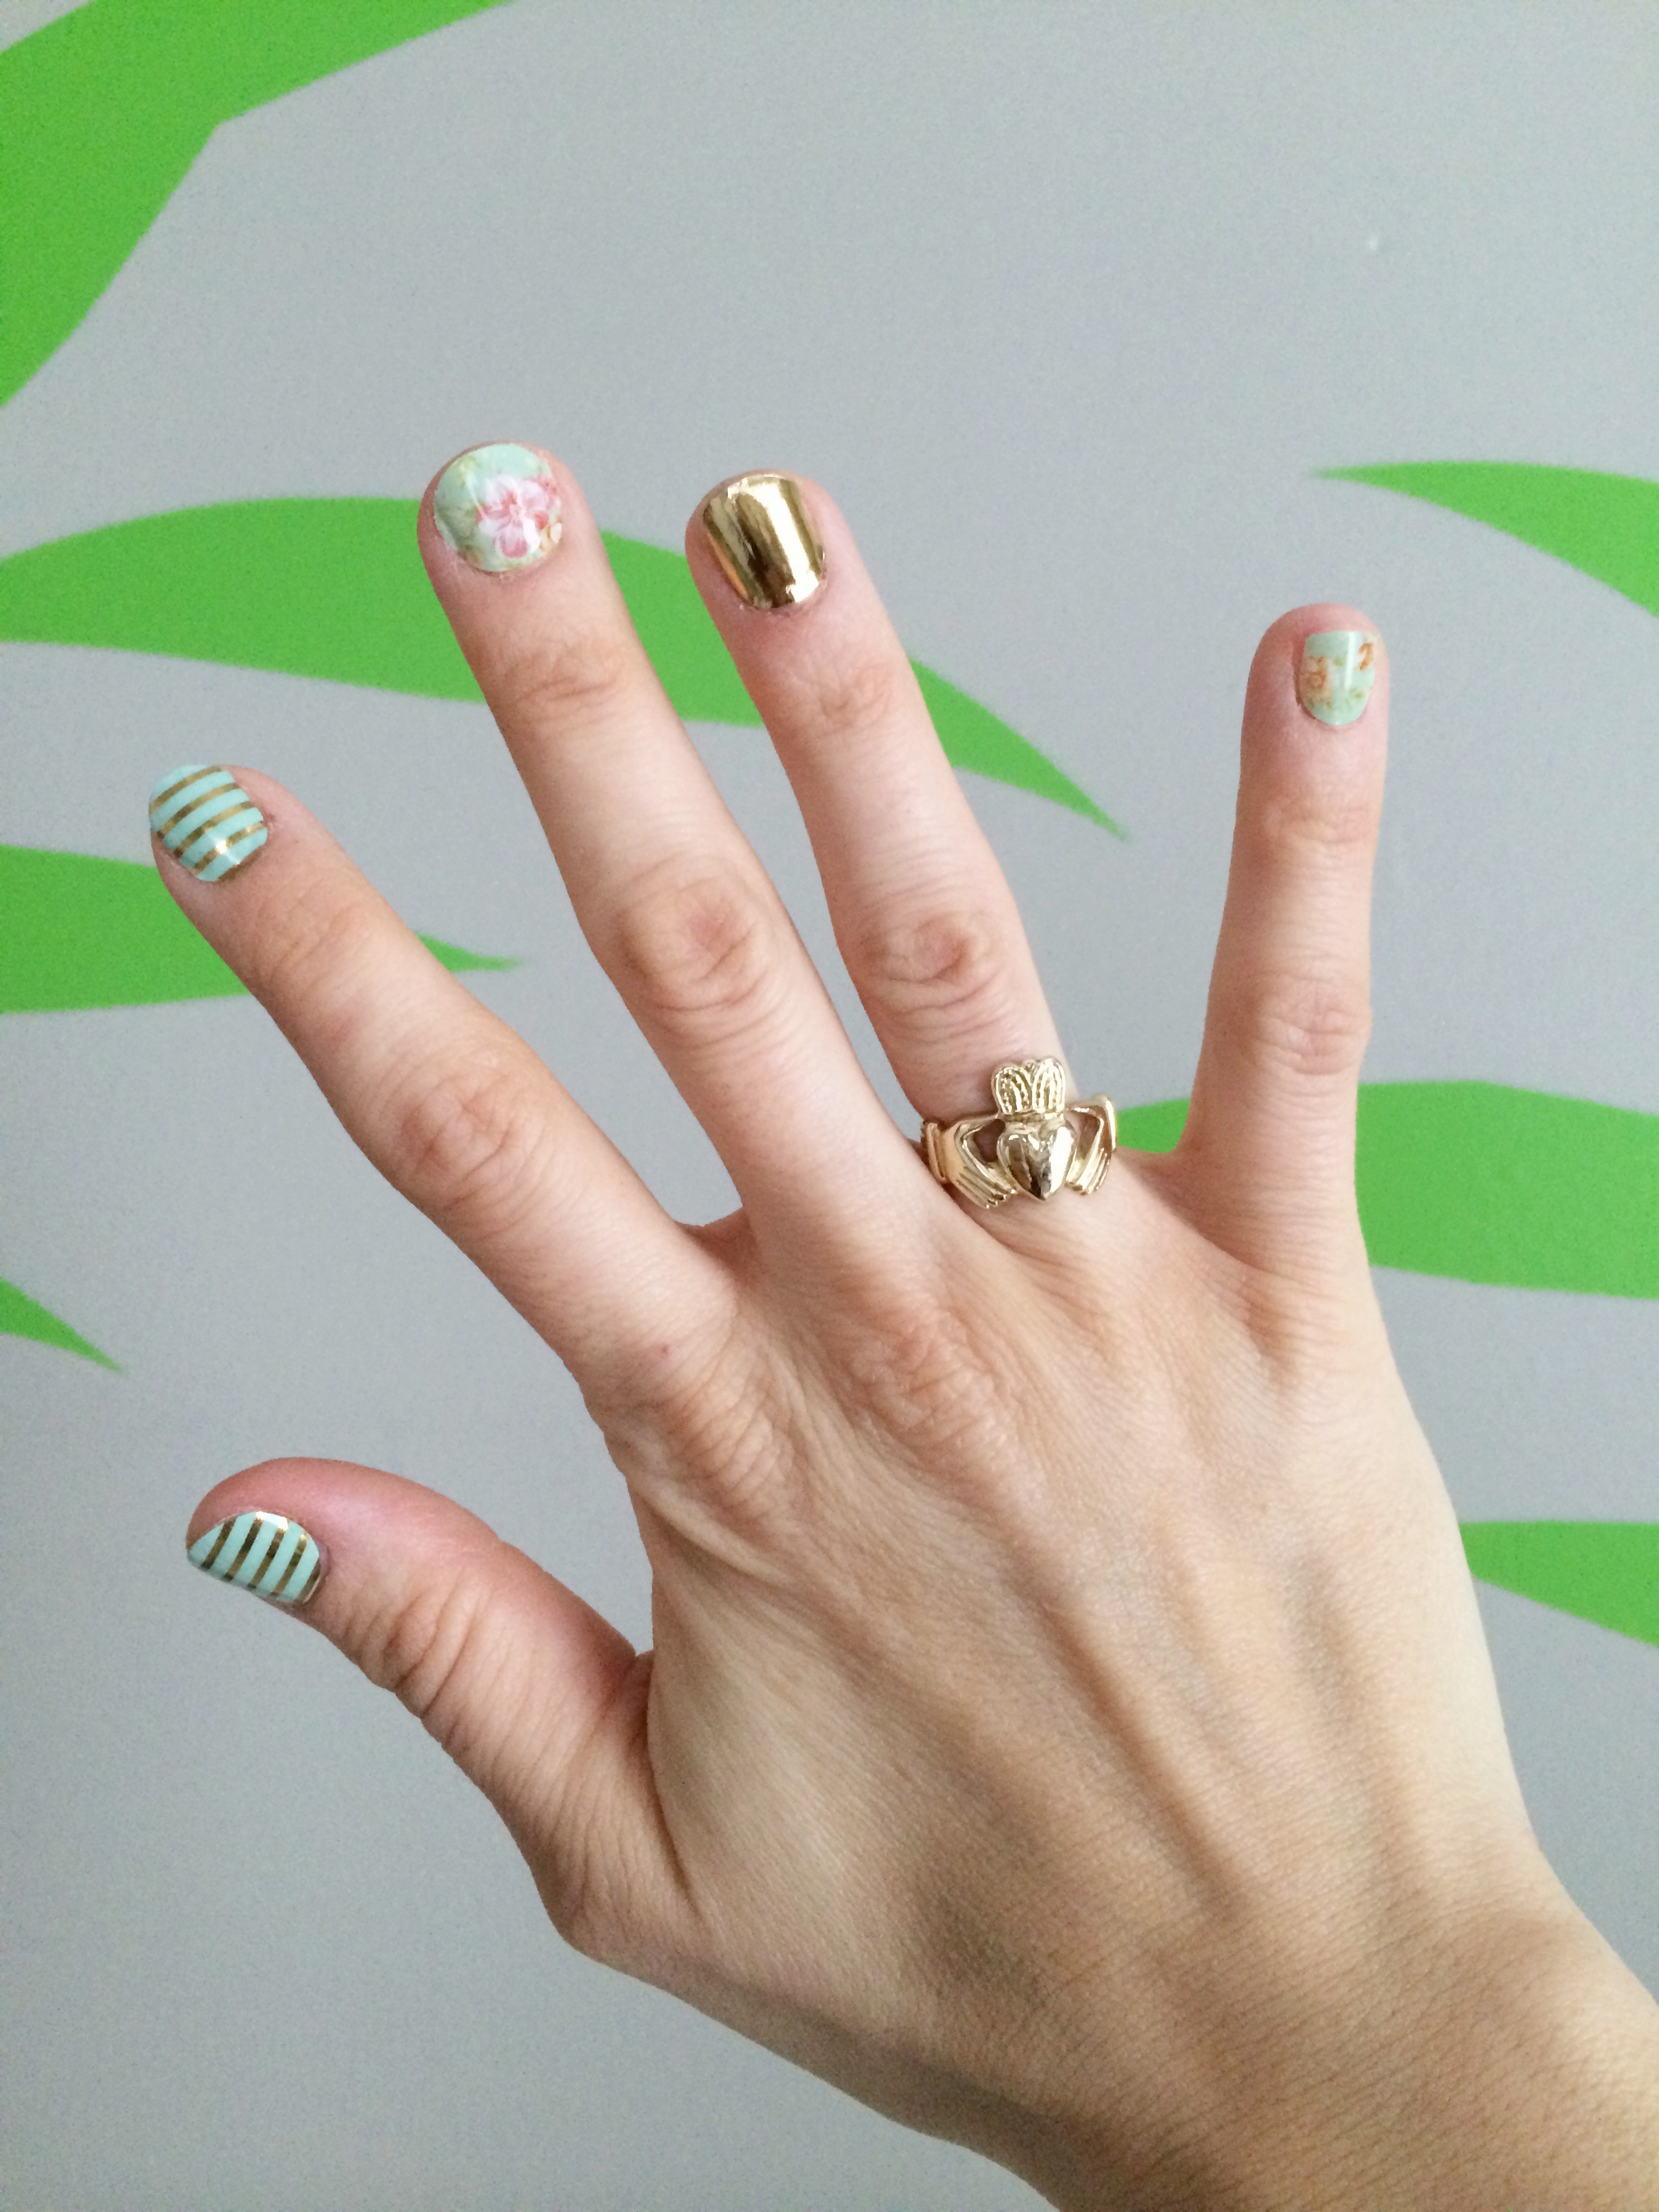
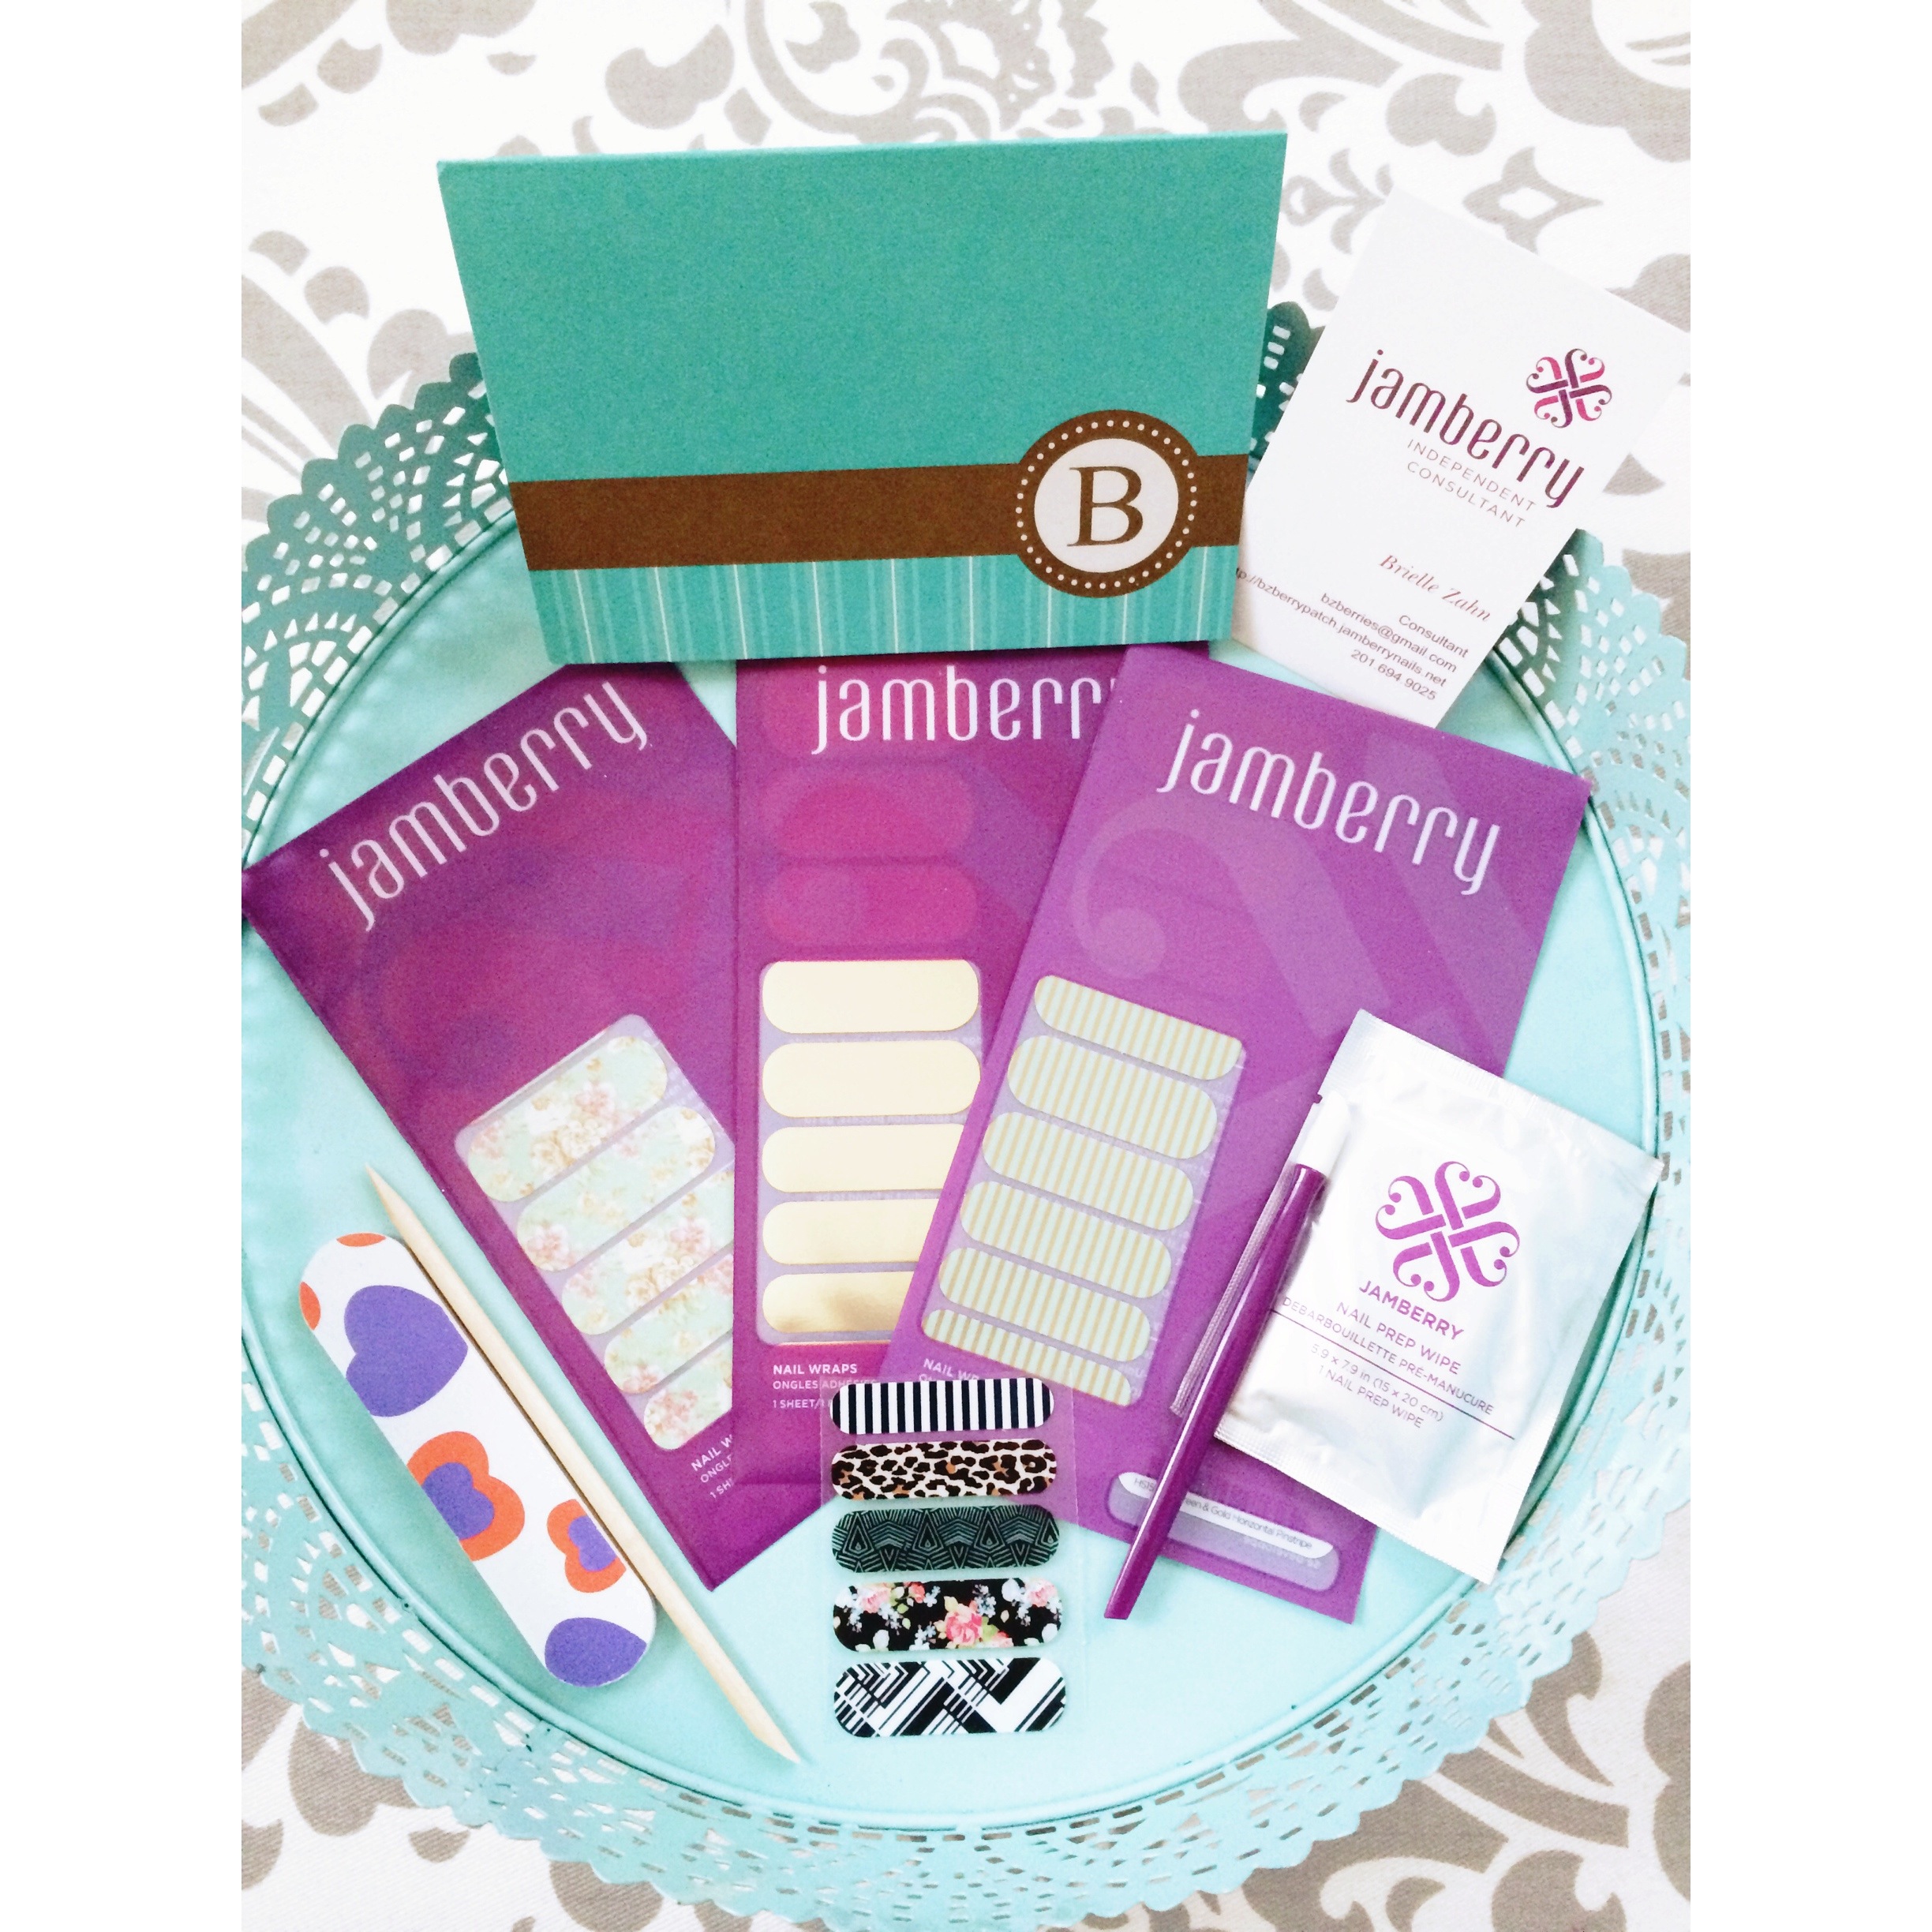
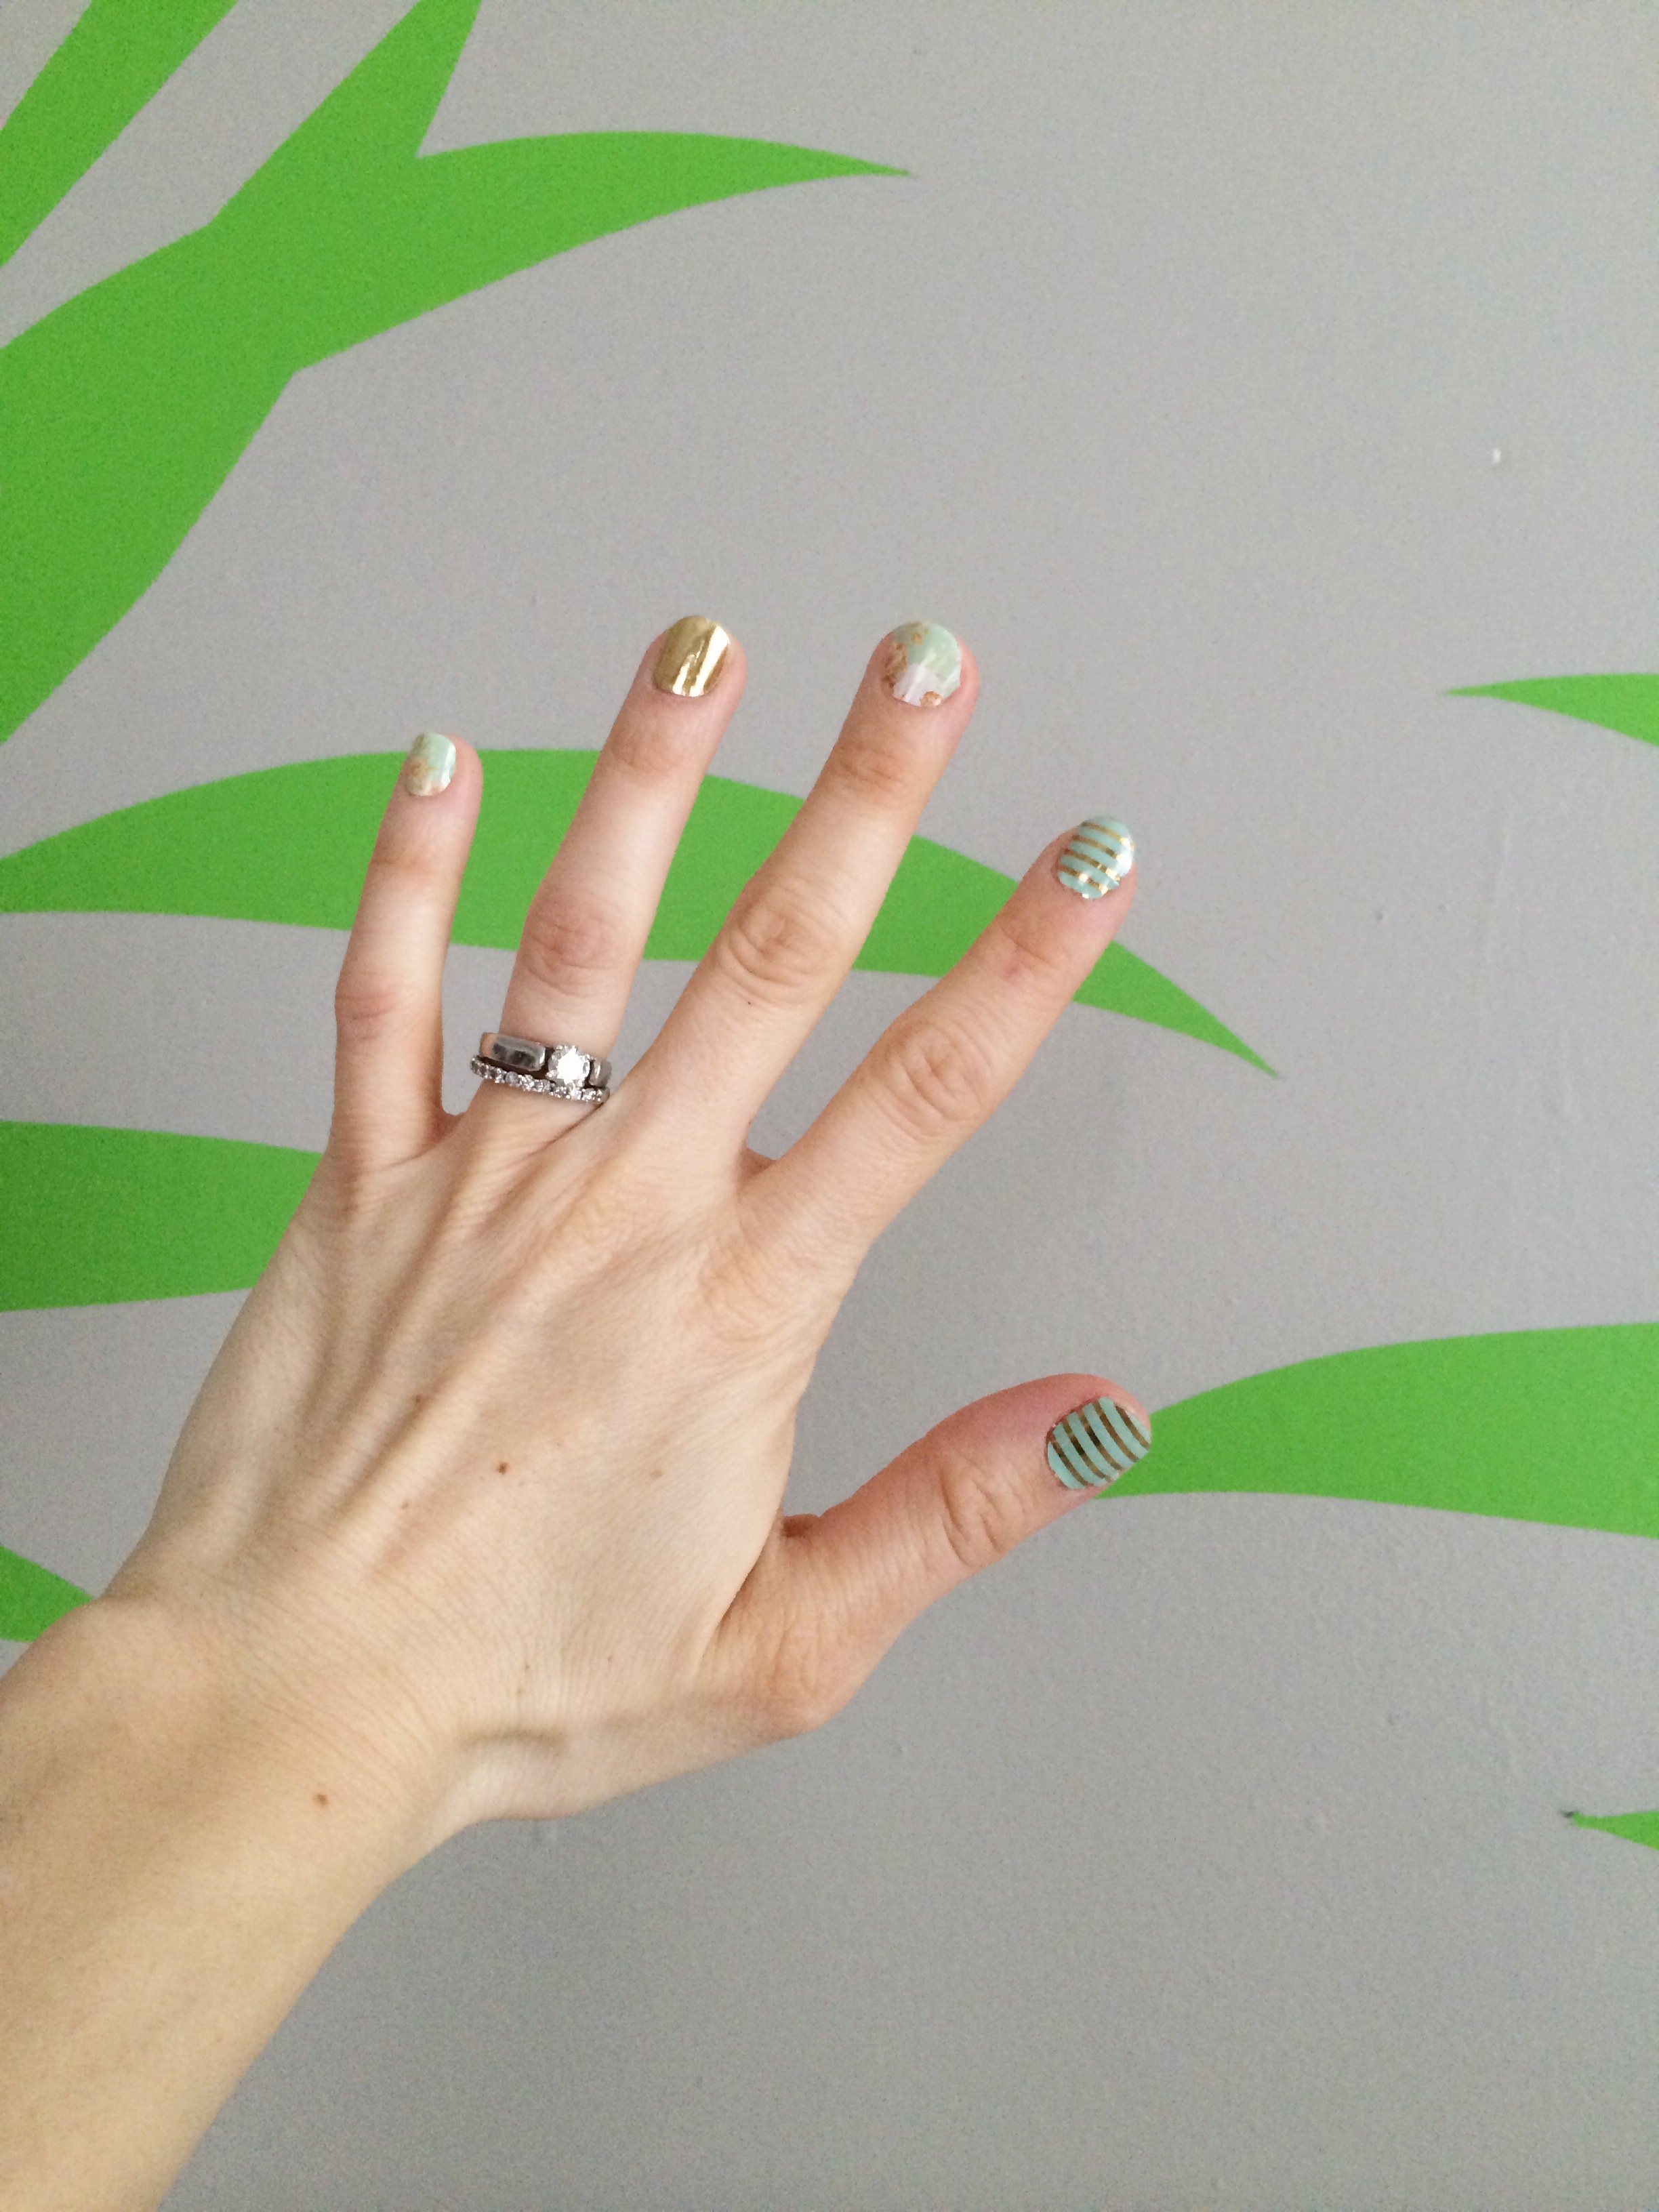
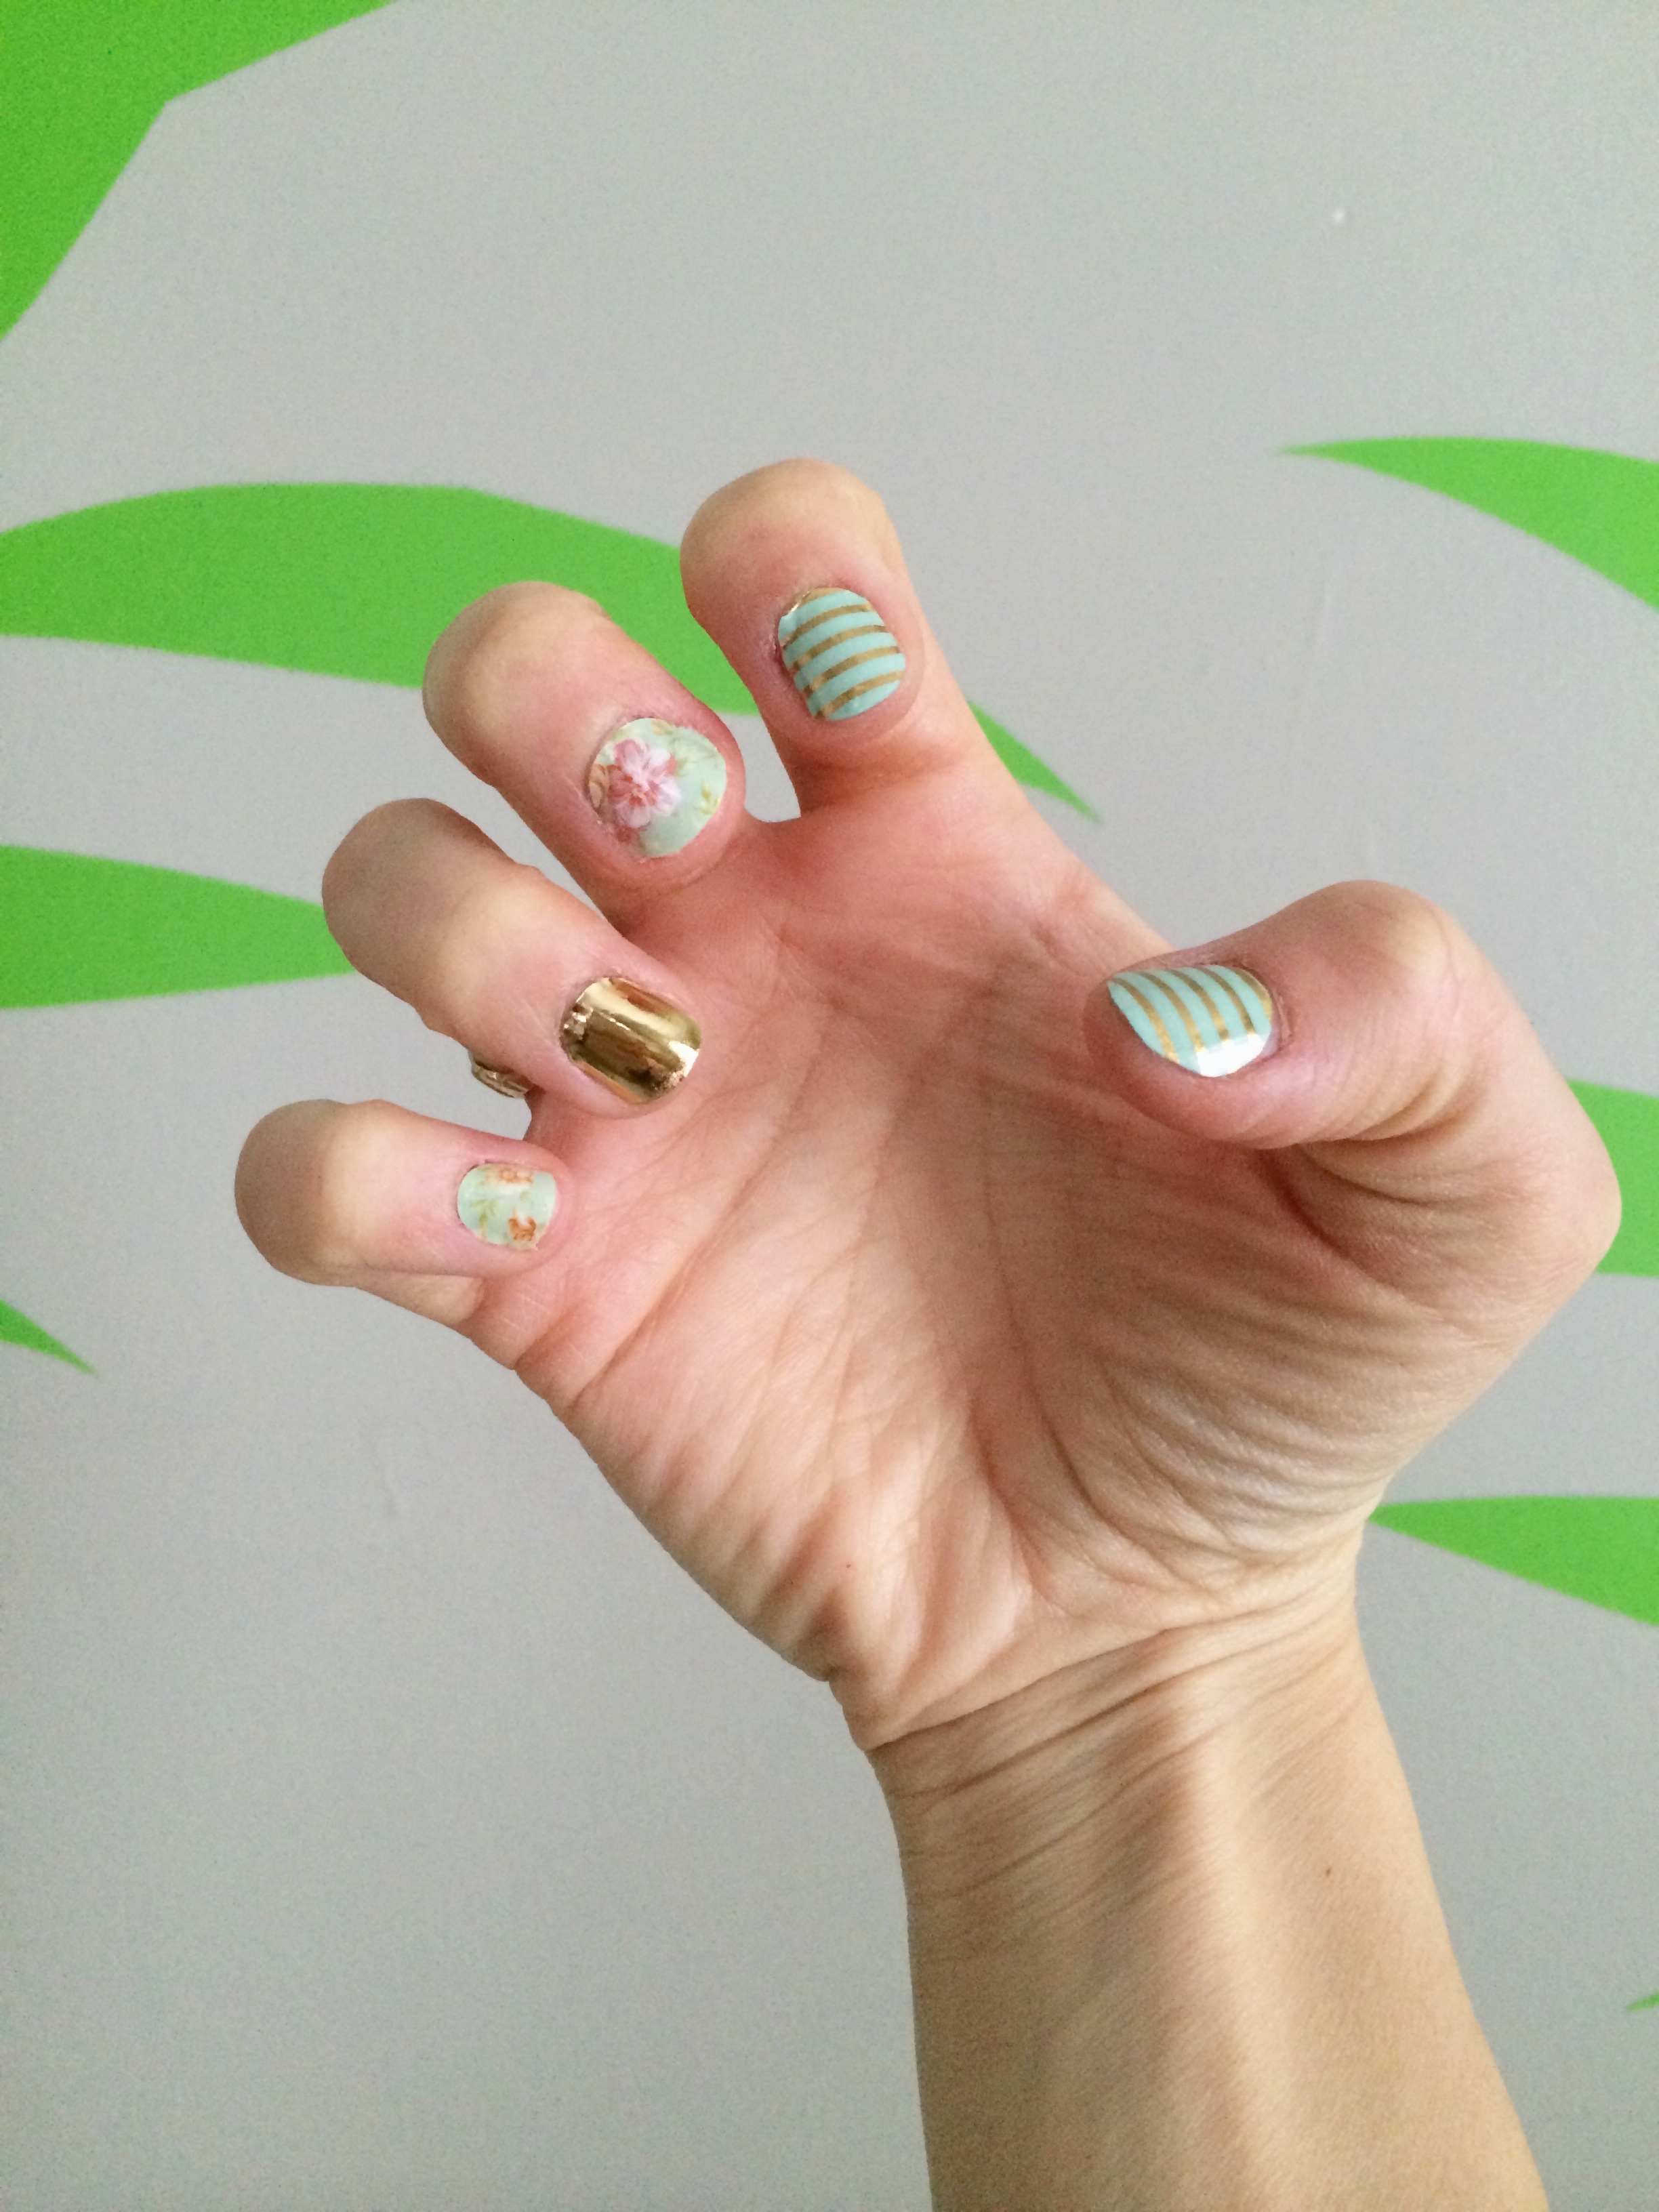
Happy Tuesday everyone! So I know I am totally late to the party on this one, but after hearing so many positive things, I FINALLY decided to try out Jamberry Nails this weekend. My sorority sister, Brielle, (shout out to all the Alpha Phis out there) is a Jamberry consultant, and she was kind enough to send me a few sheets of their gorgeous designs.
For those of you who are not familiar with Jamberry, they are nail wraps that adhere to your nails, come in a variety of fabulous designs, they stay on your nails for about two weeks, and they are very cost effective! Perfect for a busy Mama who doesn’t have the time to paint her nails every week or the time/budget to have them done. I have lots of family and friends who had been raving about them, so I finally jumped on the bandwagon, and I’m pretty happy with how they turned out!
The application process was a little intimidating to me at first, but I watched a few online video tutorials including this one, which is ultimately the method I decided to use. It took me probably longer than normal for the first application because 1) It was a new process for me to learn and 2) I’m a perfectionist, but once I got a few nail wraps adhered, the rest were pretty simple to do.
I would definitely use Jamberry nails again, especially because of all the fun designs you can mix and match together. I was working from a local coffee shop yesterday, and the barista actually complimented my manicure and she thought they were painted! So I had to let her in on the Jamberry secret hehe.
If you are a Jamberry fan or would like to try them out, Brielle can help you with any other questions you may have! Thanks again Brielle for opening my eyes up to the world of Jamicures!
Hope you are all having a great week. We got pounded with snow again. It was almost worse this time, and the weathermen barely made a fuss! Naturally. Stay warm out there ya’ll!
XO,
Gina


