DIY: Decorate Wooden Letters for Nursery

I got this idea from a friend who recently had a baby, and I just loved her nursery letters!  I really appreciated her filling me in on how to make these yourself rather than spending tons of money to have them made, so I figured I would pass this idea along to all of you!  It’s simple, quick (it helps when you only have four letters to work with), and easily custom made for any name, color, or theme. Take a look and get crafty!

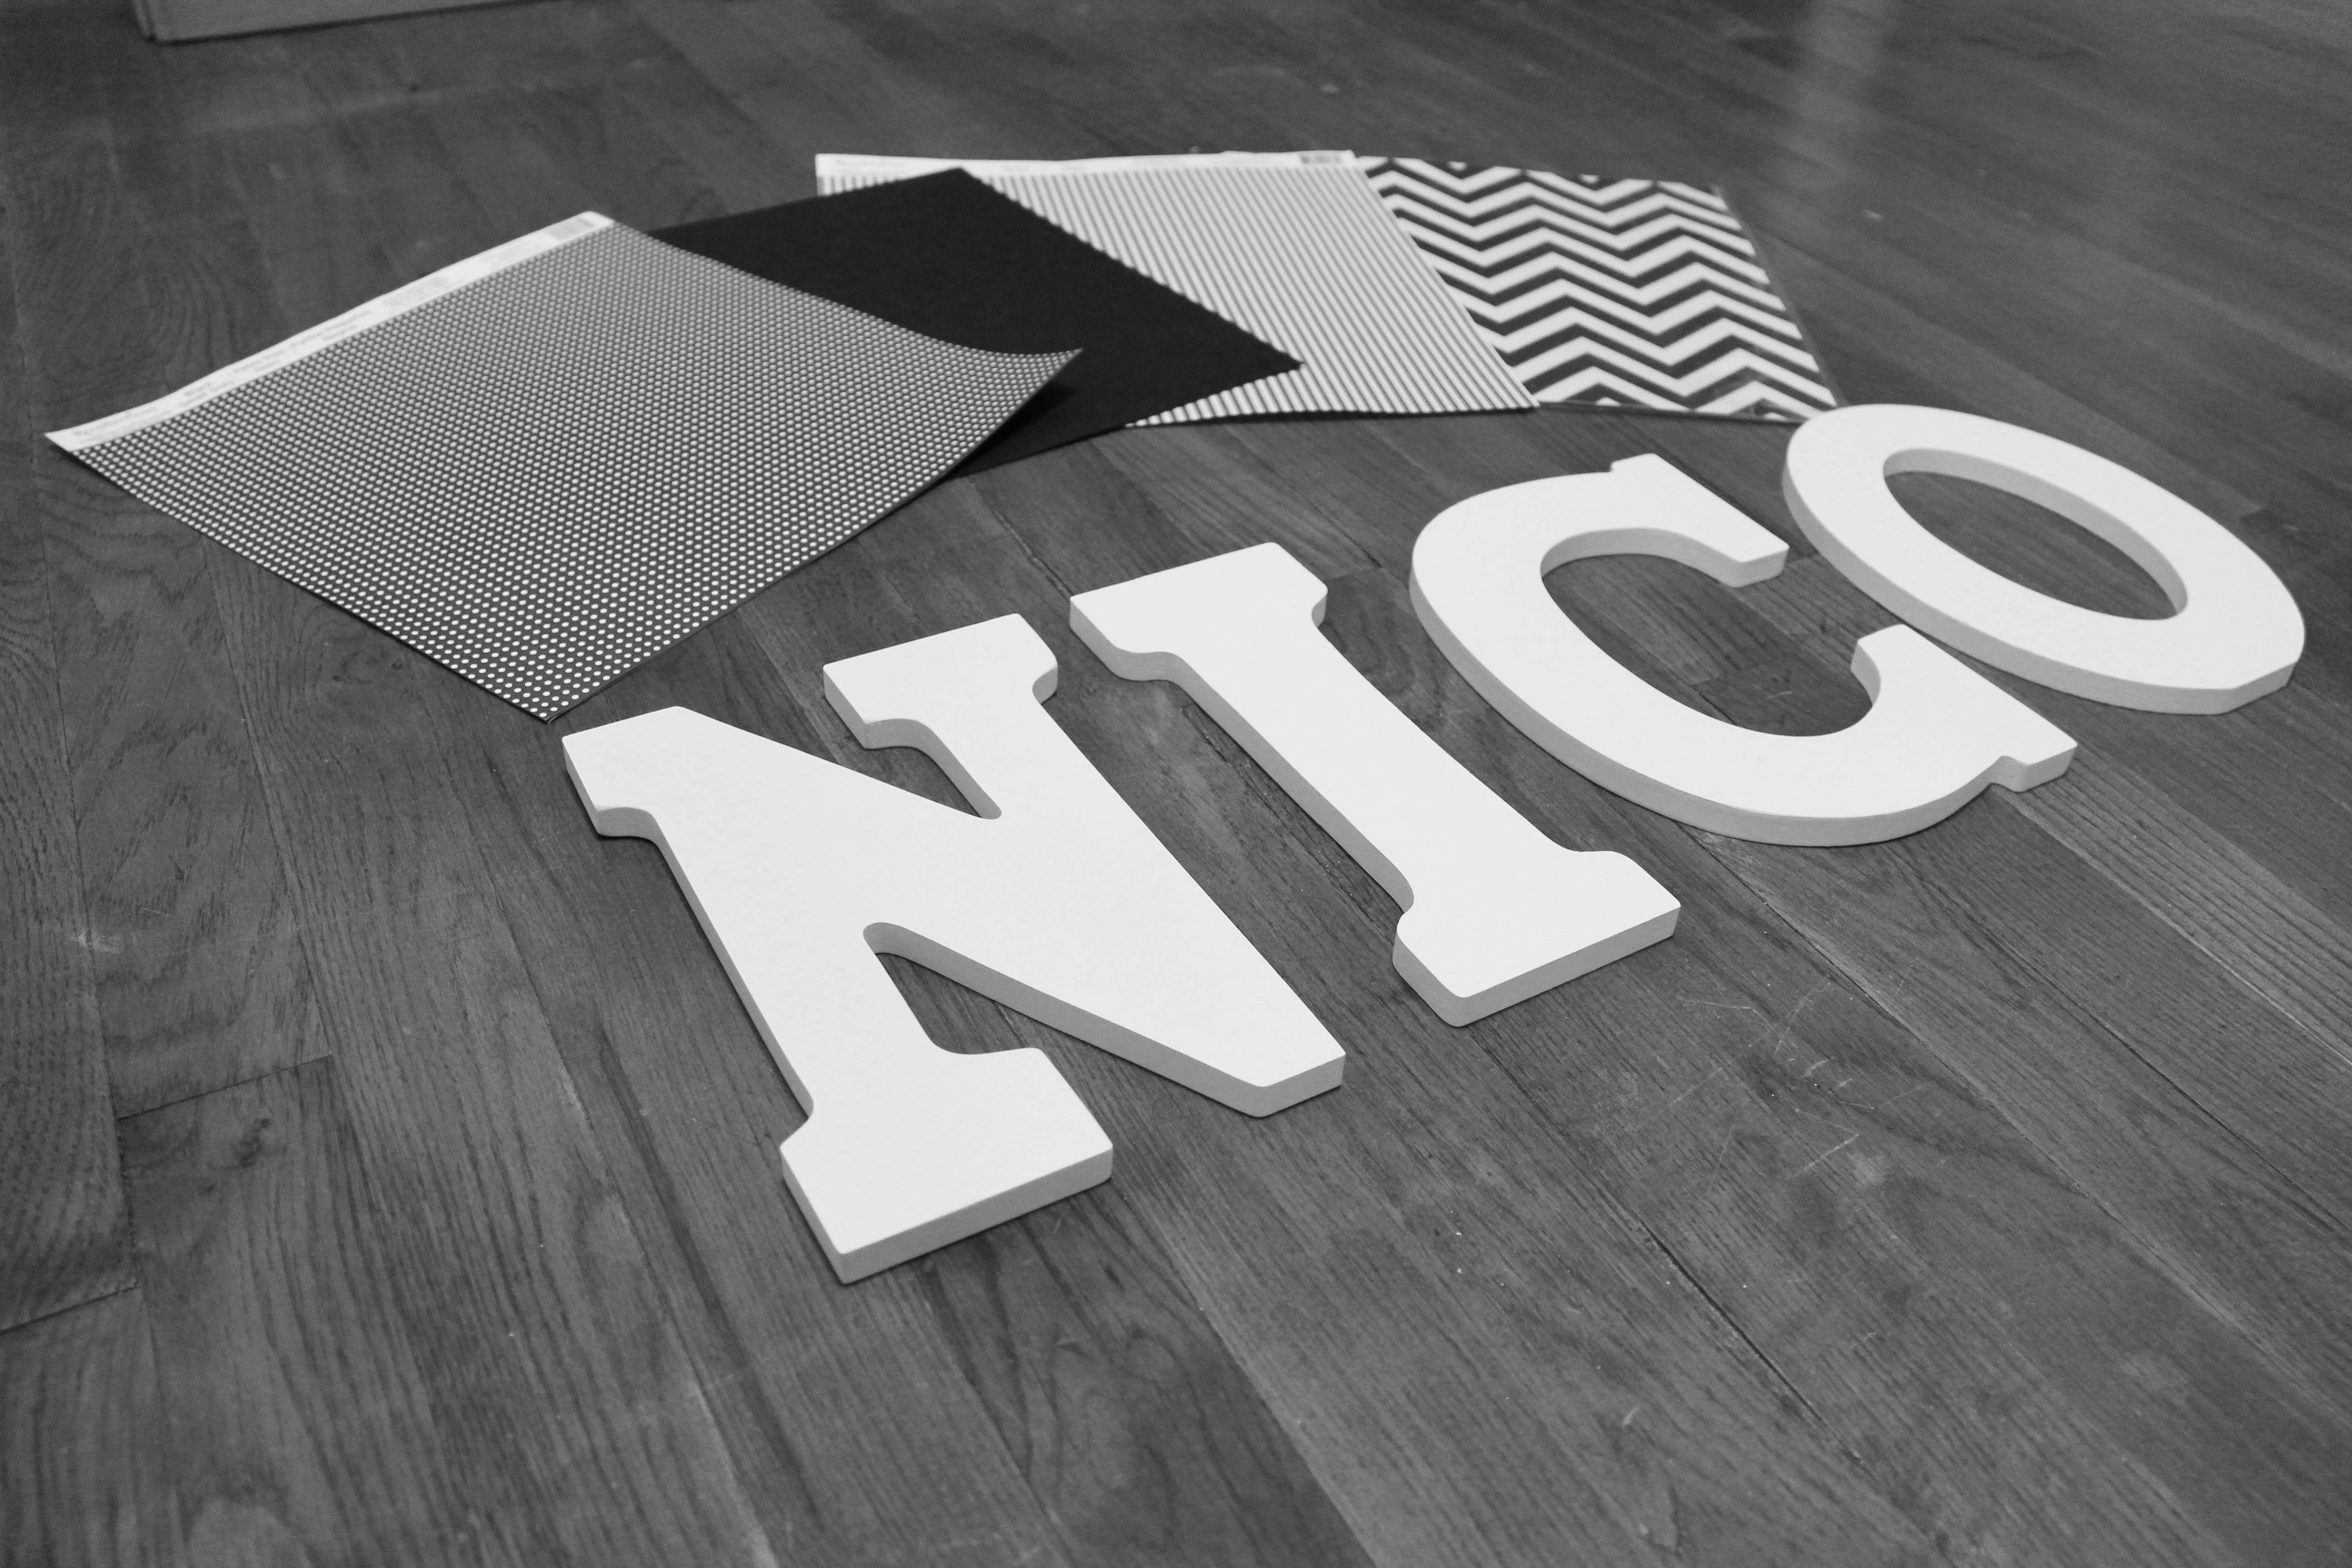
The Before:

IMG_9975_Layers_v1

IMG_9976_Layers_v1

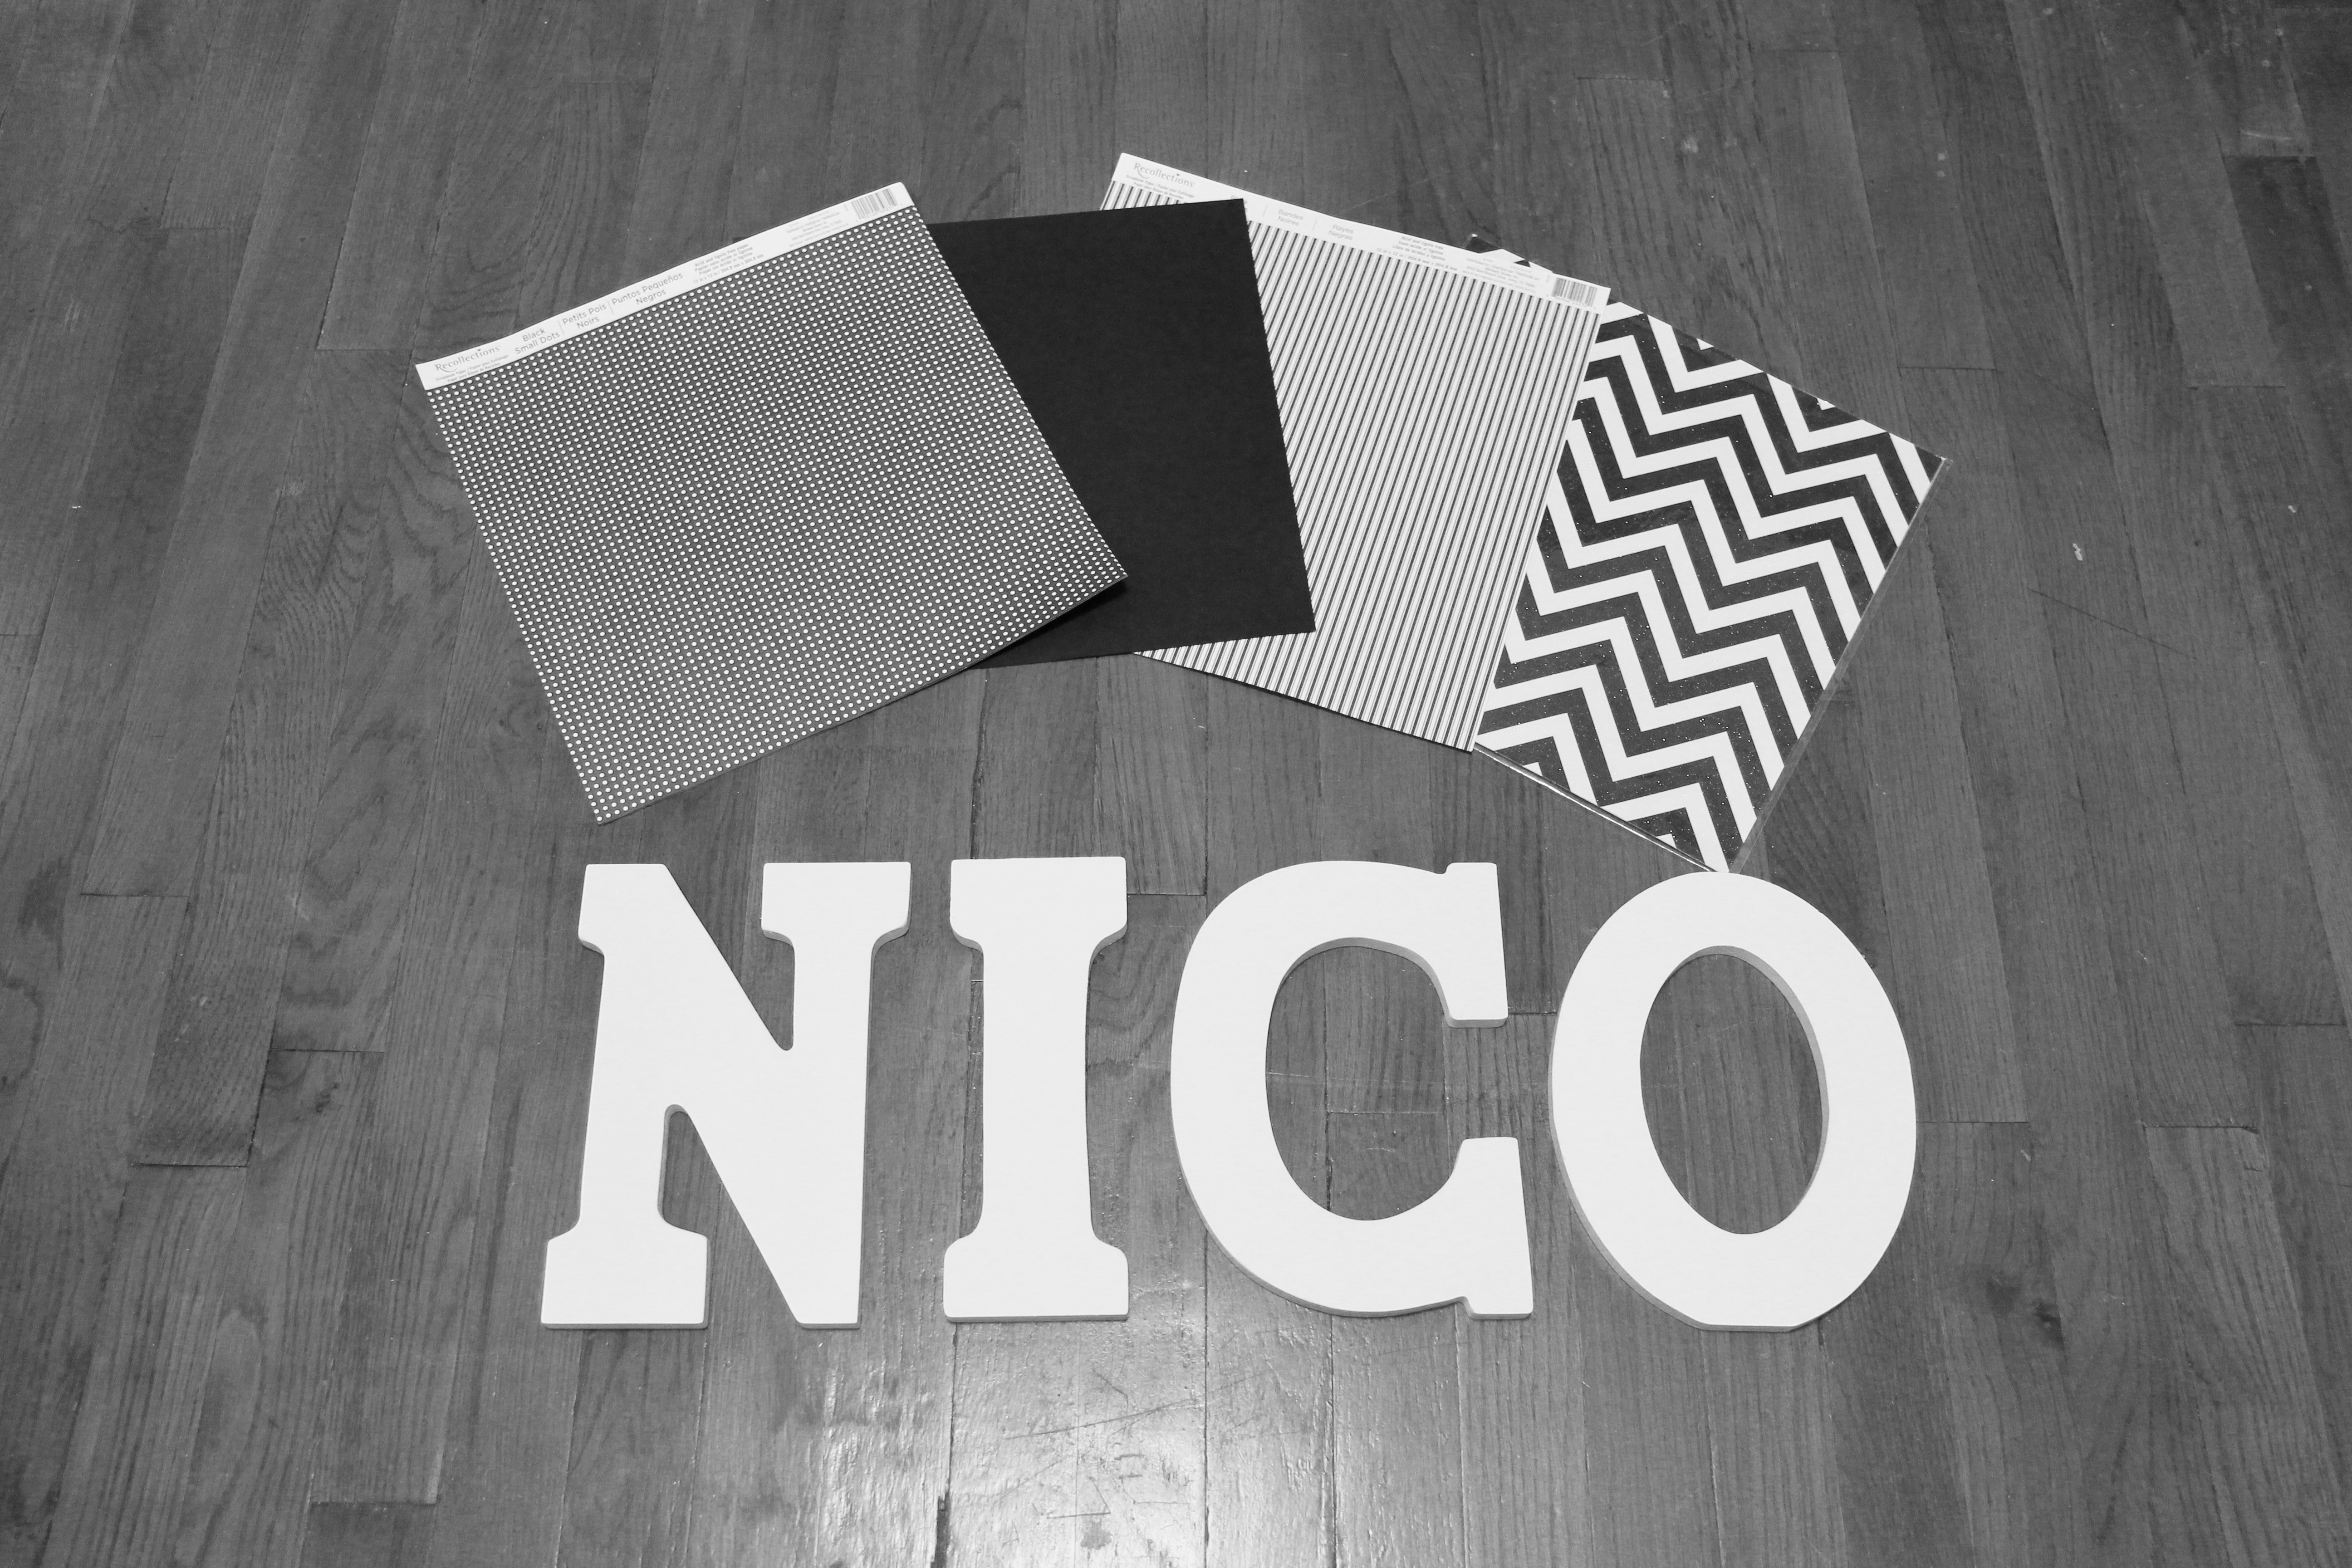
Materials:

Wooden letters

Scrapbooking Paper

Scissors

Paper Glue

Scrapbook Stickers

Pencil

All of my materials were purchased at Michaels

How to DIY:

1.  Choose a scrapbooking paper print that you like and flip it over so you are looking at the back of the paper.  You can choose all the same or a variety of patterns in the similar color palette depending on your preference.

2.  Flip over your wooden letter and place that on top of the paper.  It’s very important that these are both flipped over for tracing purposes!

3.  Trace your wooden letter, and then use the scissors to cut out the letter shape from the scrapbooking paper.

4.  Flip over both the scrapbooking paper and the wooden letter so they are now face up.

5.  Use the paper glue adhesive to glue the scrapbooking paper to the top of the wooden letter.  Press firmly and set aside to let it dry while continuing with your other letters and scrapbook paper patterns.

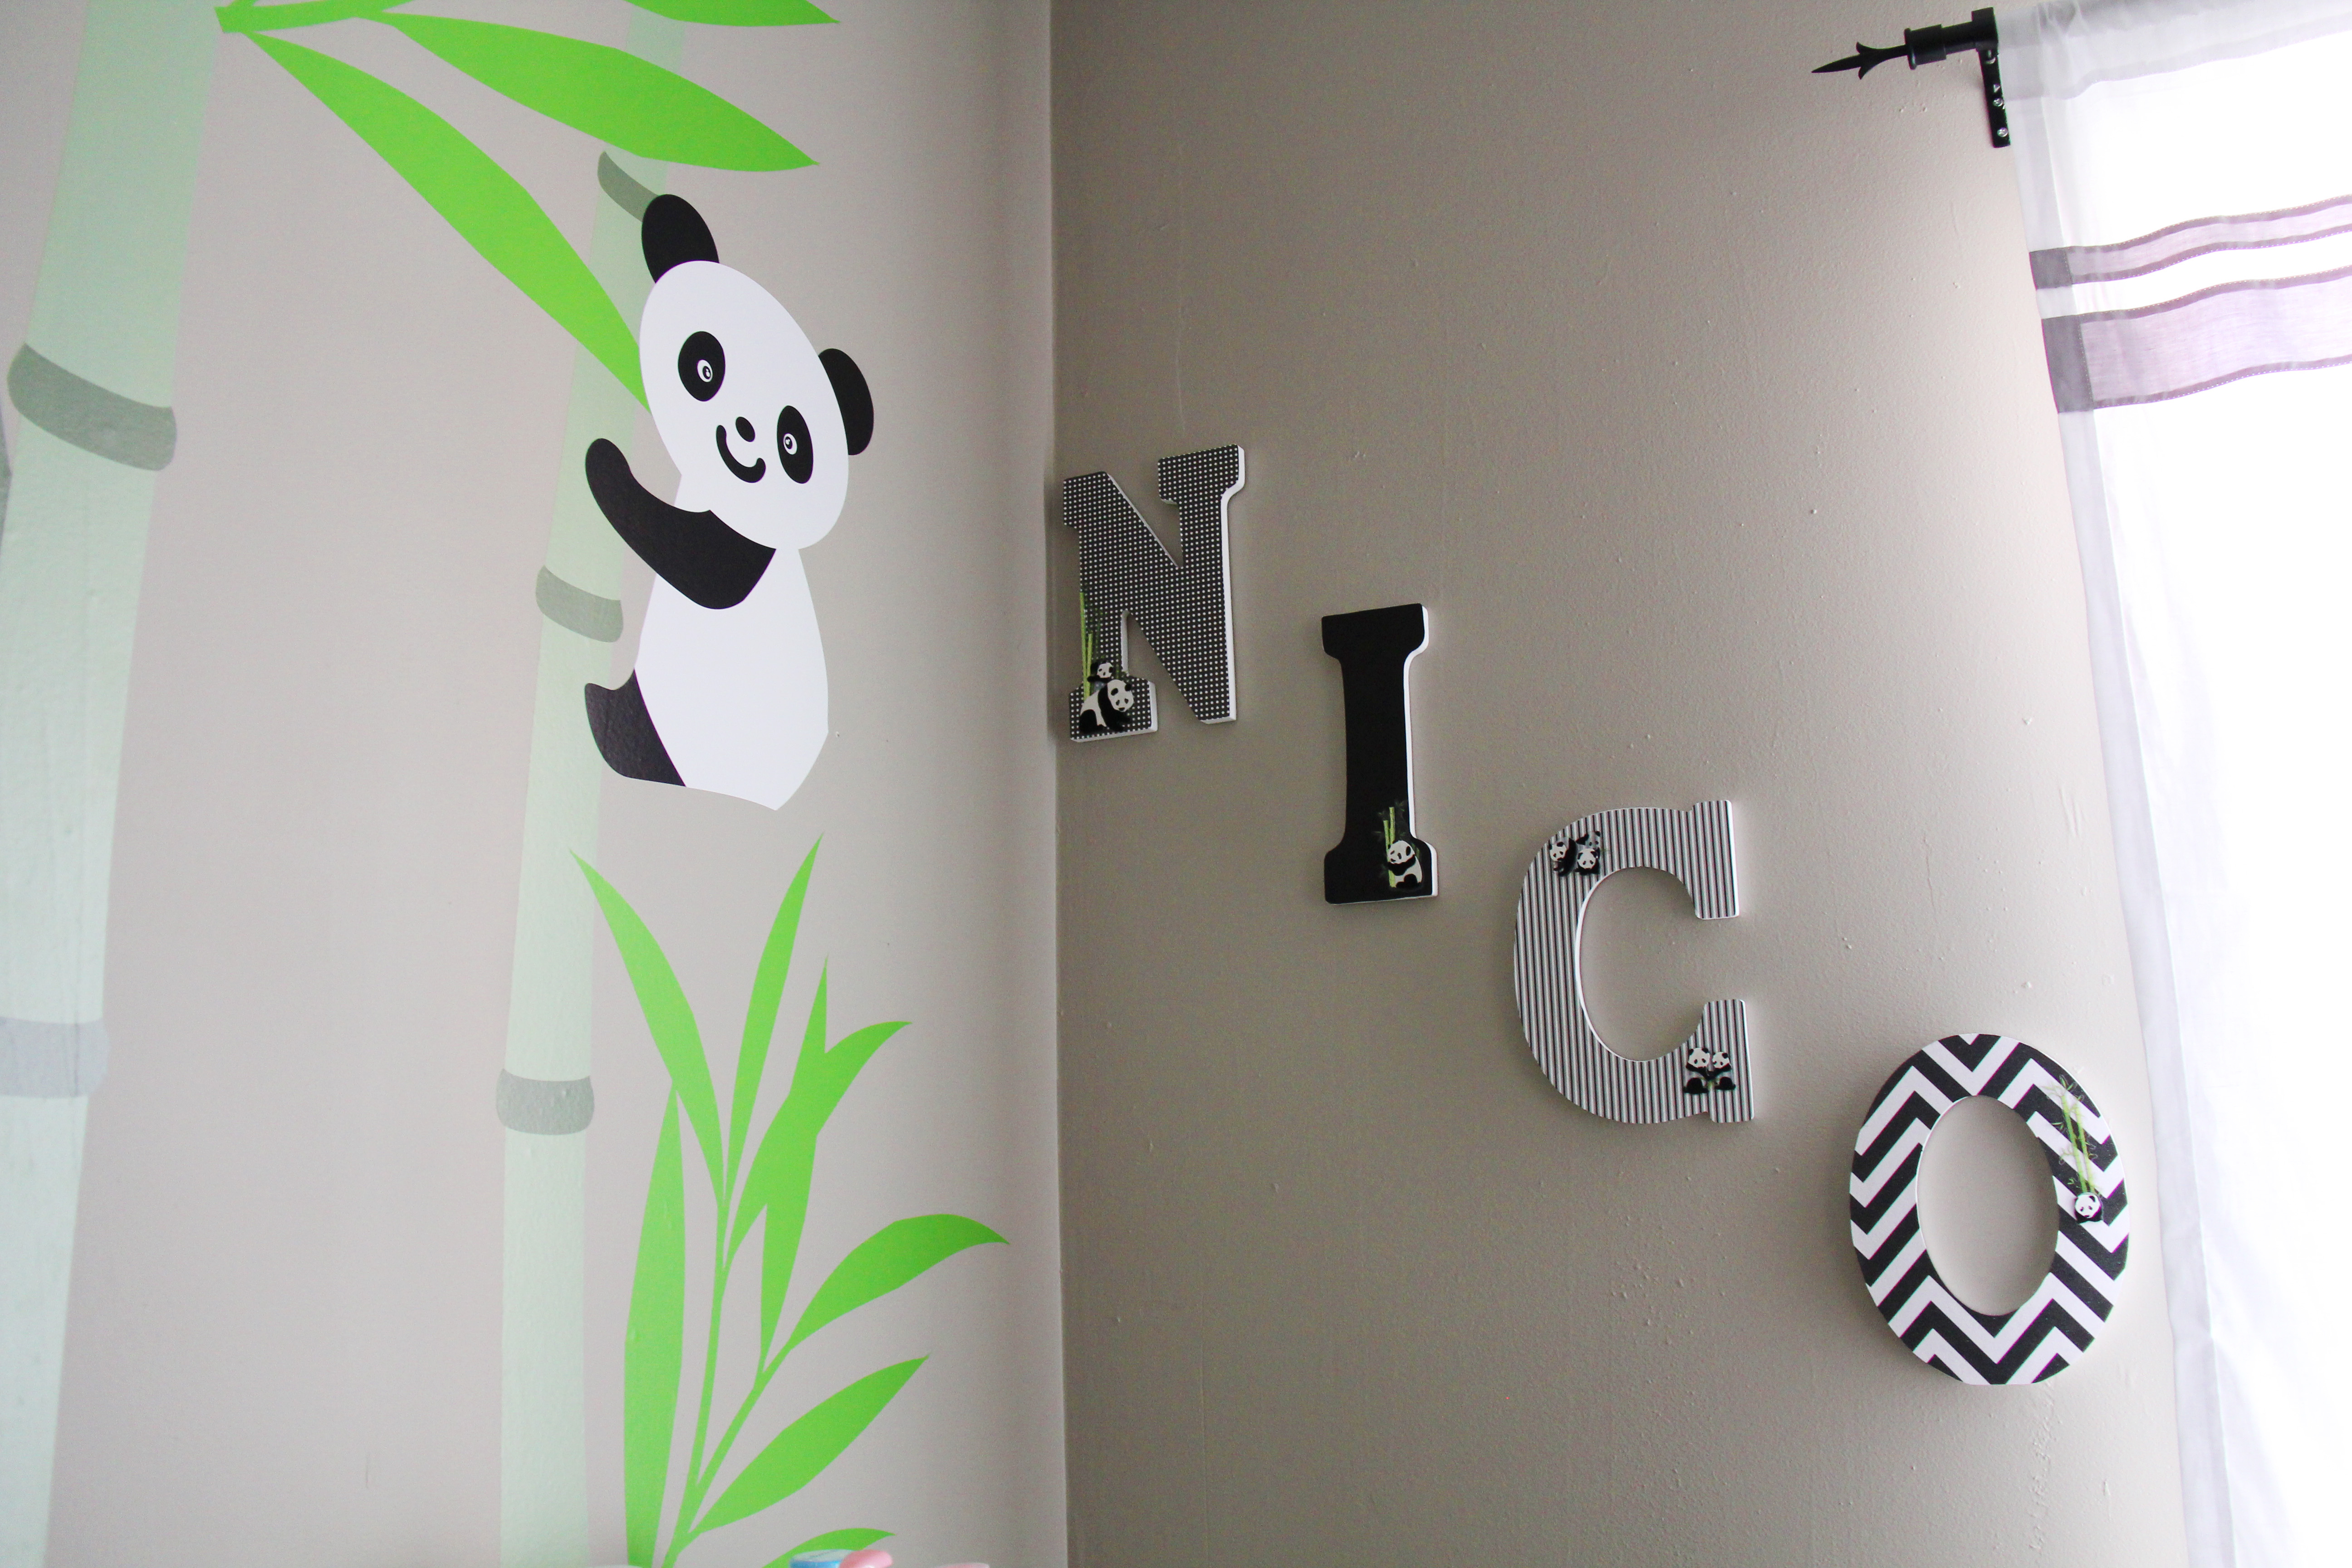
6.  Once they are all dry, jazz up your letters with some fancy stickers or other types of adornments.

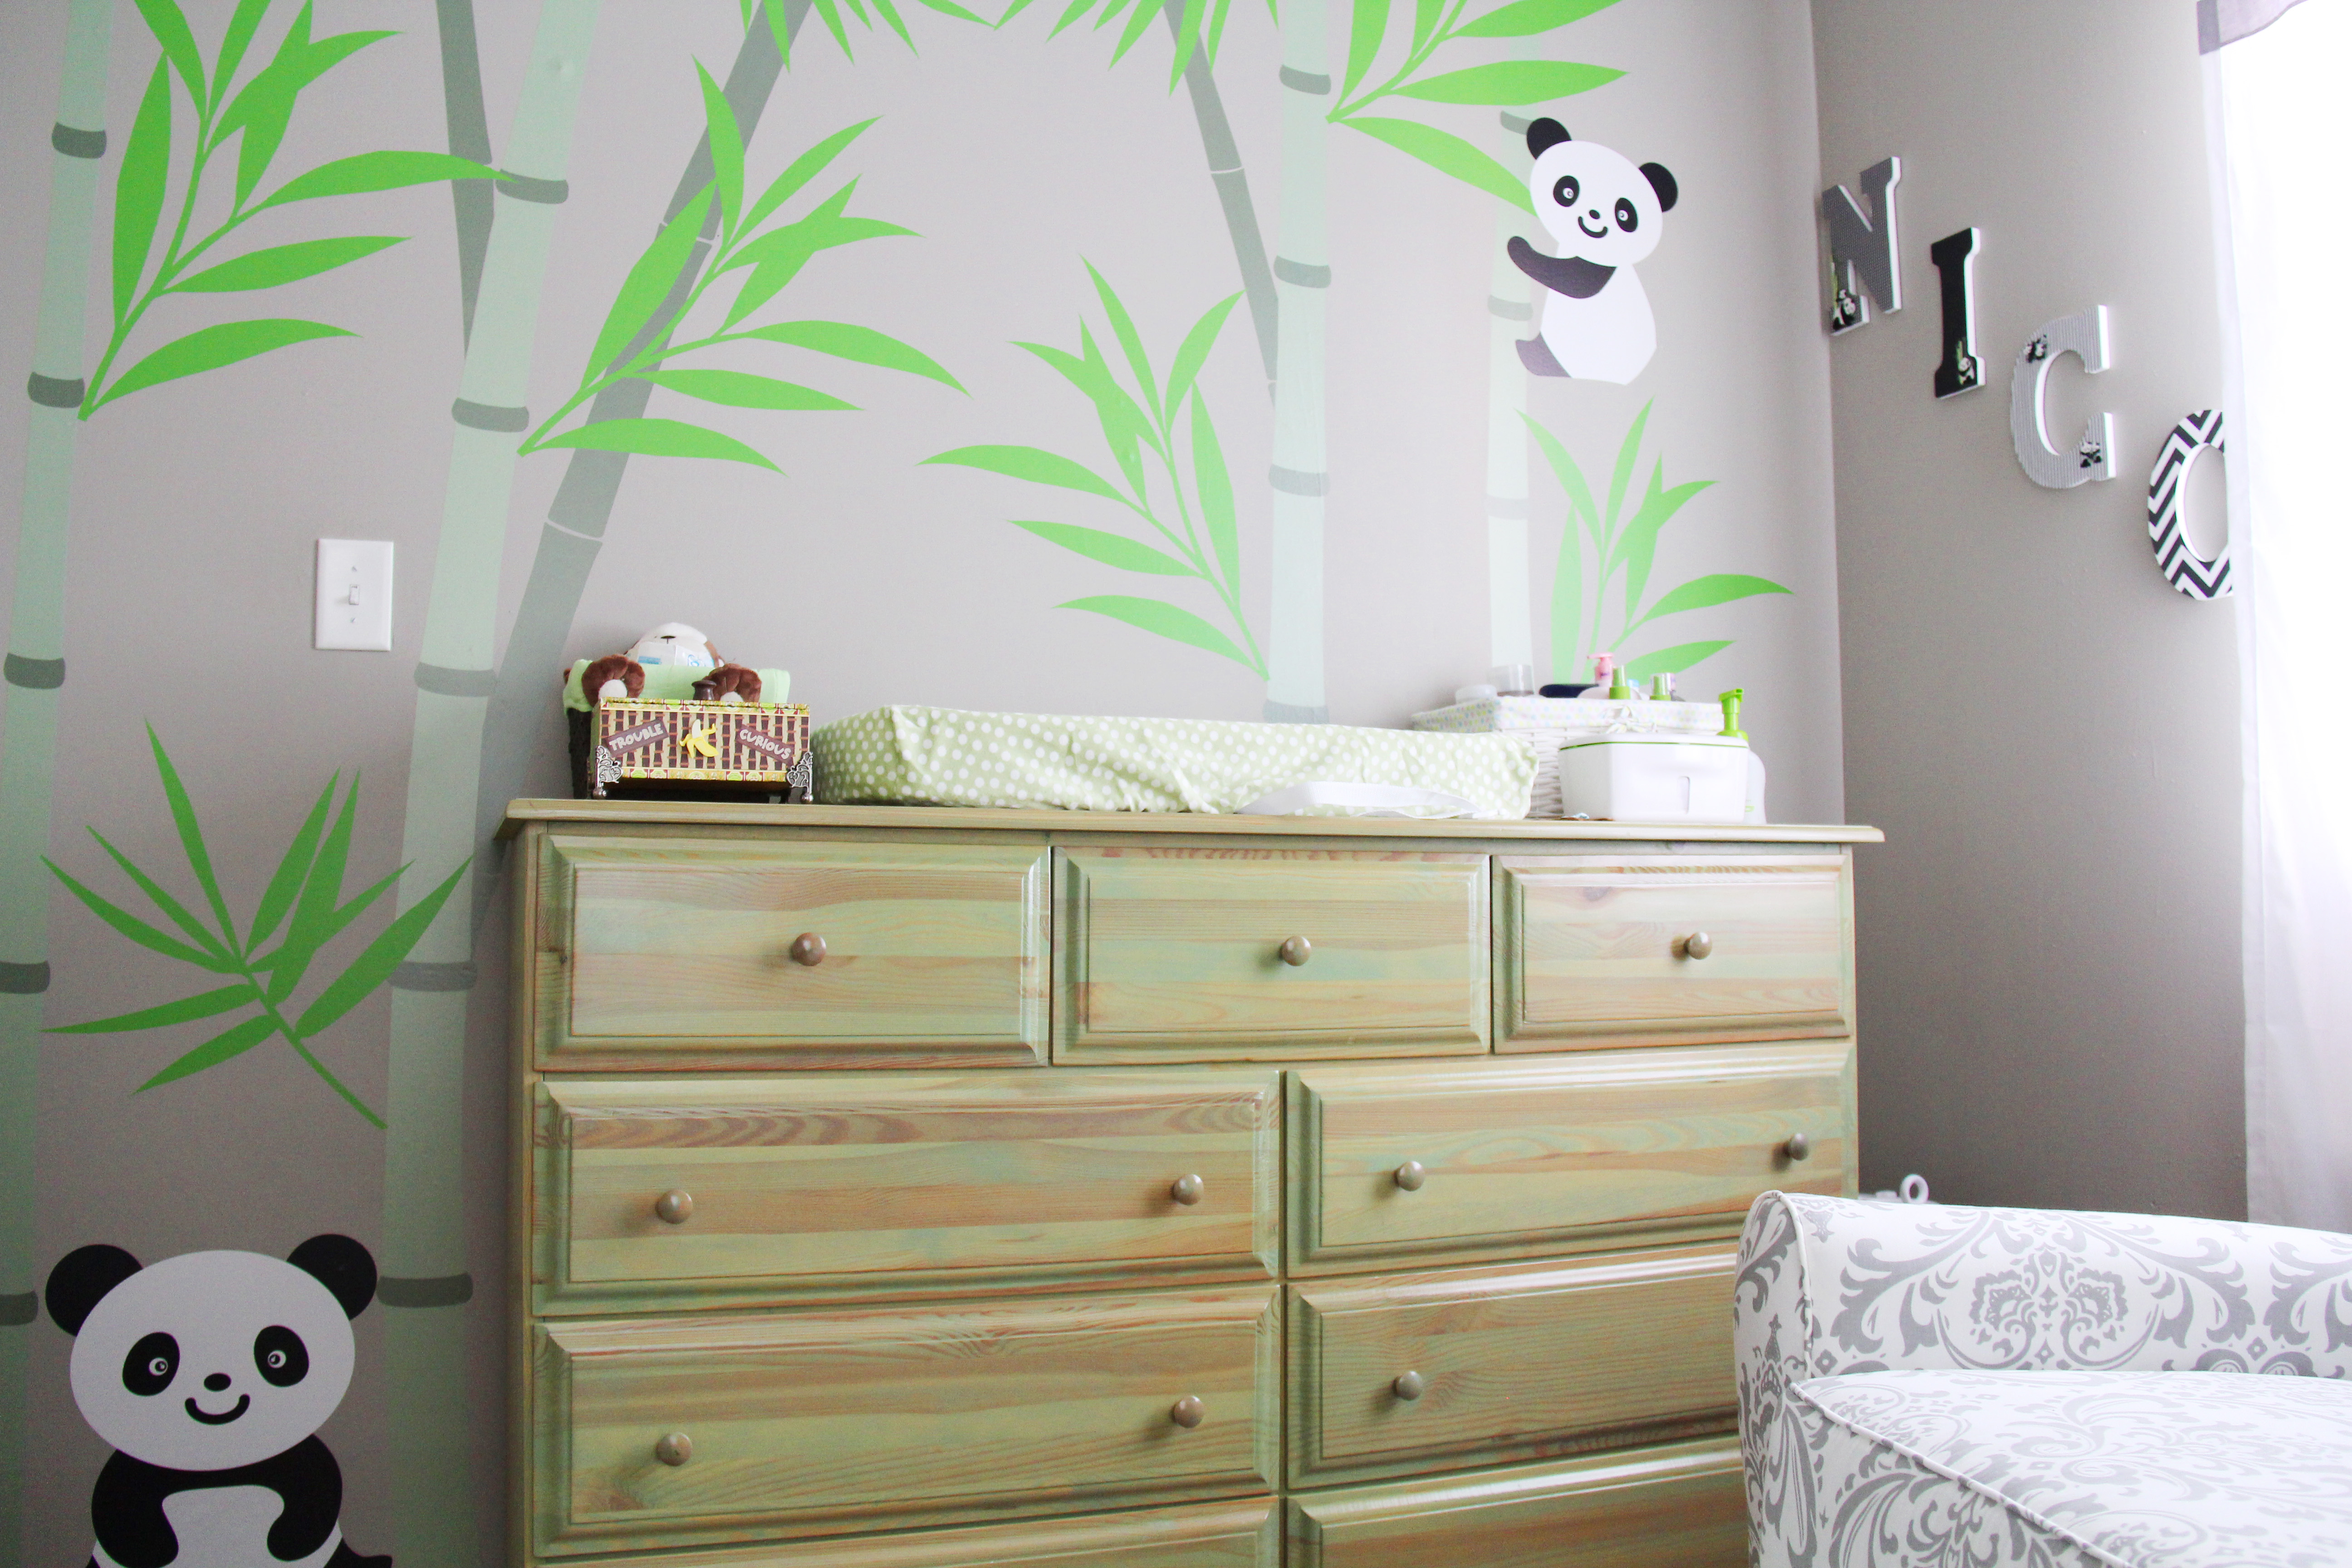
All finished and super easy!
IMG_0192_Layers_v1

IMG_0195_Layers_v1

Enhanced by Zemanta

DIY: Paint a Mirror White

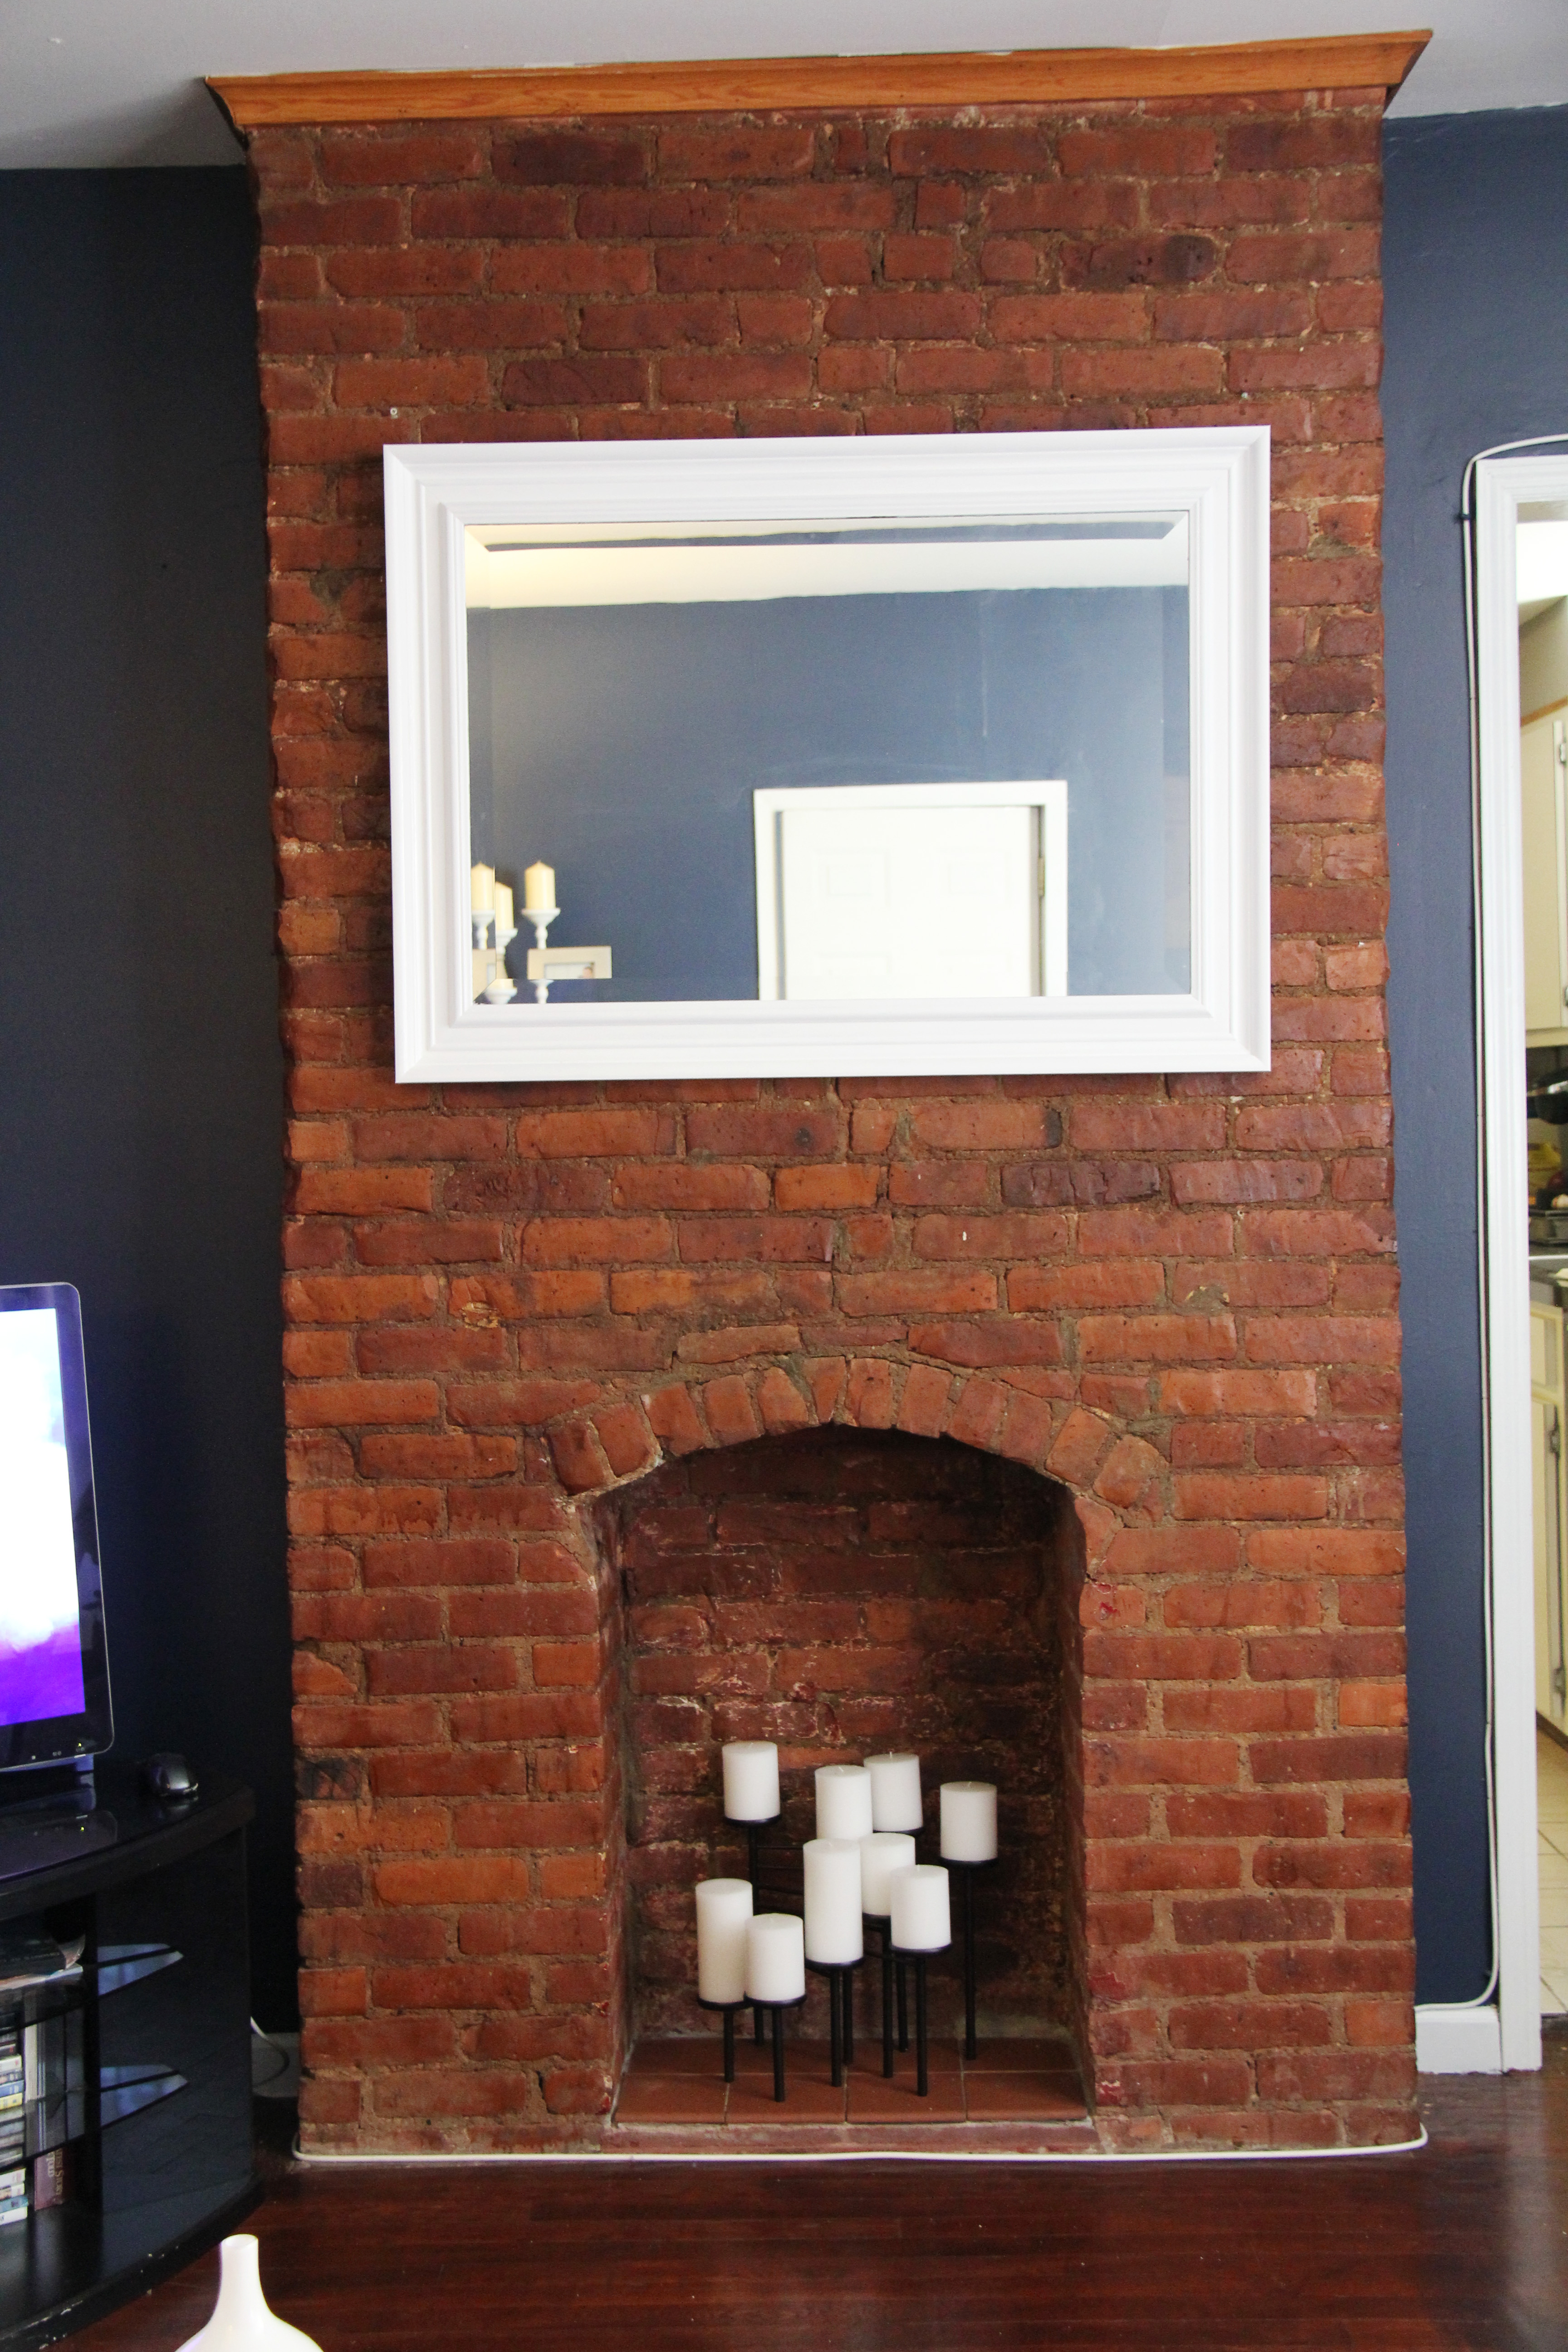
I had been wanting to paint the mirror in our living room white since we moved into our Brooklyn apartment almost two years ago.  All I can say is, “better late than never!”  I definitely think it brightens up the room, and it was so easy to accomplish that I can’t believe it took us so long to finally paint it!  I guess a little nesting was all this place needed.  Take a peek.

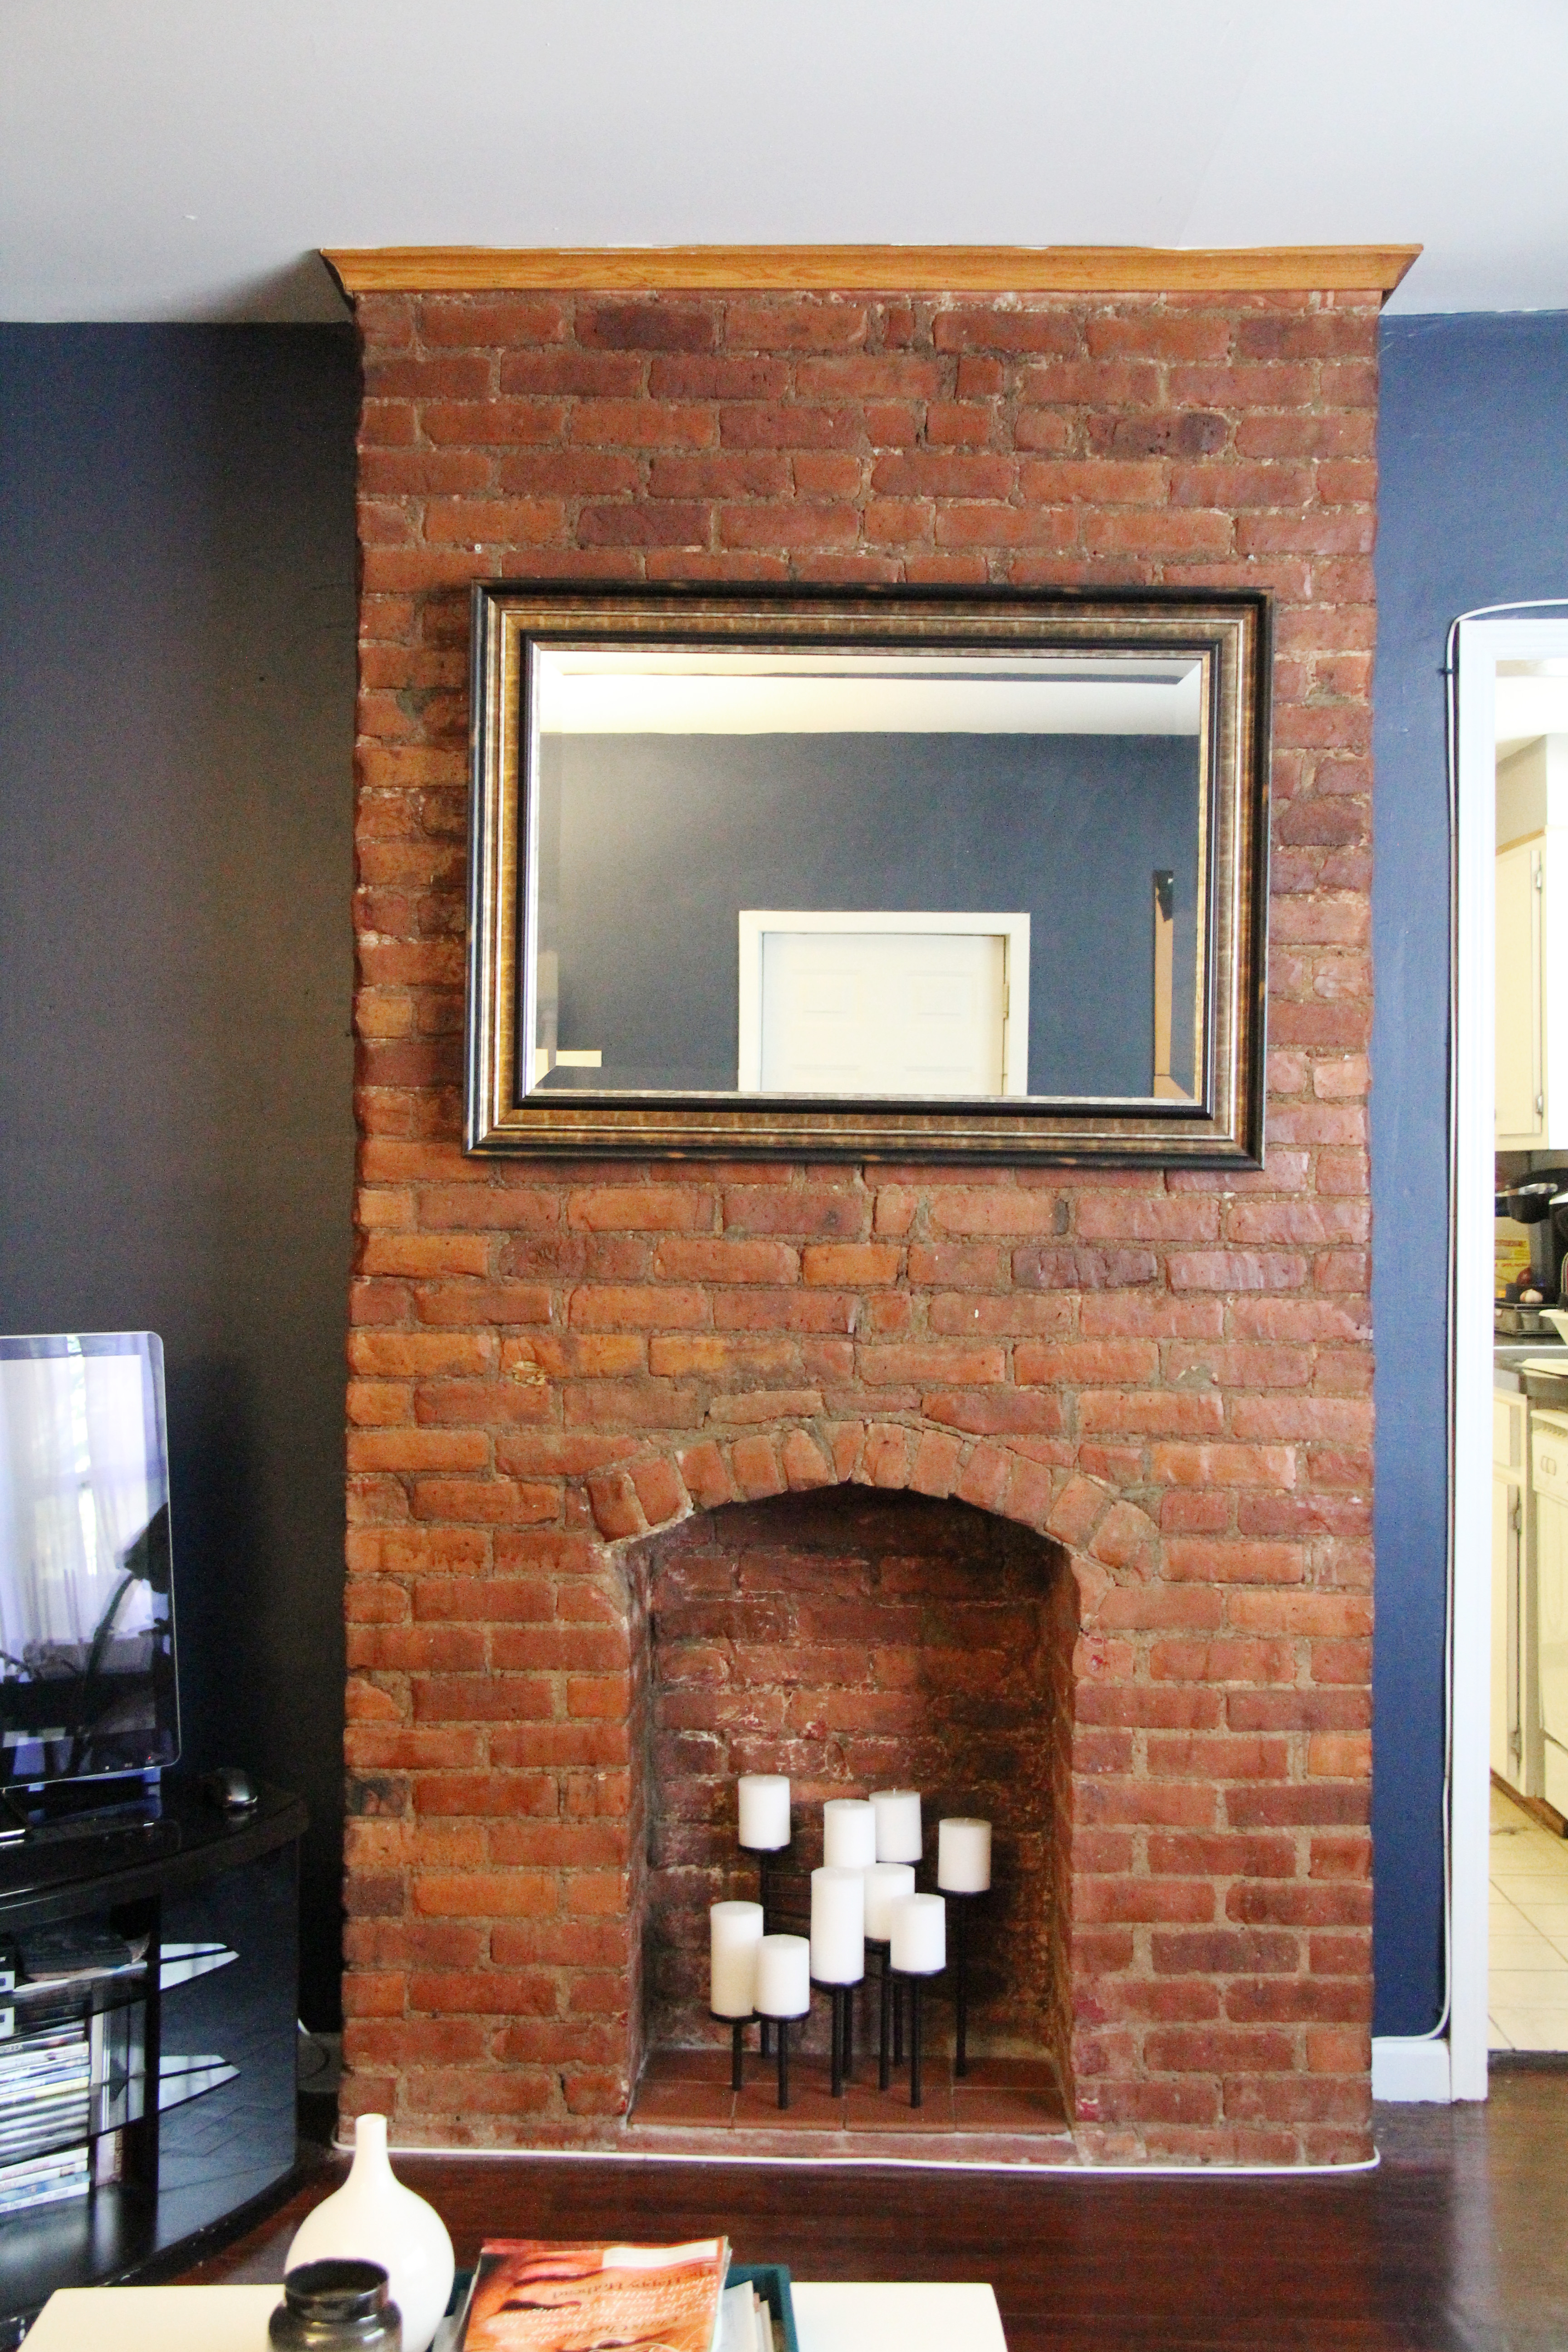
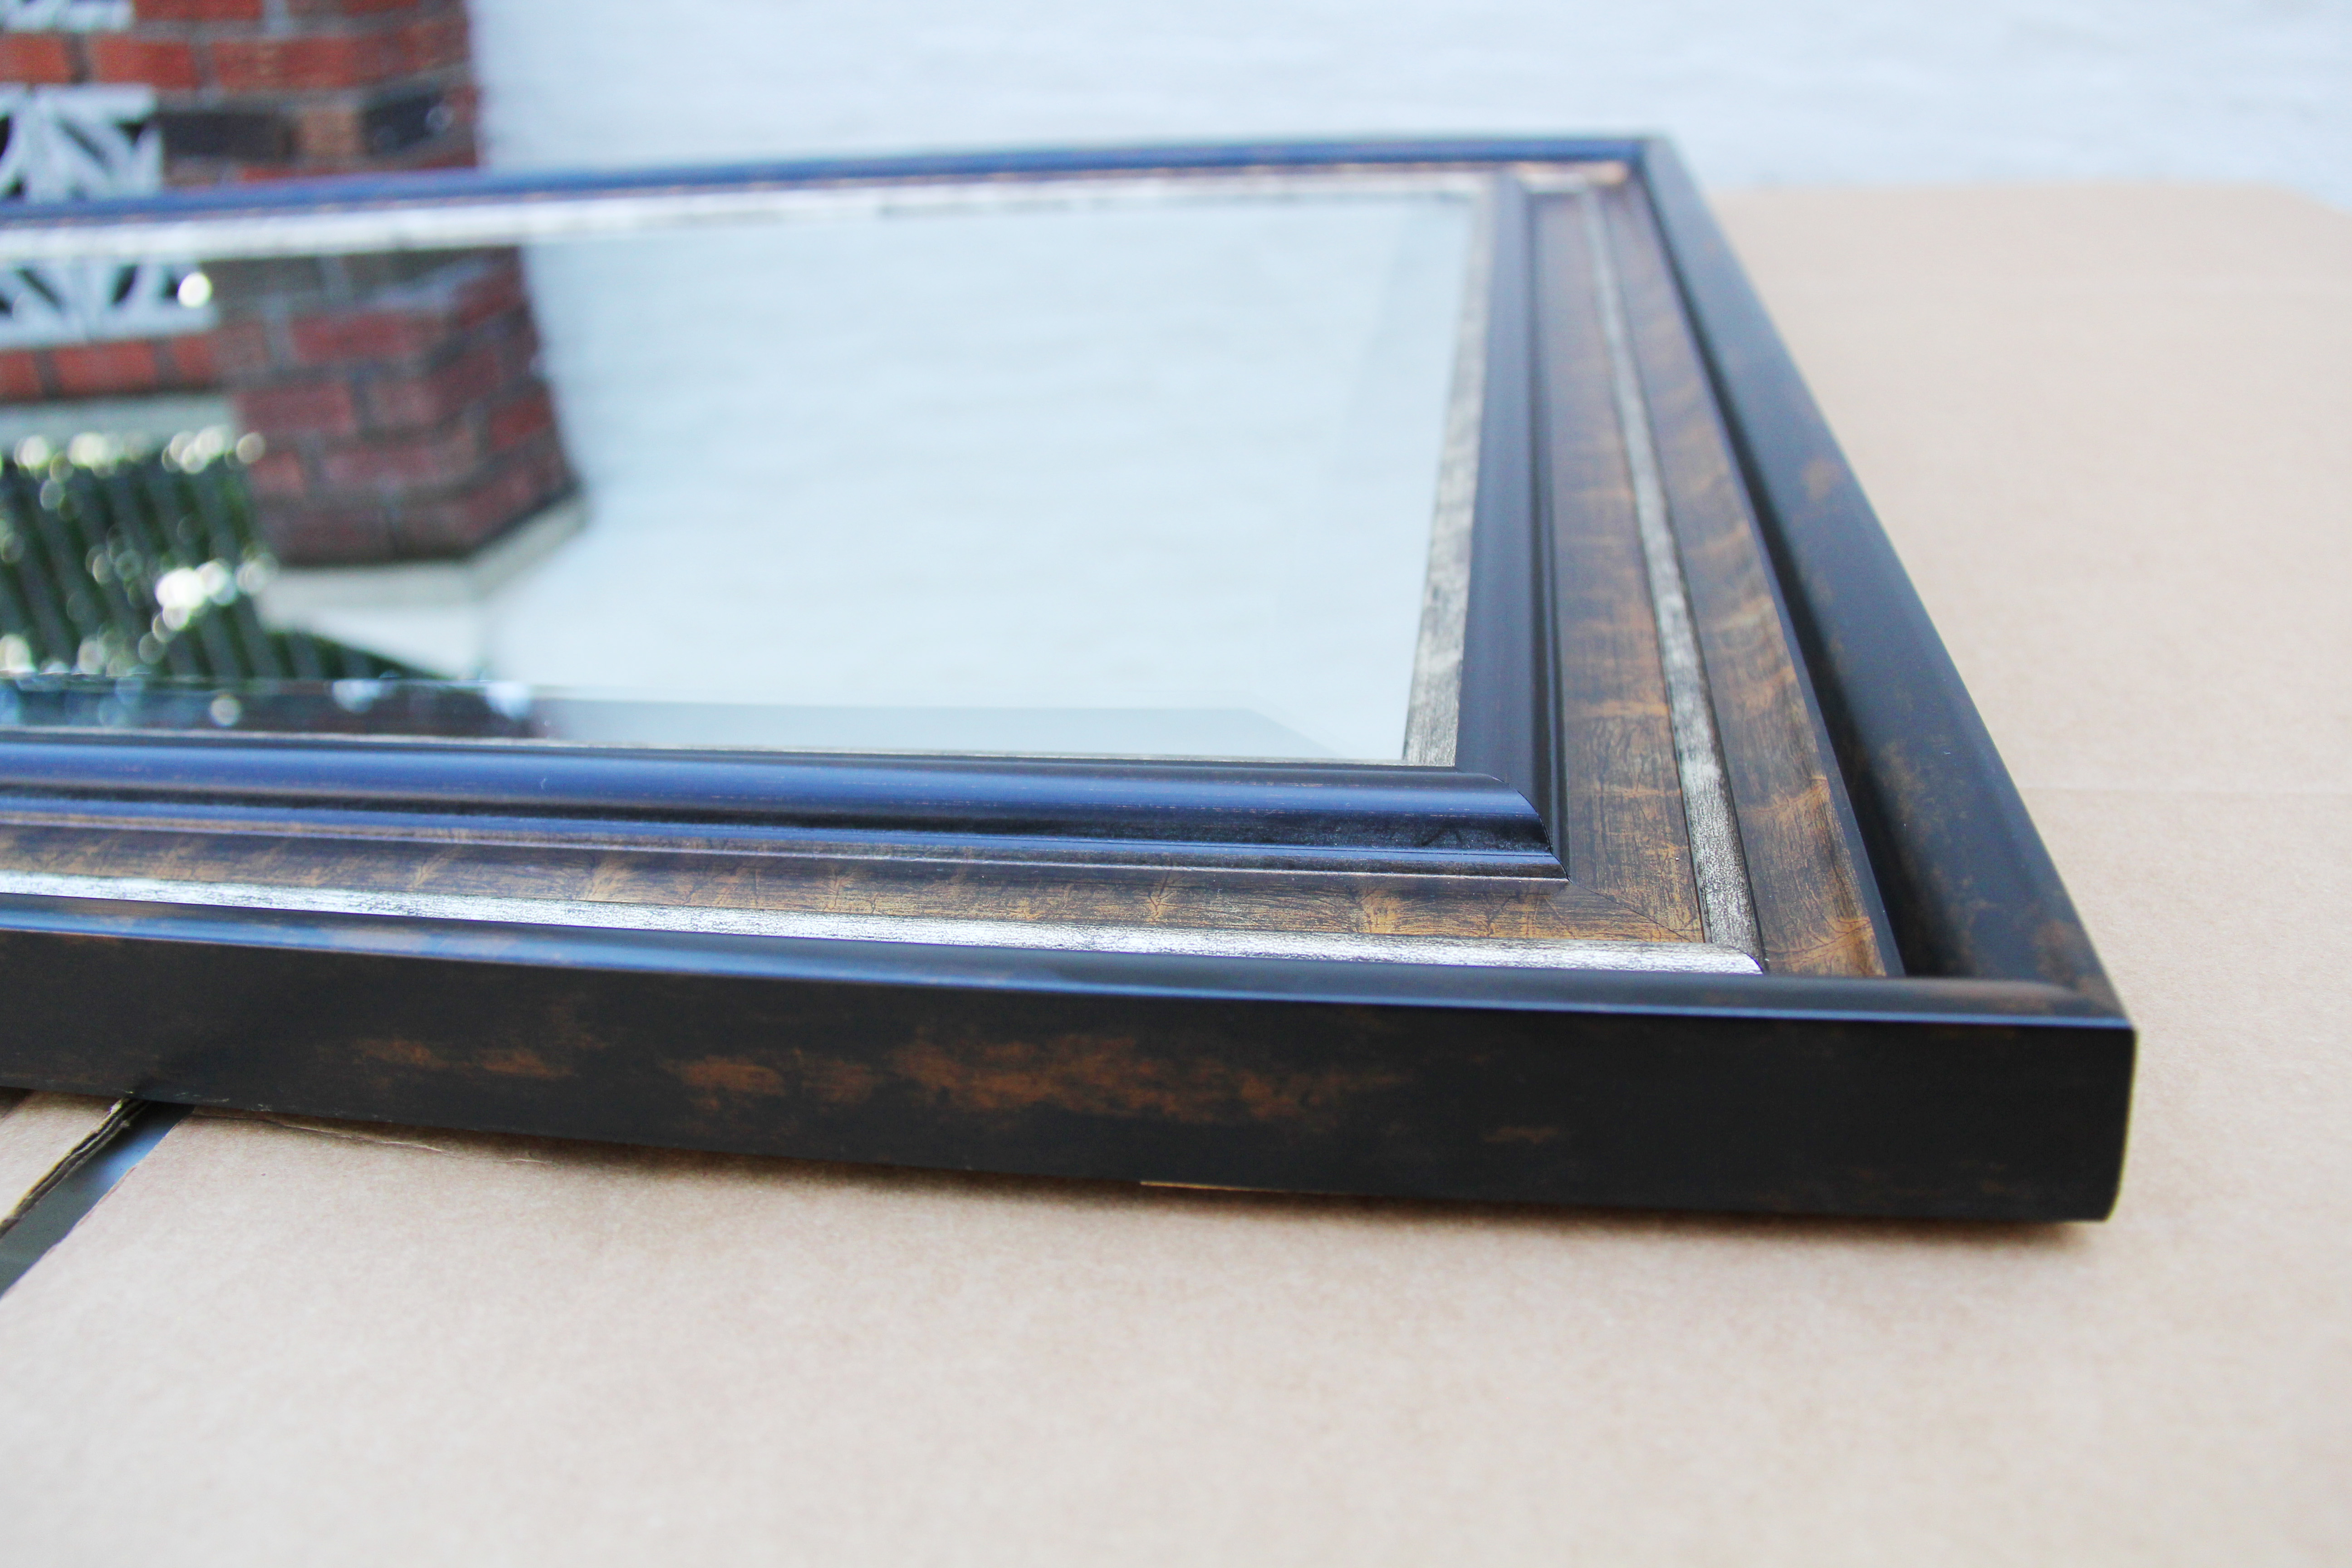
The Before:

IMG_0274_Layers_v1

IMG_0283_Layers_v1

The During:

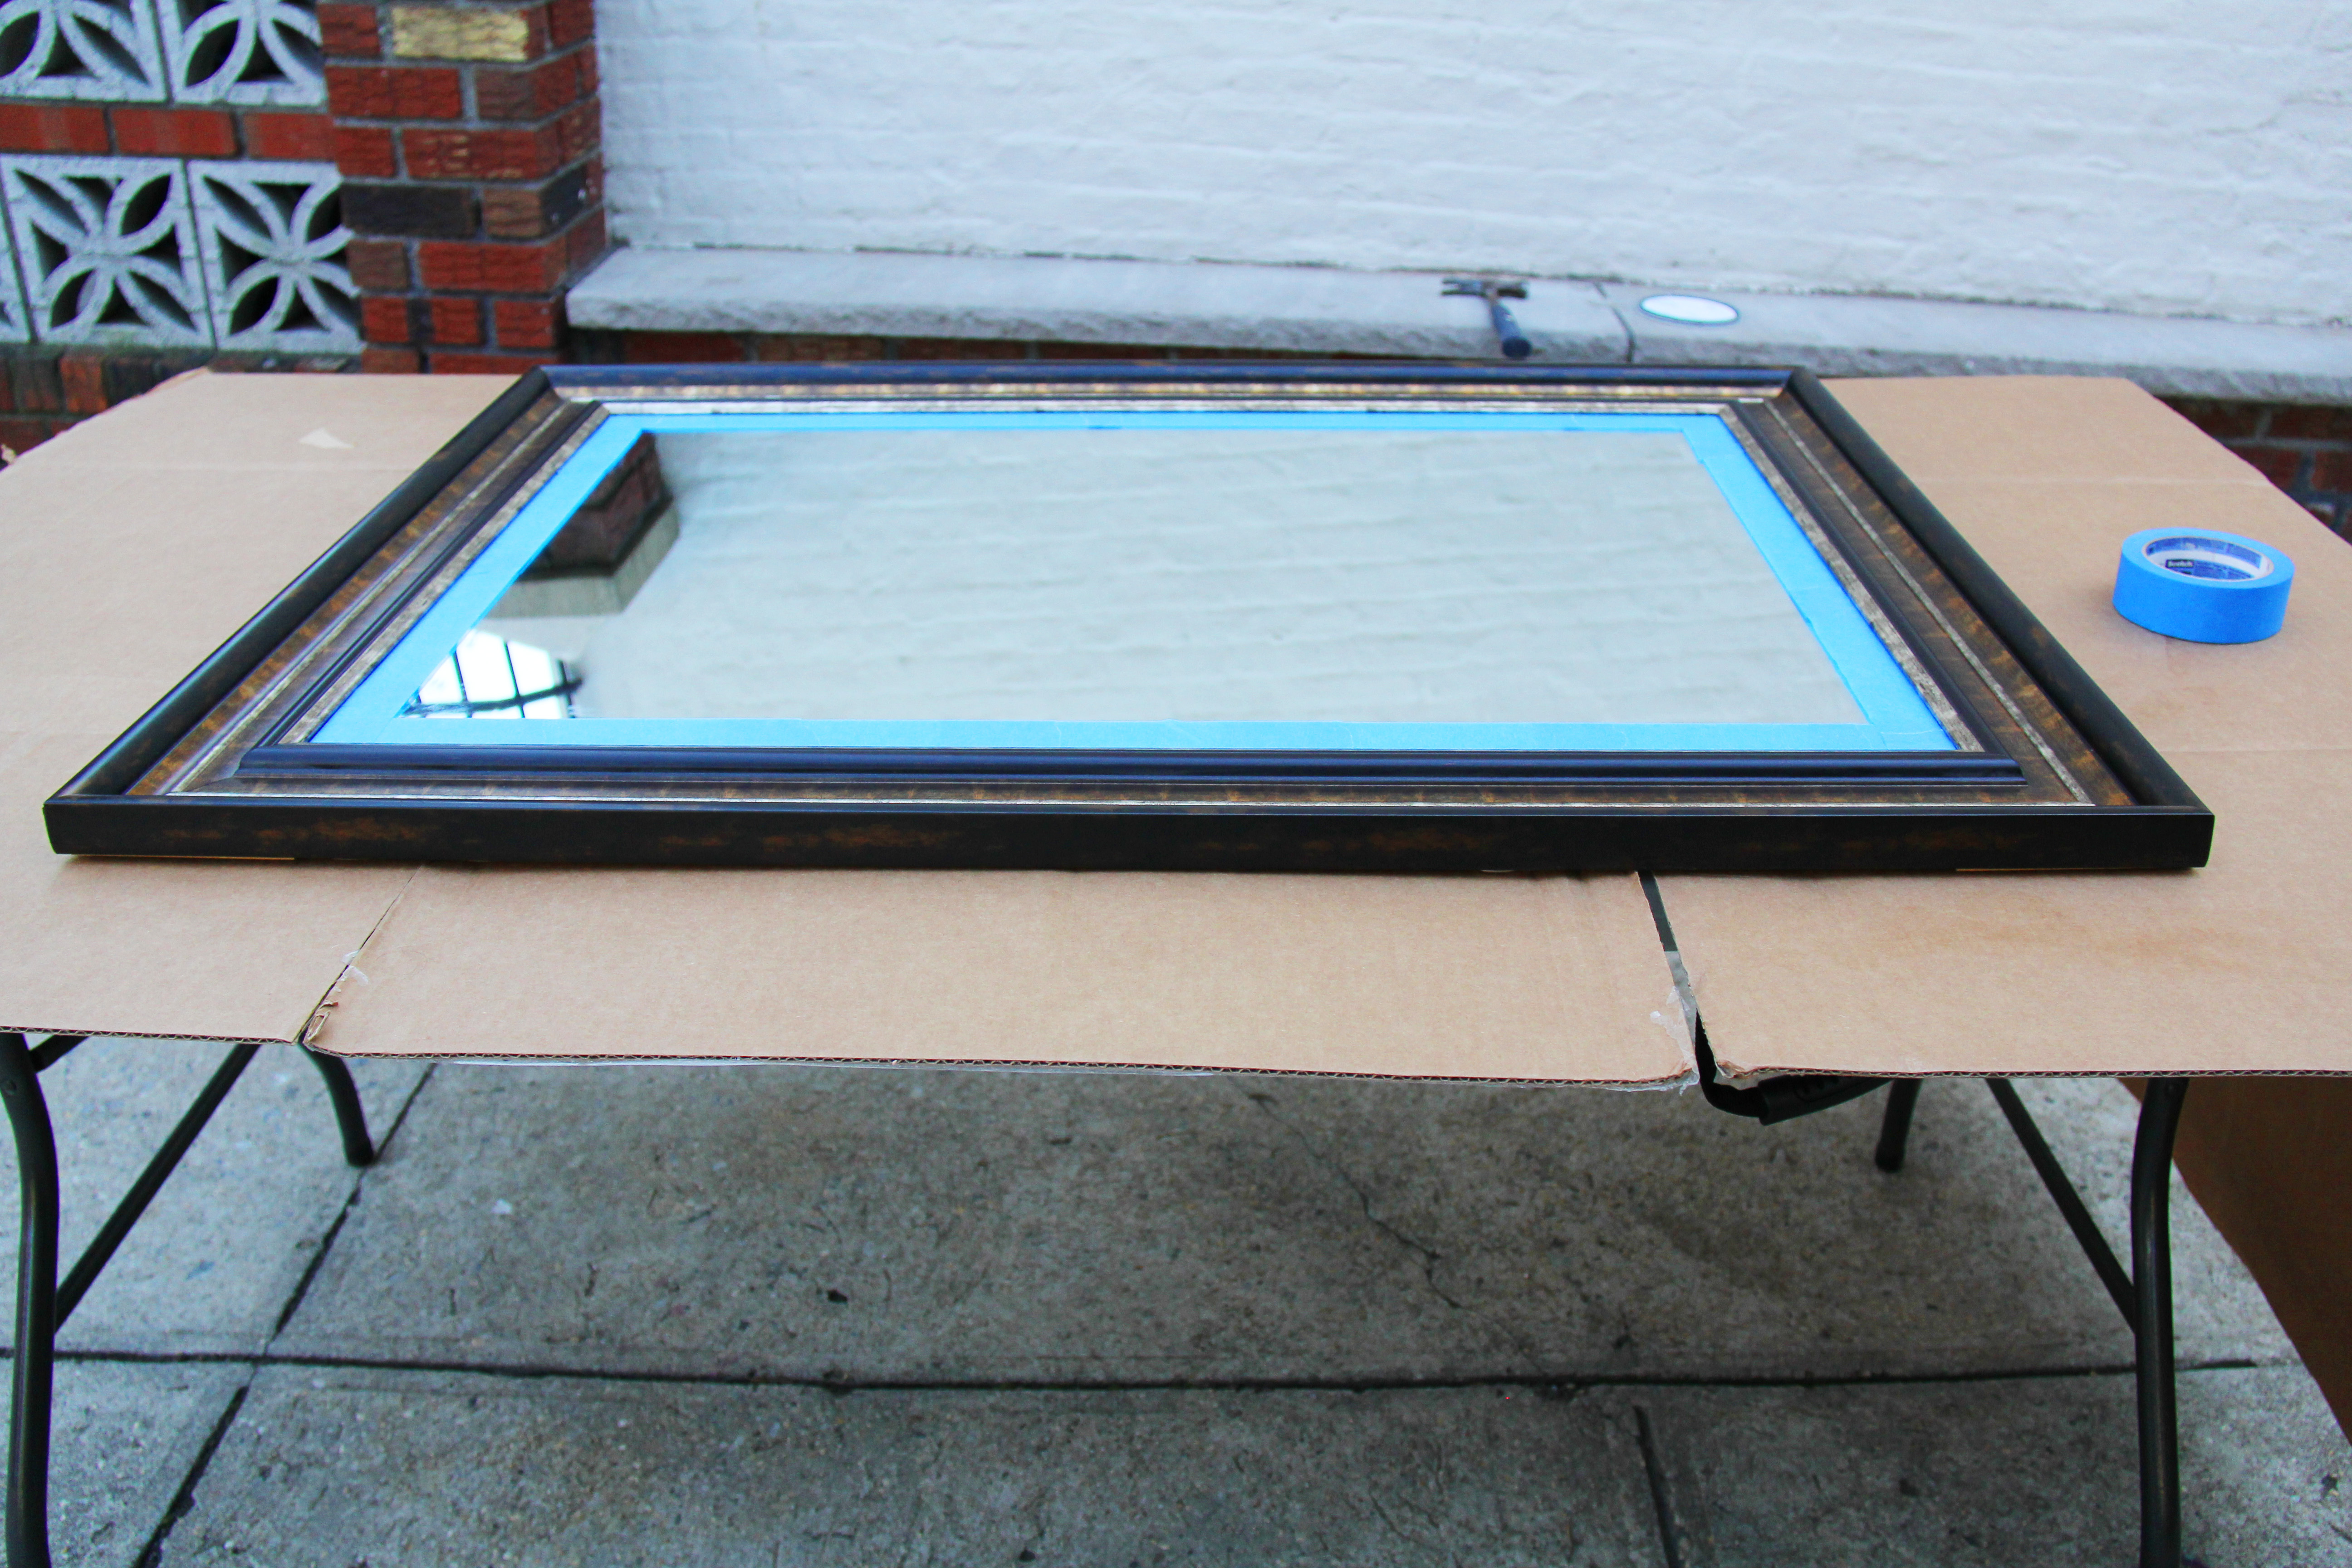
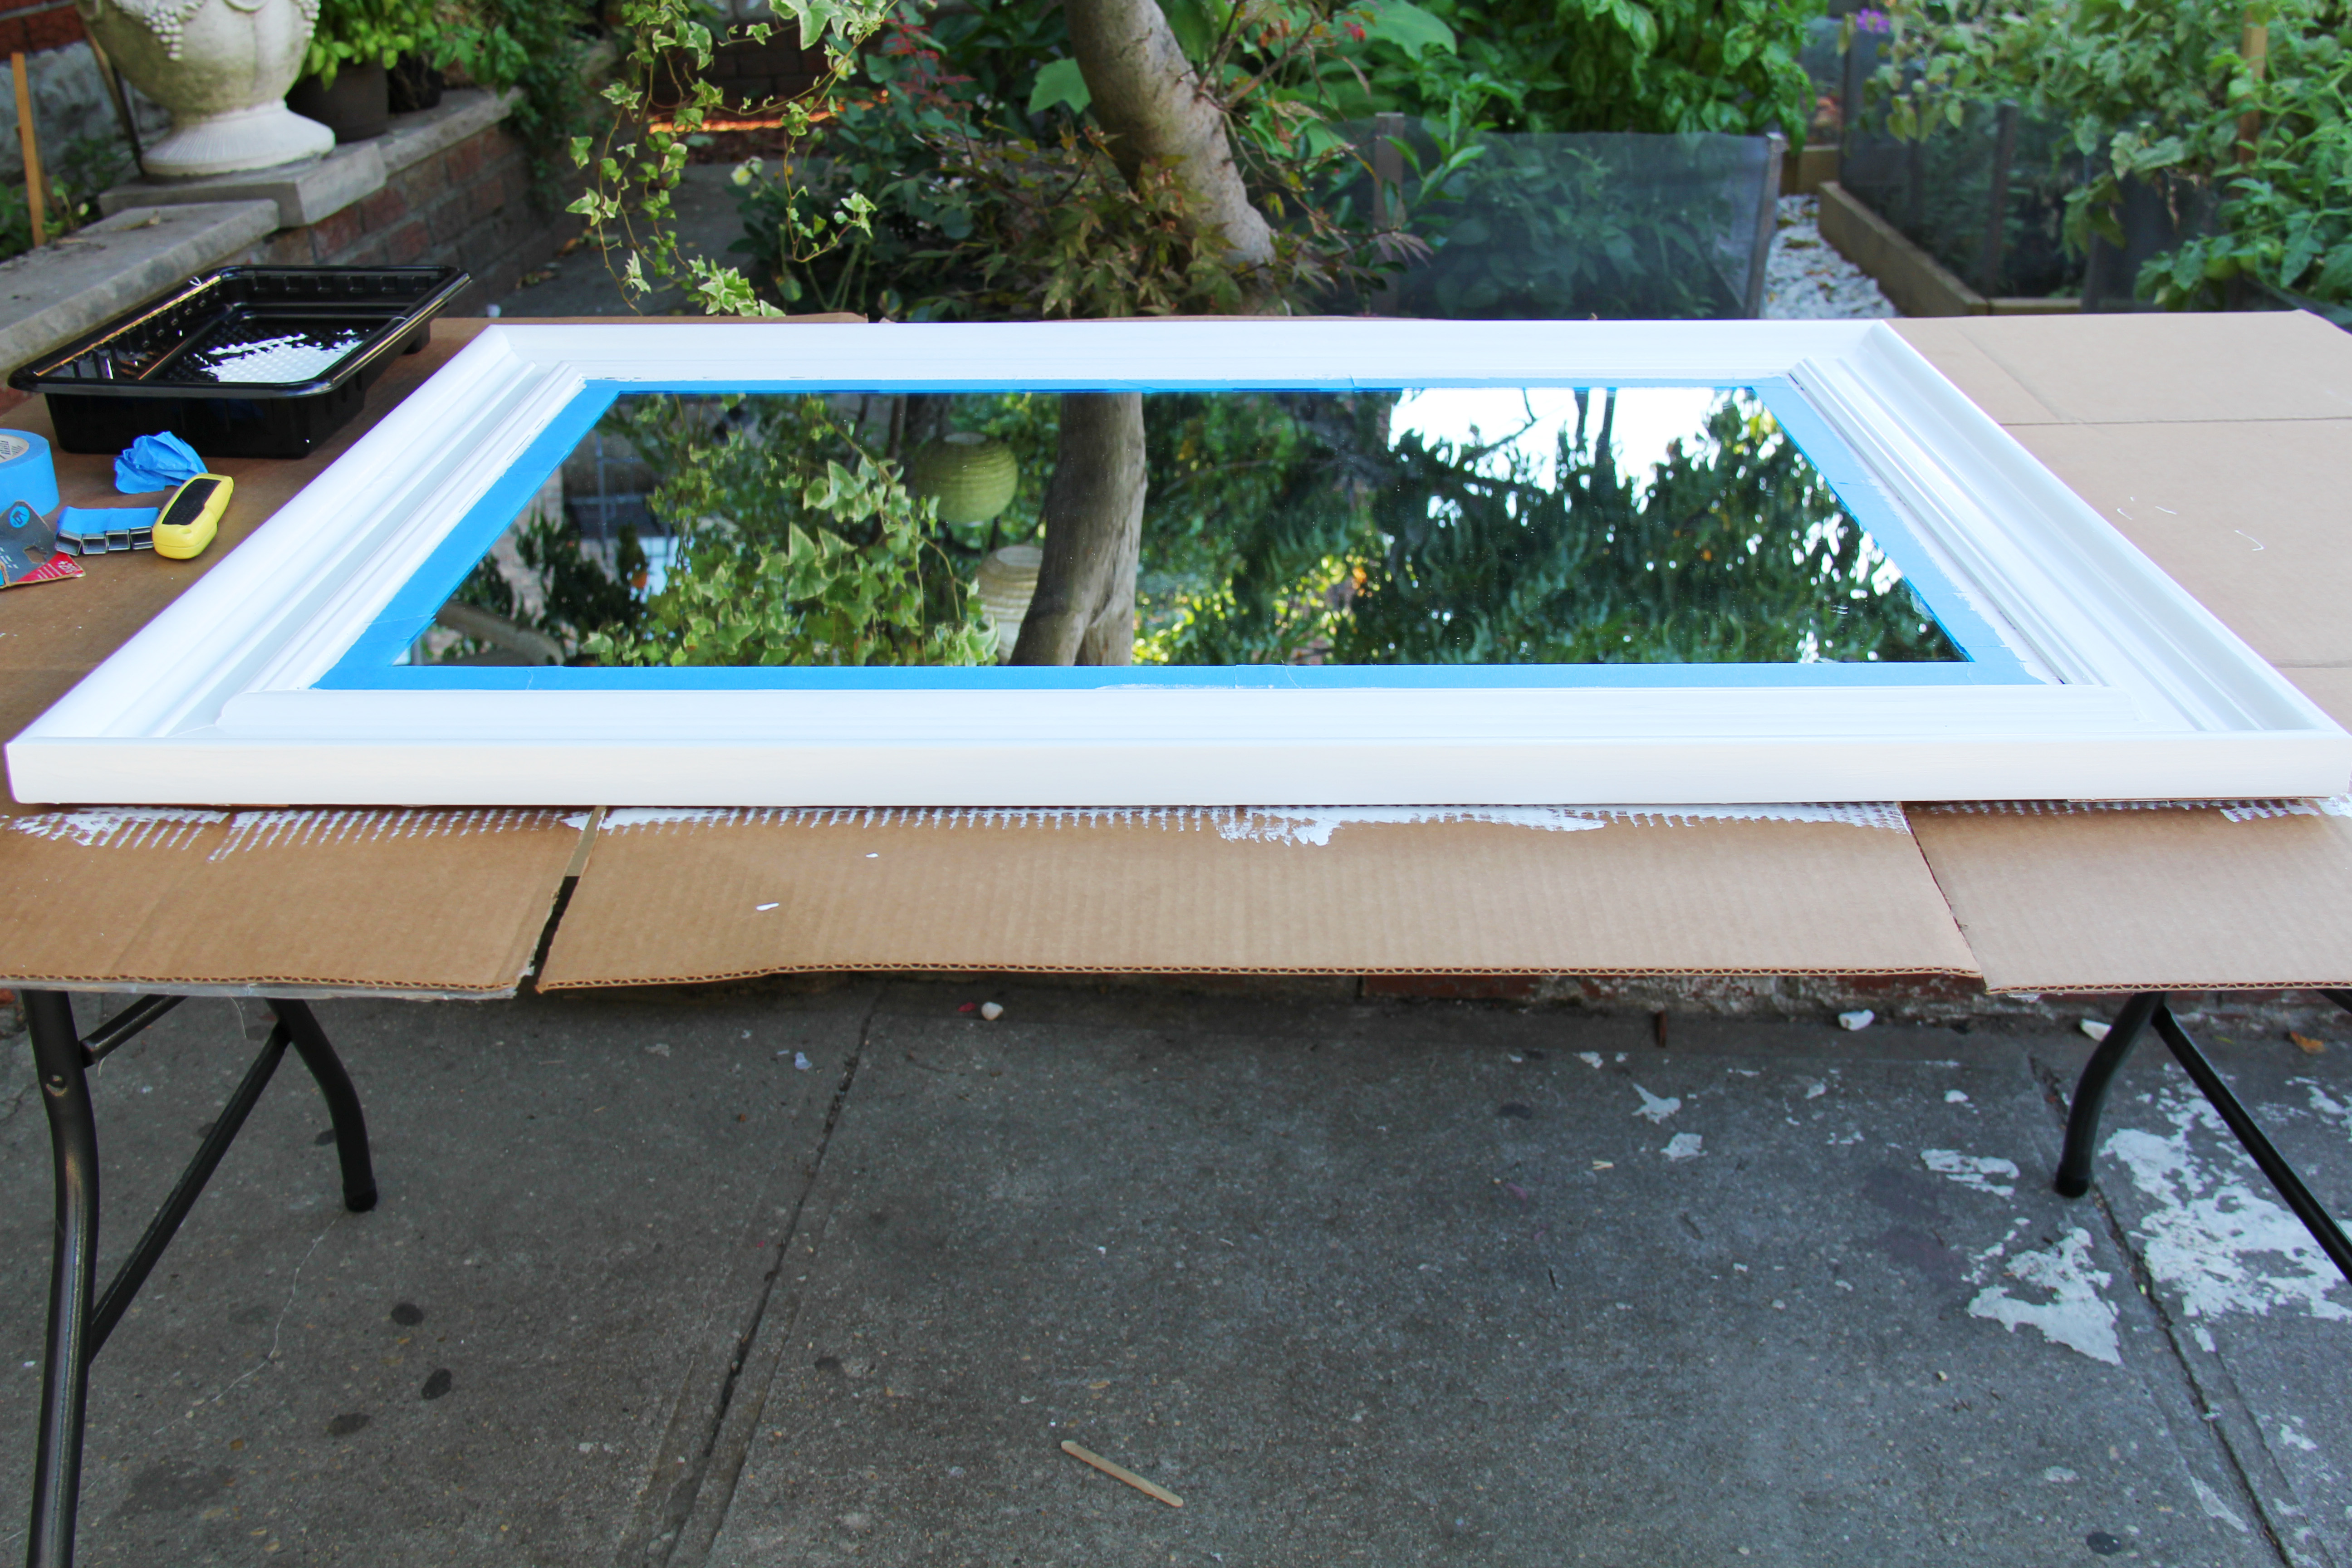
Find yourself a place that you can work with a lot of open space, good lighting, and make sure to put something down underneath your workspace so you don’t get paint everywhere.

IMG_0287_Layers_v1

Use painting tape to place on the inside of the mirror so you don’t get your paint on the actual mirror.  Make sure the tape slides underneath the frame covering the entire mirror with no cracks showing.

IMG_0291_Layers_v1

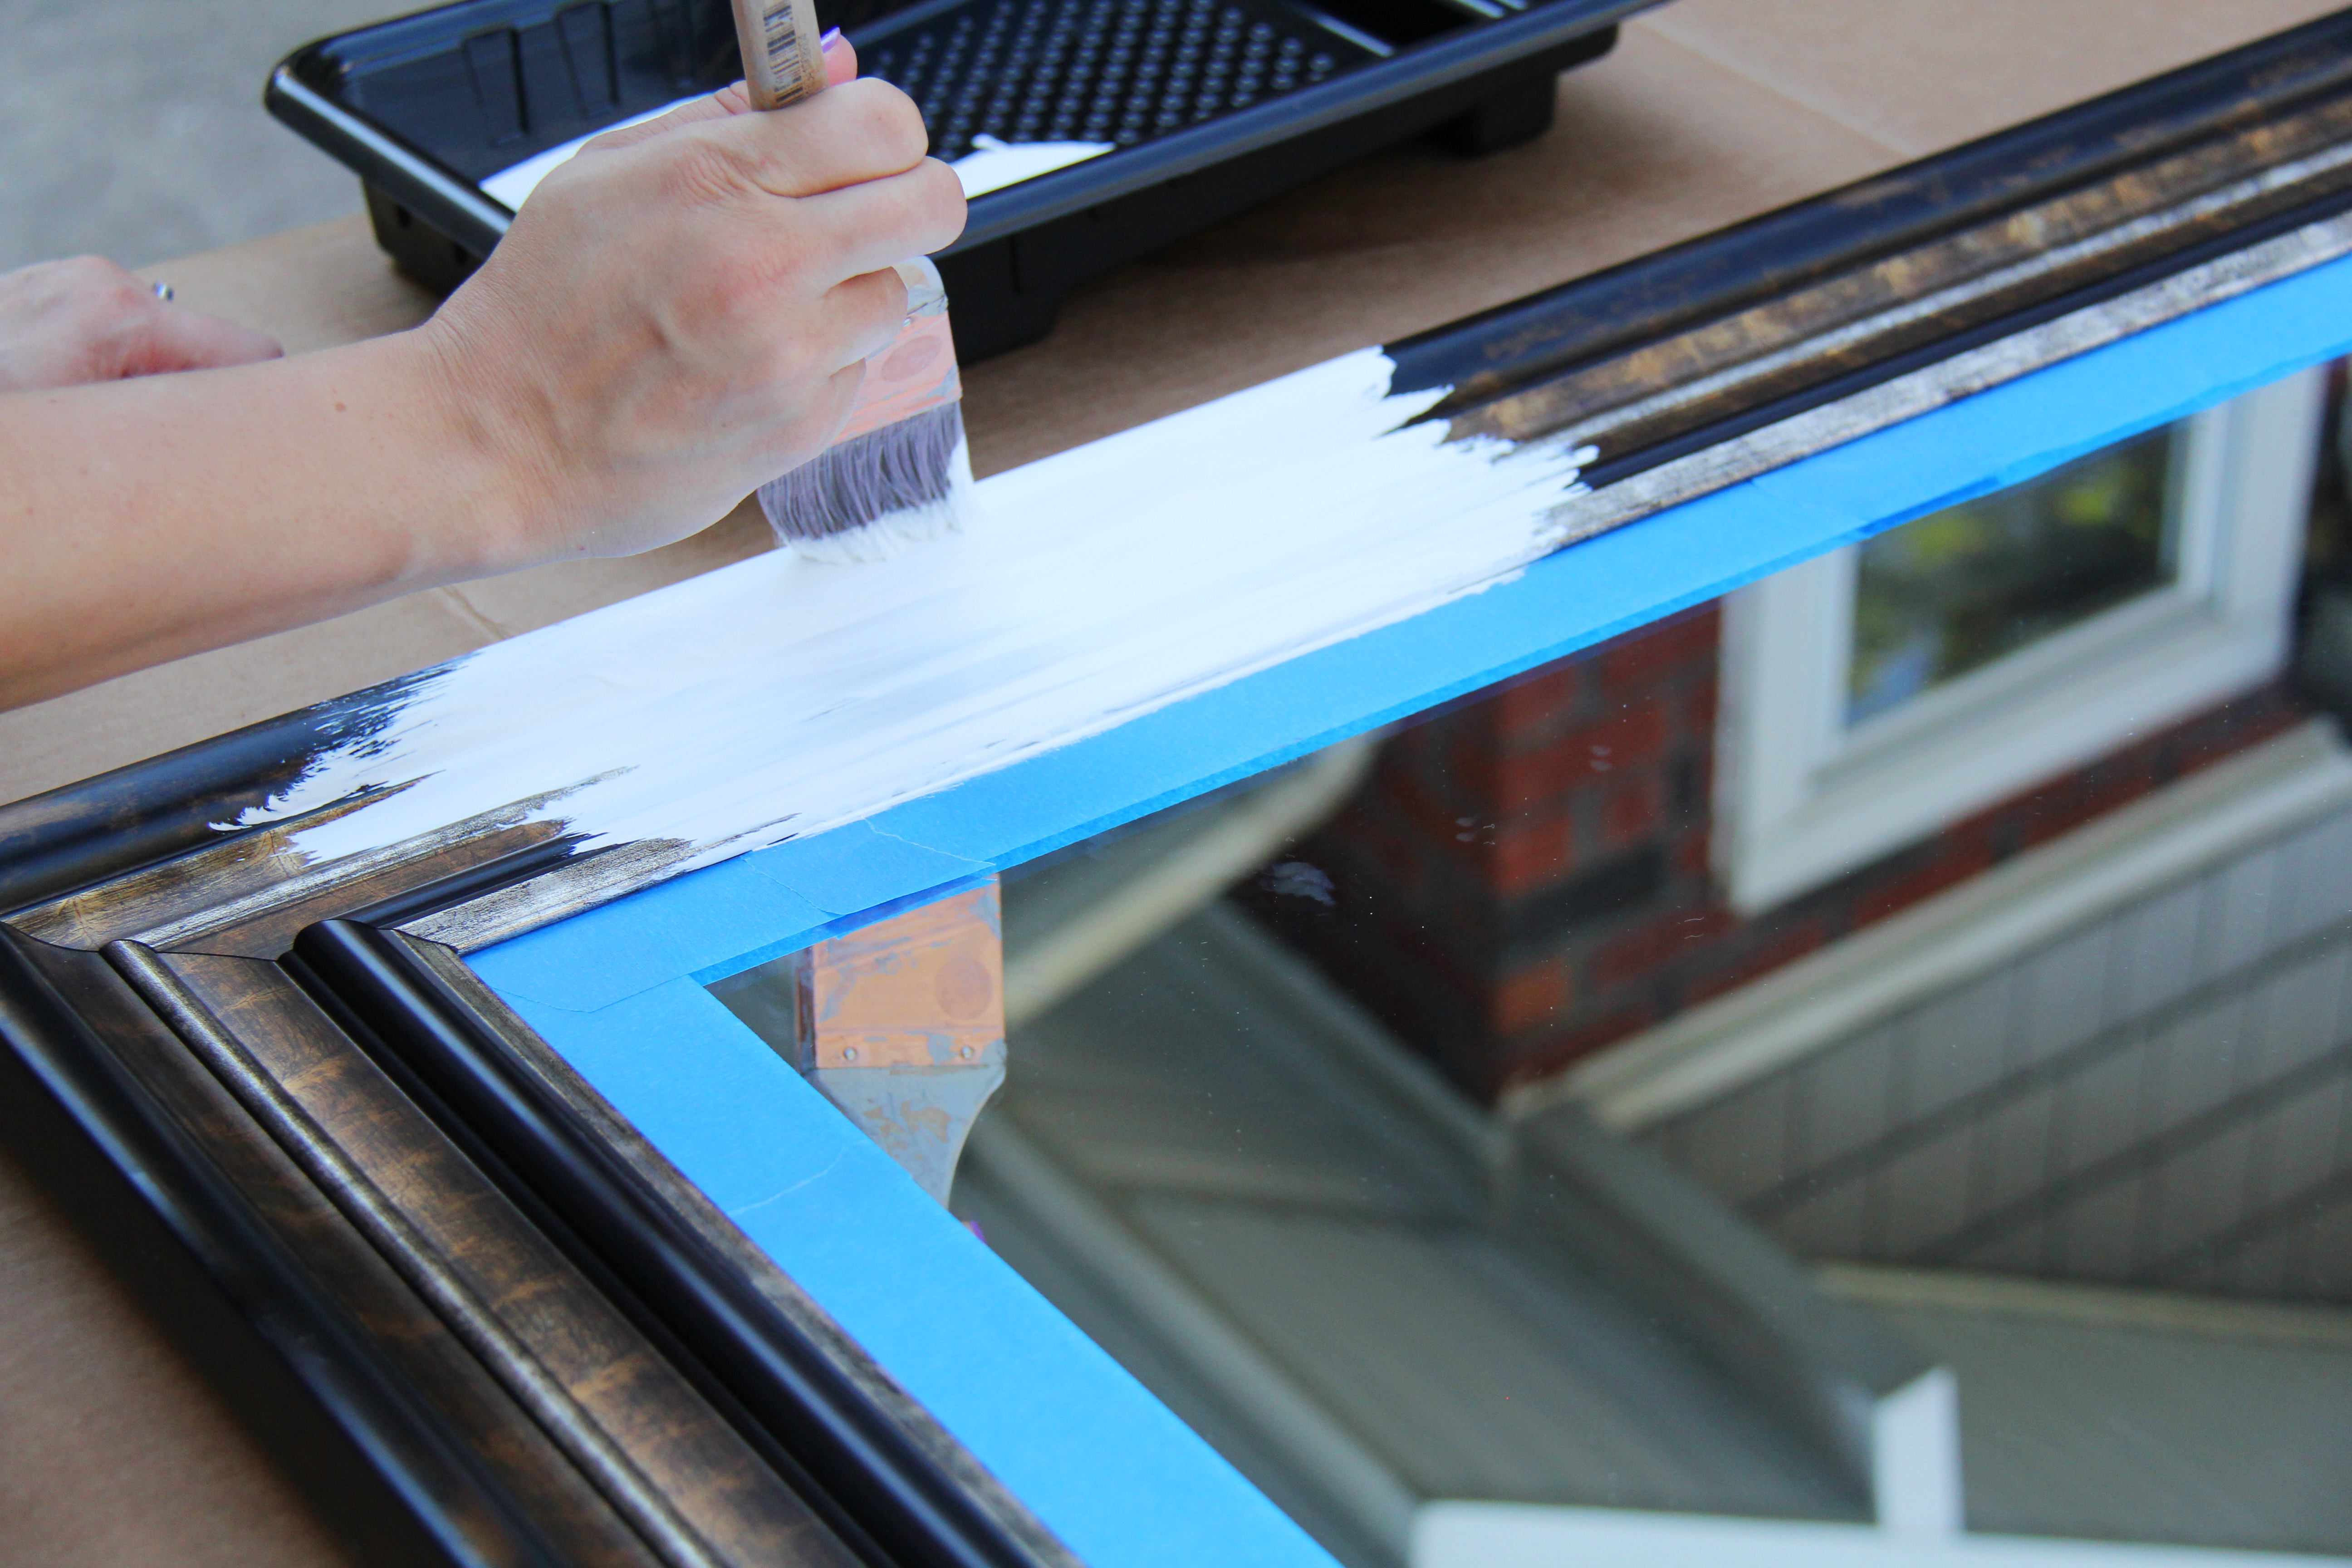
Paint first coat, and let it sit until it fully dries.  Then do a second coat over top to make it as opaque as possible.  Try to paint in straight lines to avoid bad streaks or clumps of paint.  We used Behr Ultra Premium Plus in Pure White PPU18-6.  This paint has a built in primer, so we didn’t use a separate one.  However, if you choose a paint sans primer, than you should use a primer before painting for your first coat.

IMG_0299_Layers_v1

IMG_0311_Layers_v1

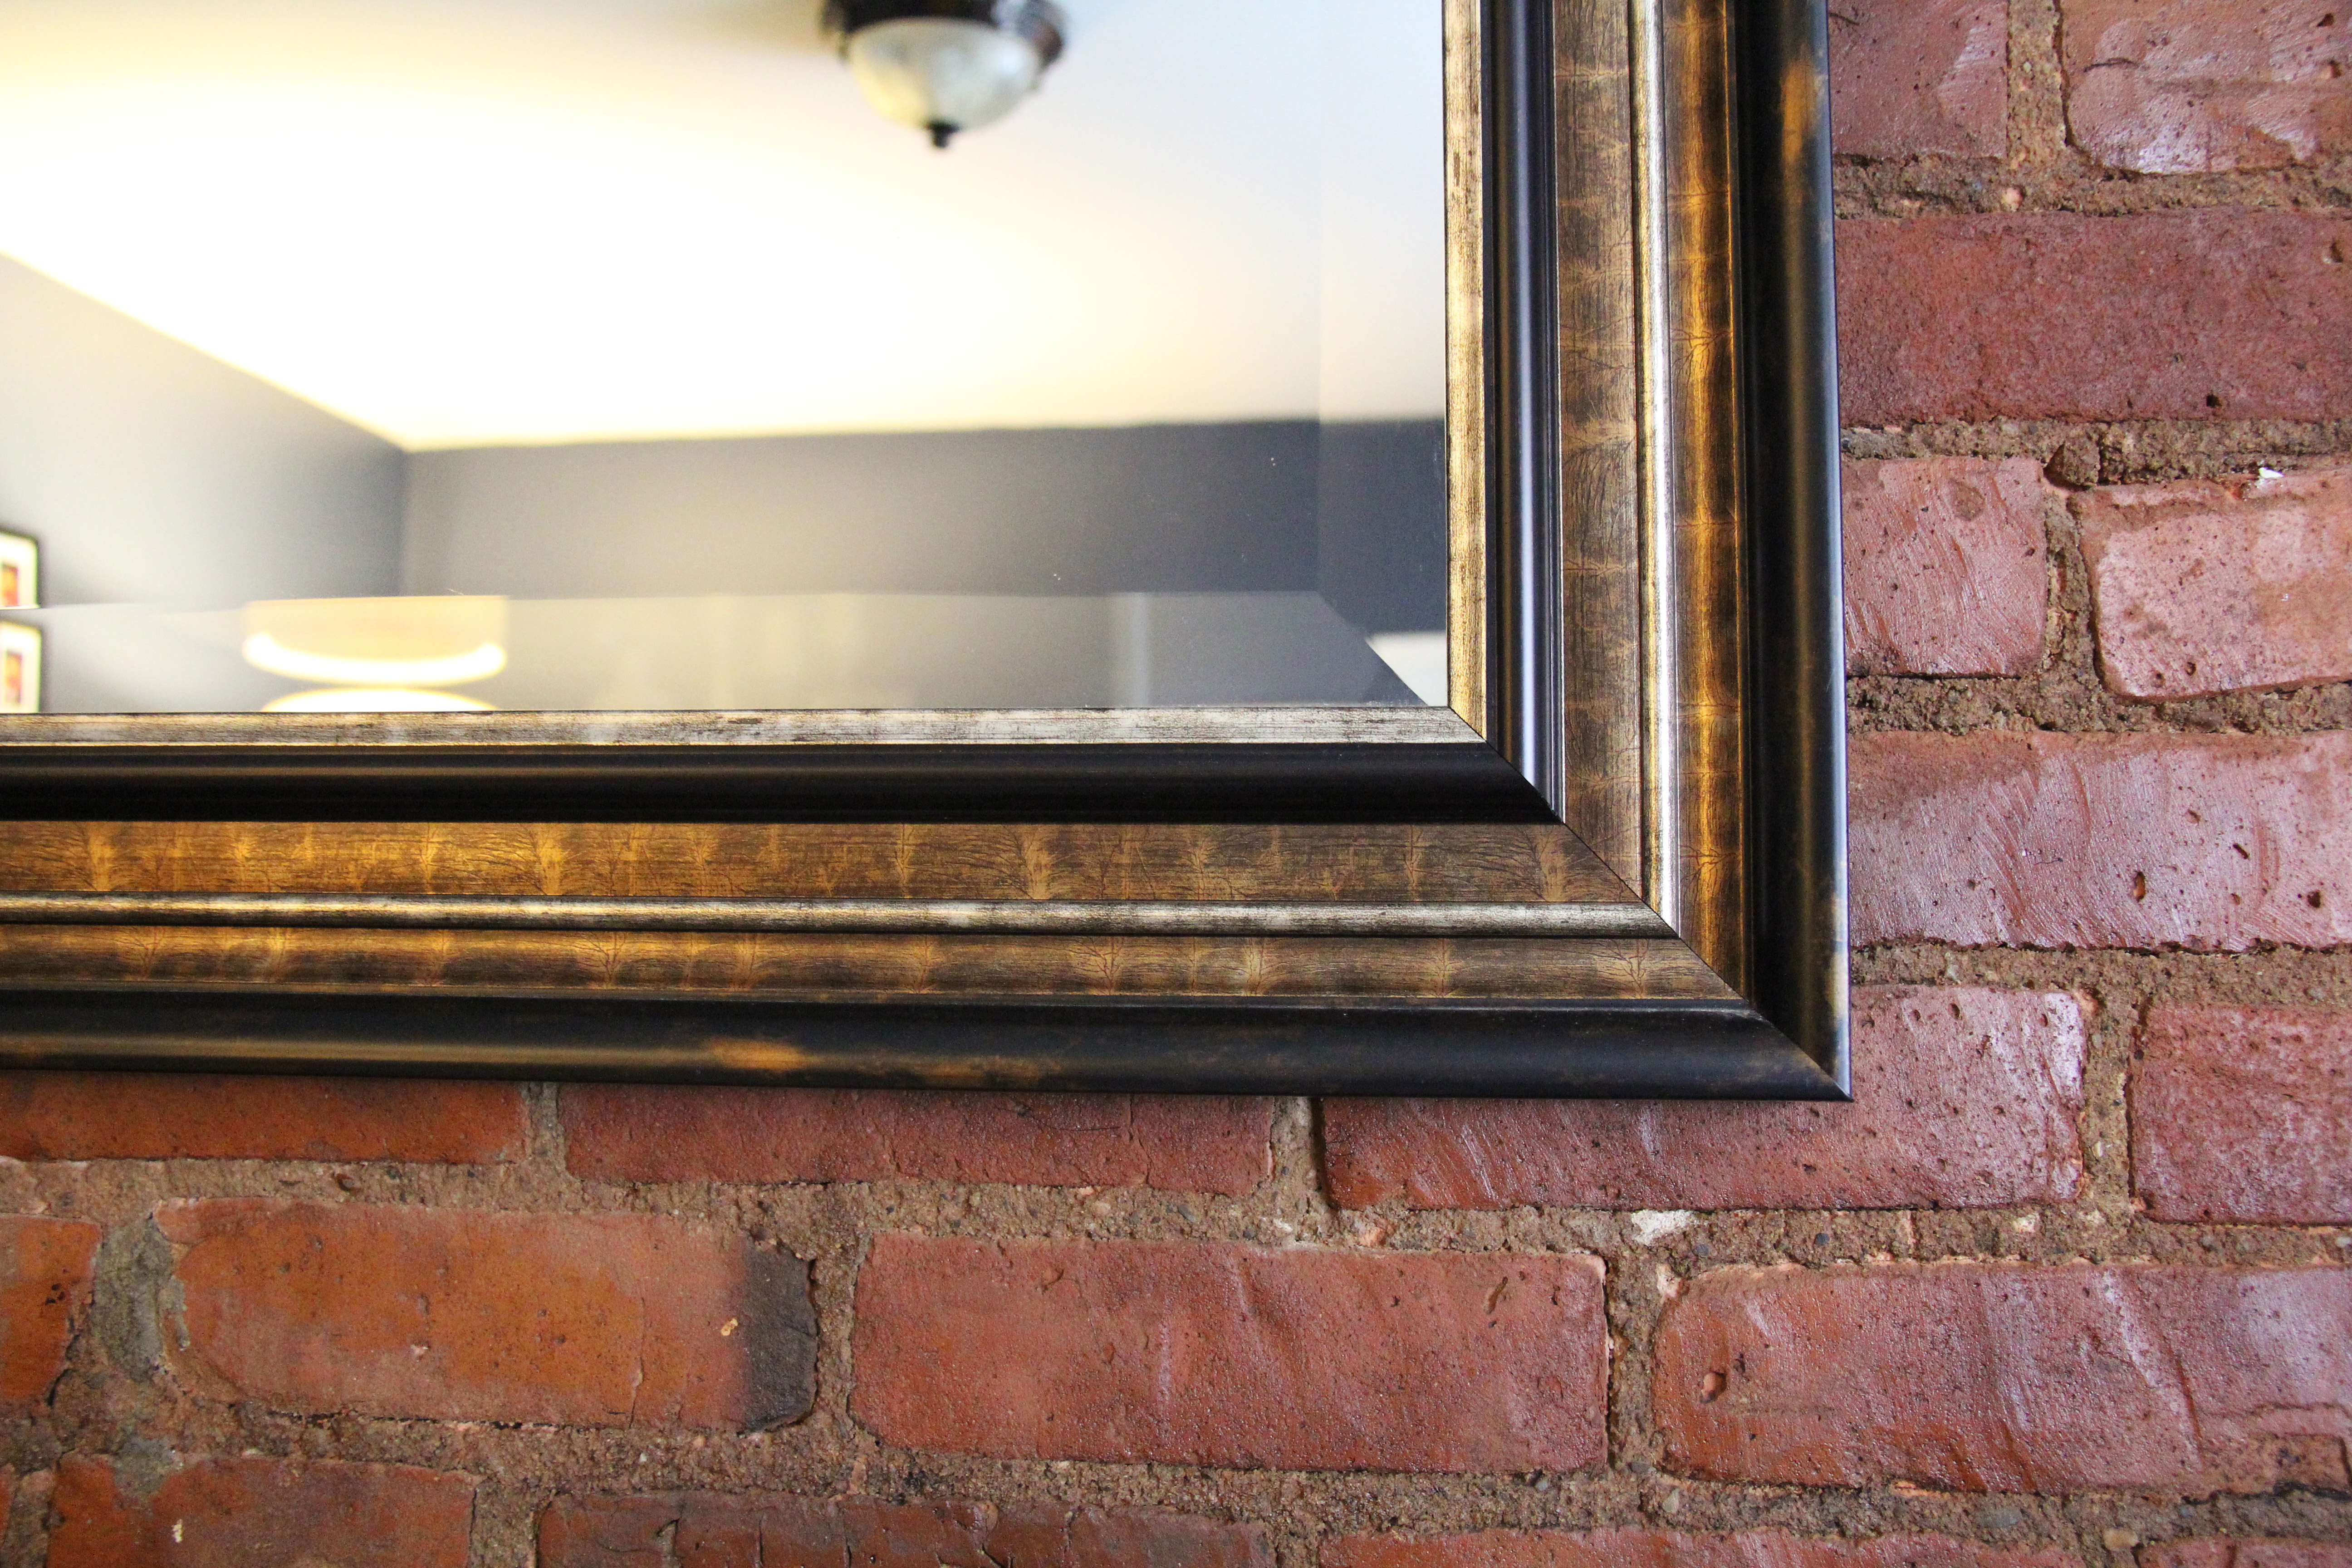
The After:

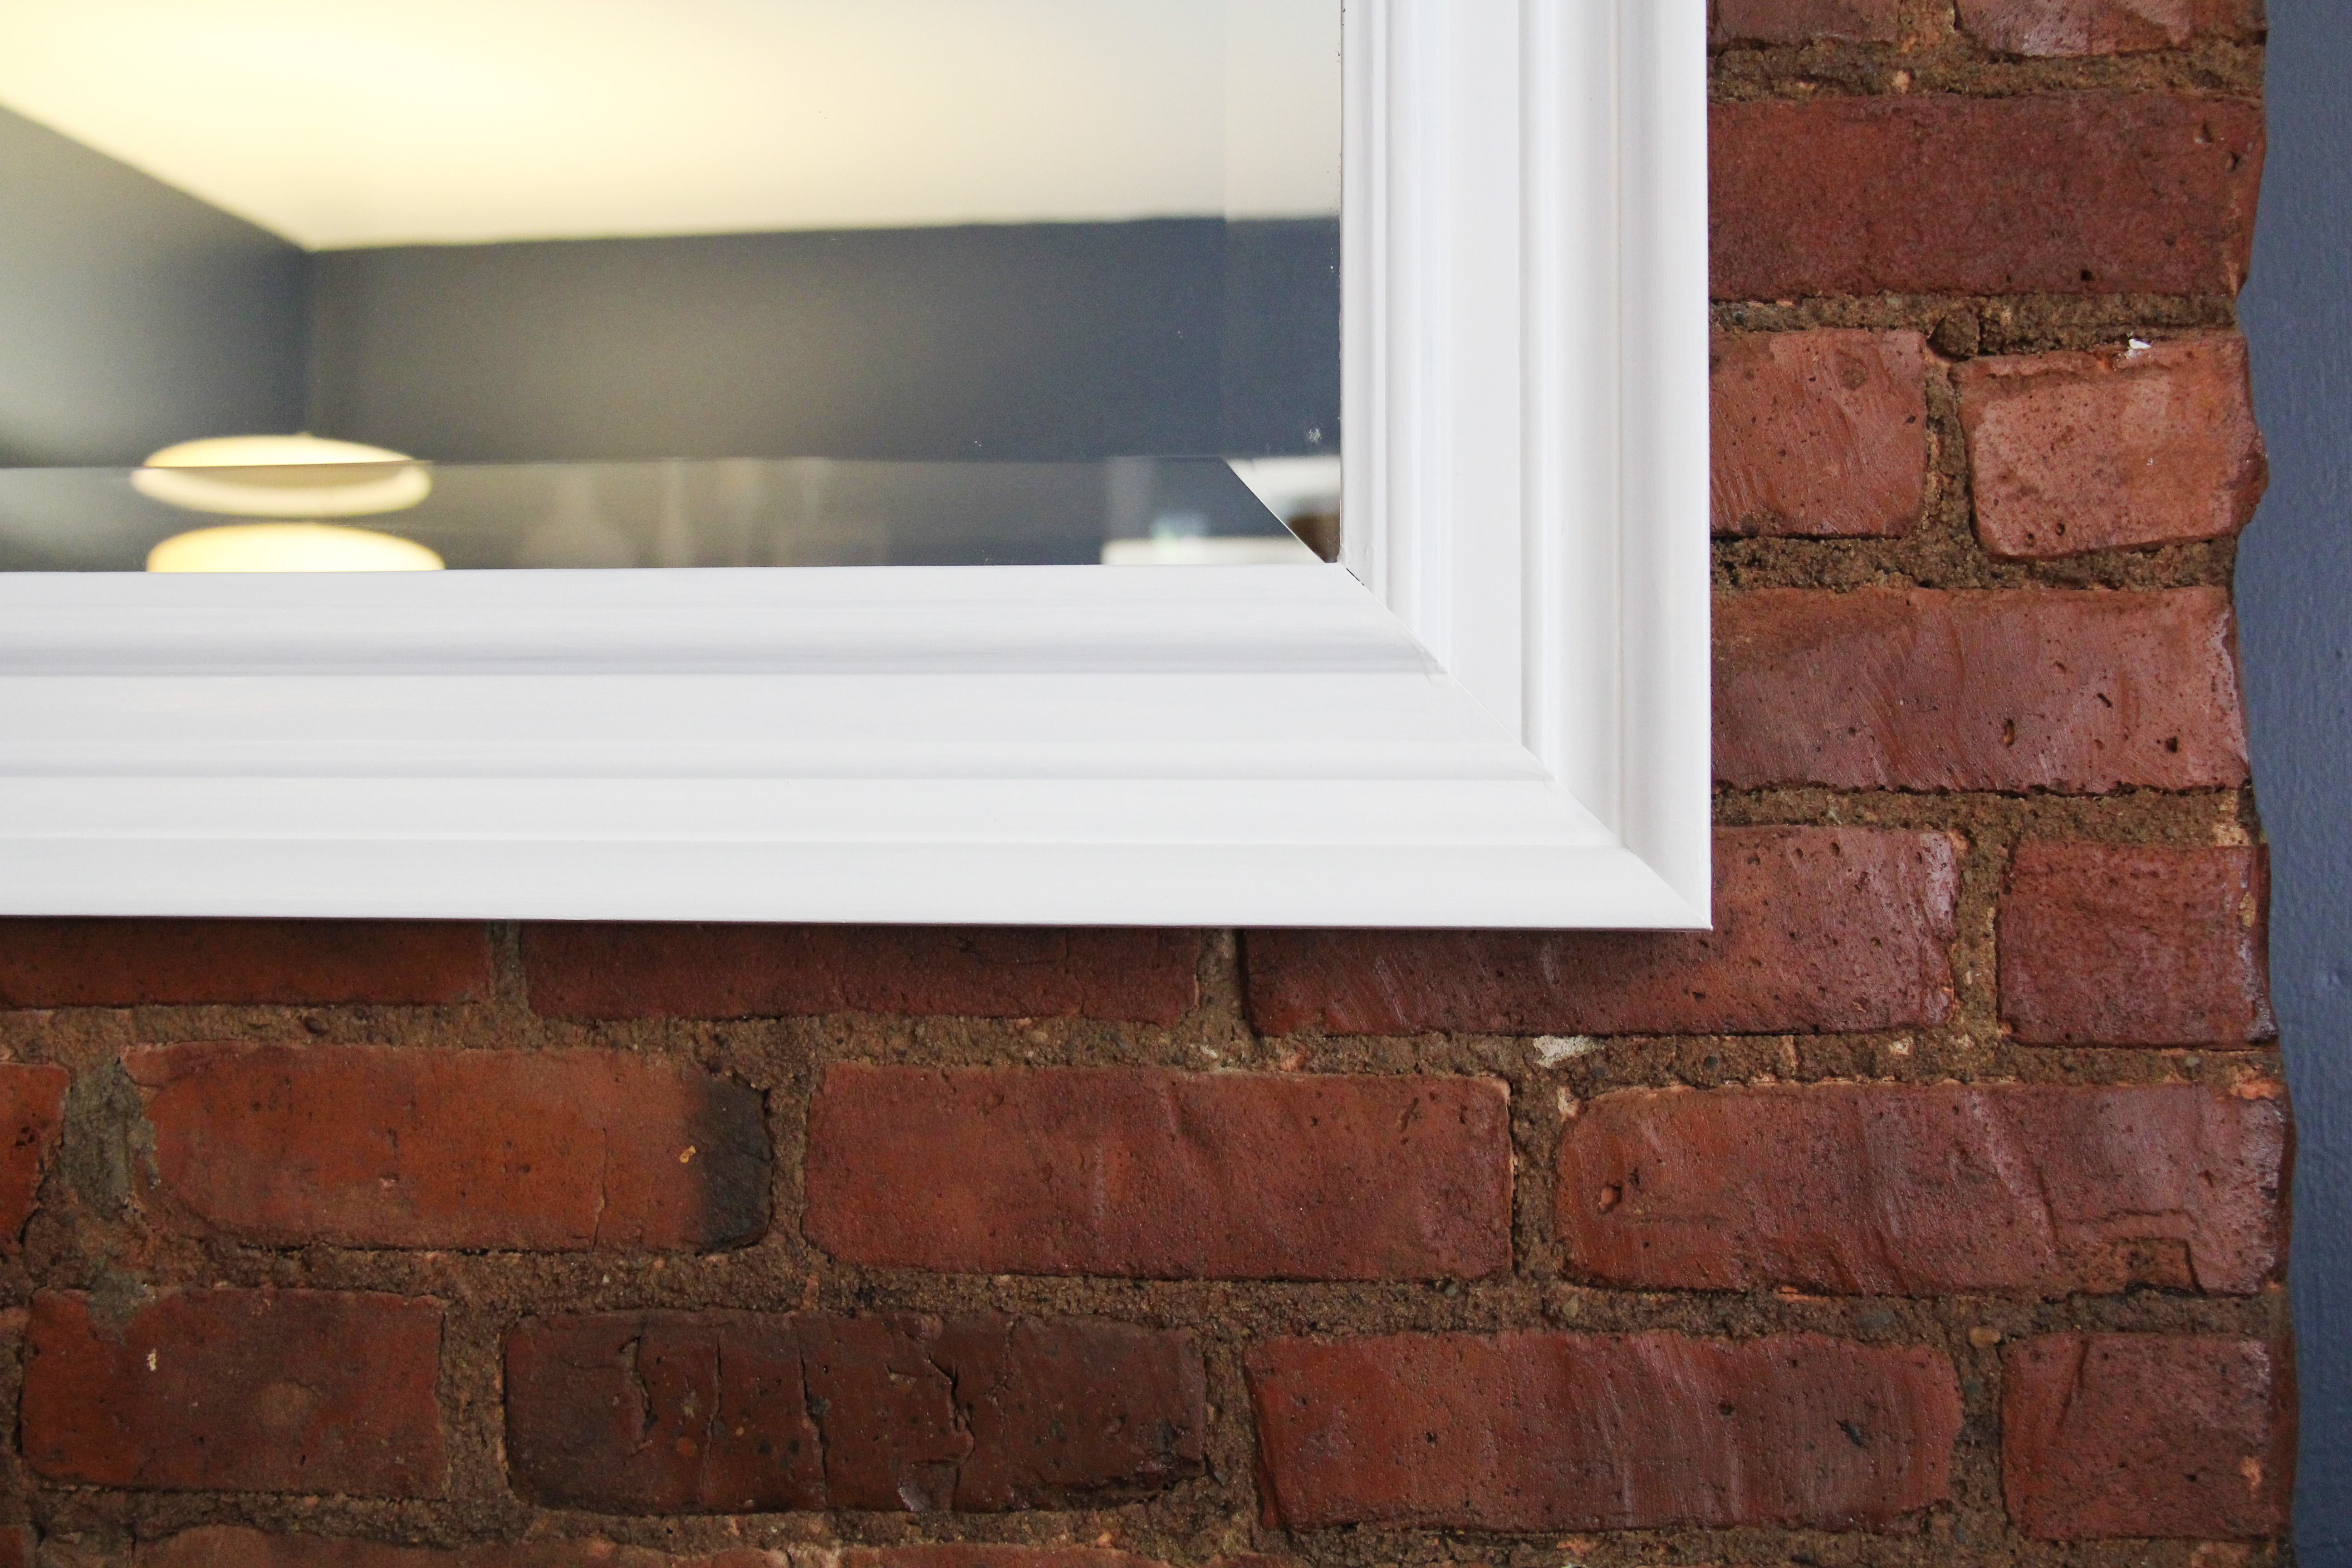
Once it’s fully dry from the second coat, remove the painting tape from the mirror and Voila!  A fresh new look for your mirror (and my living room.)

IMG_0315_Layers_v1

IMG_0318_Layers_v1

Happy Wednesday everyone!  Get your craft on.

XO,

Gina