I got this idea from a friend who recently had a baby, and I just loved her nursery letters! I really appreciated her filling me in on how to make these yourself rather than spending tons of money to have them made, so I figured I would pass this idea along to all of you! It’s simple, quick (it helps when you only have four letters to work with), and easily custom made for any name, color, or theme. Take a look and get crafty!
–
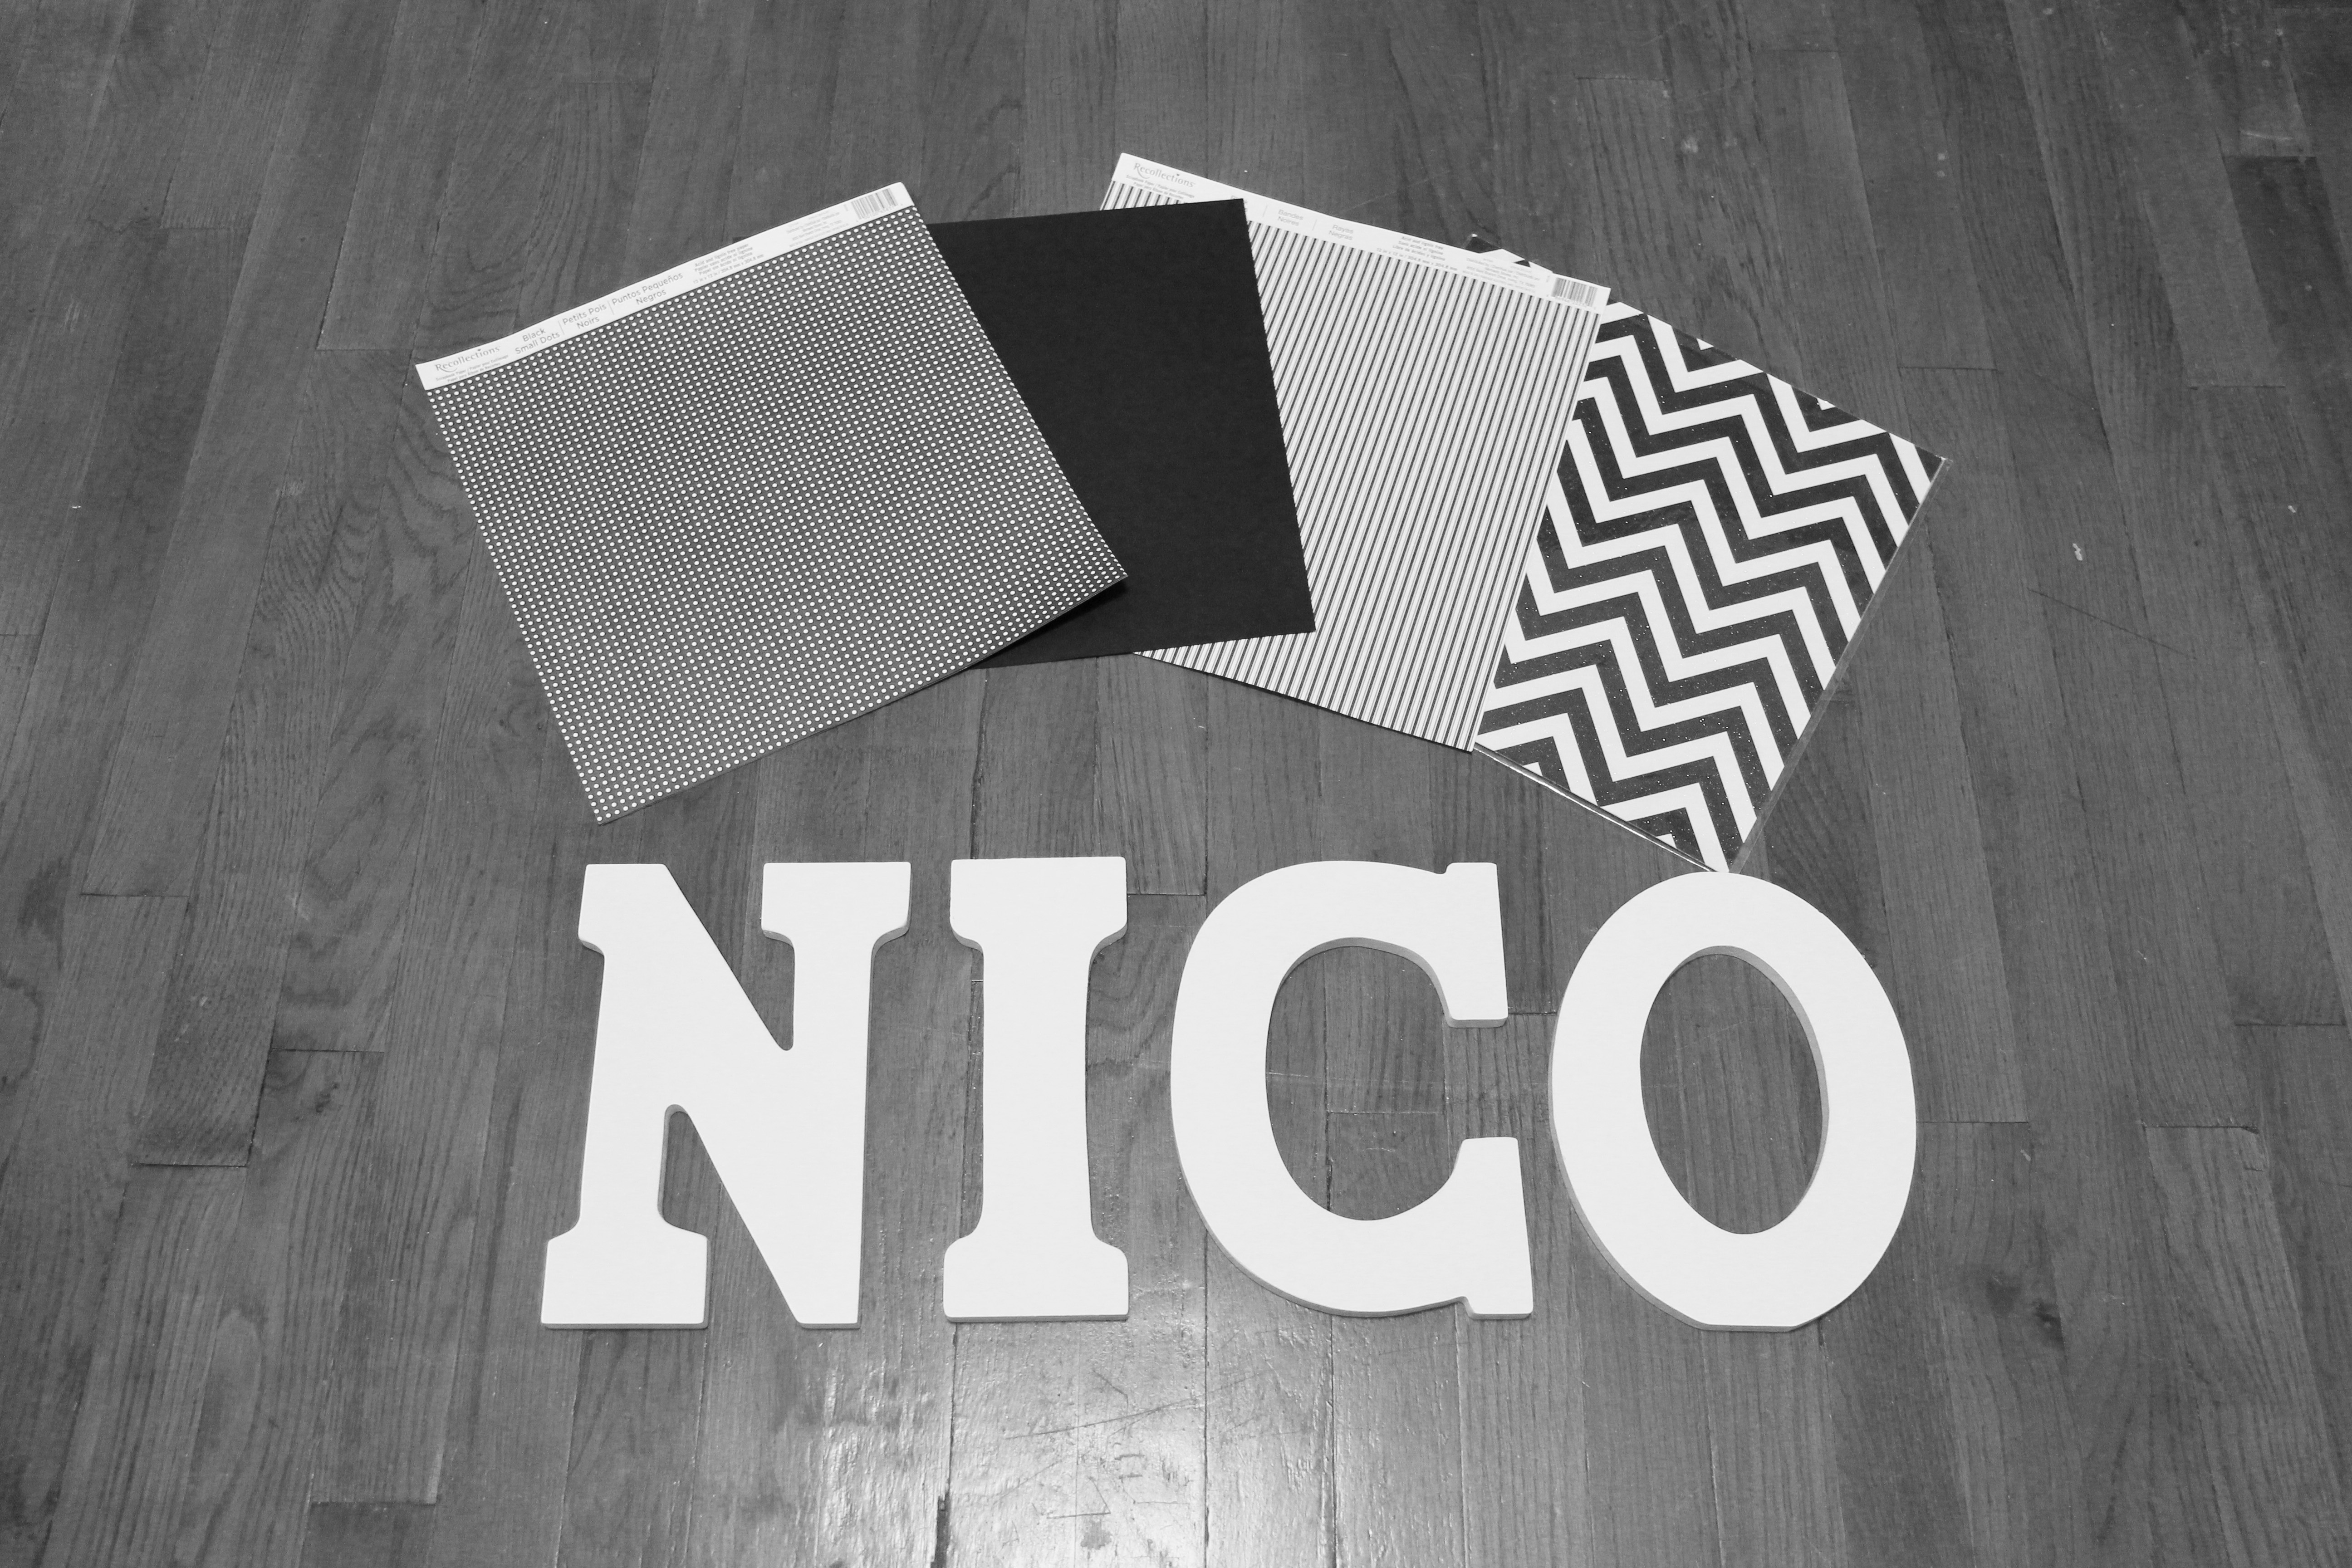
The Before:
–
Materials:
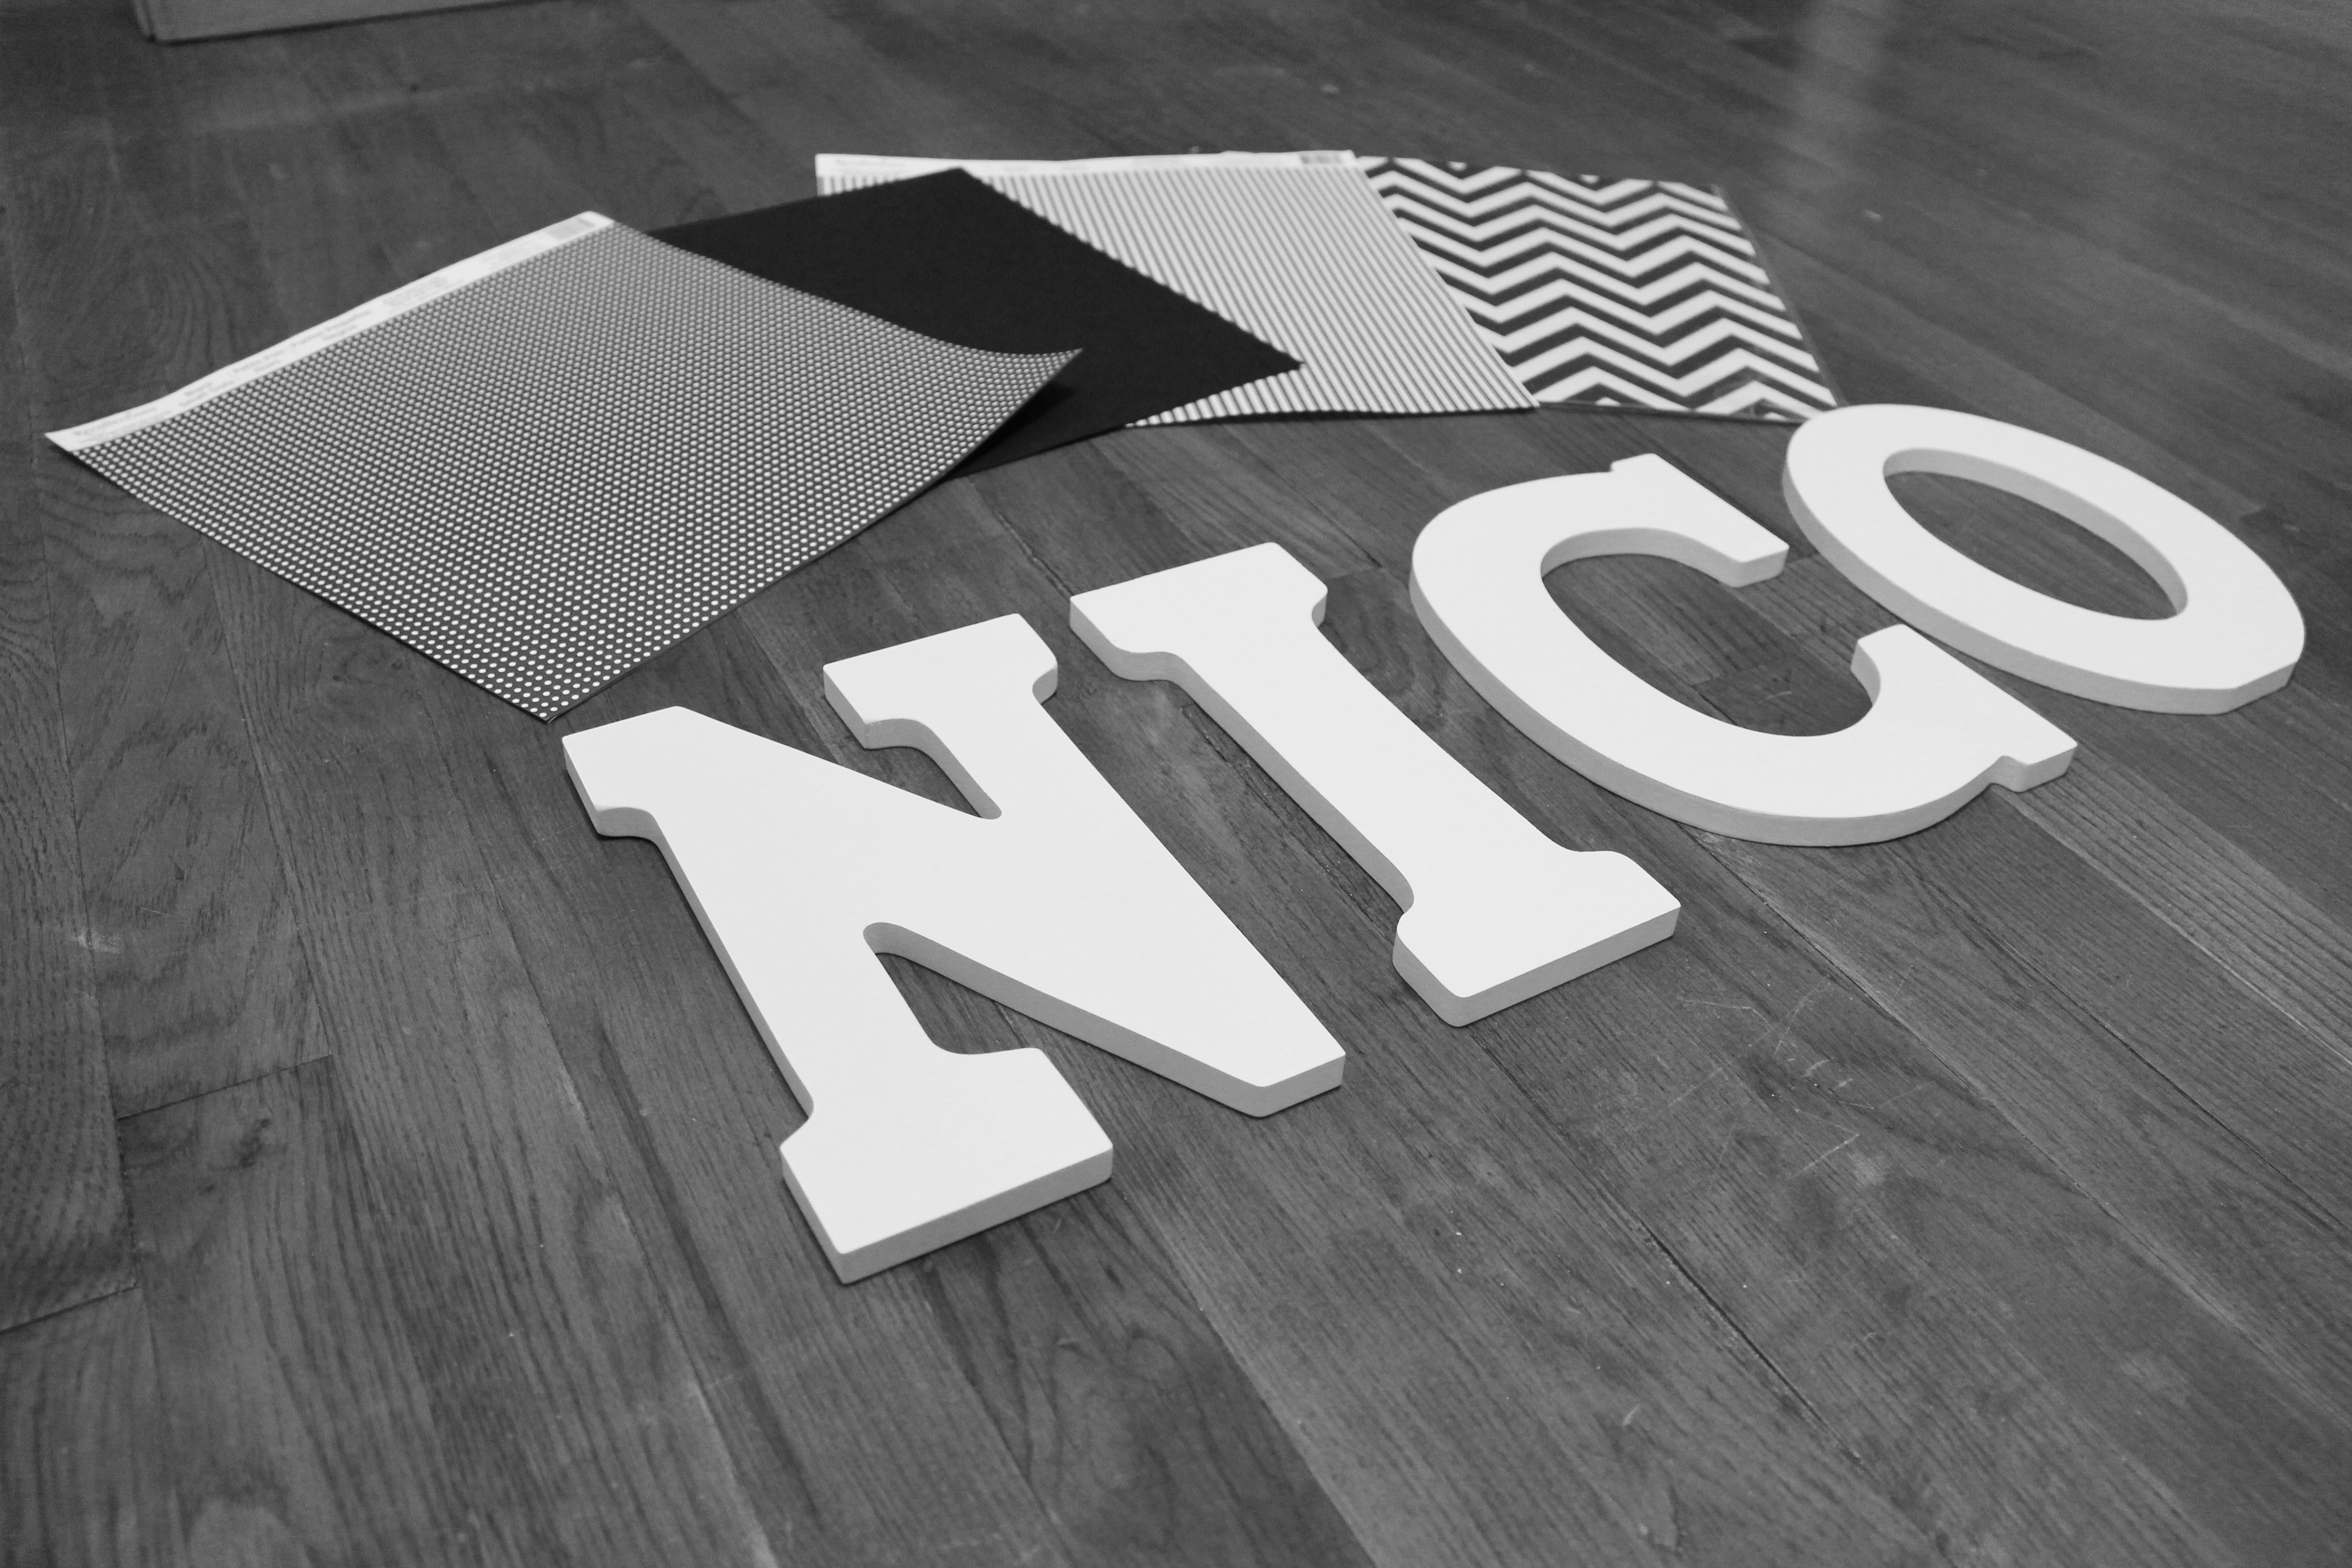
Wooden letters
Scrapbooking Paper
Scissors
Paper Glue
Scrapbook Stickers
Pencil
All of my materials were purchased at Michaels
–
How to DIY:
1. Choose a scrapbooking paper print that you like and flip it over so you are looking at the back of the paper. You can choose all the same or a variety of patterns in the similar color palette depending on your preference.
2. Flip over your wooden letter and place that on top of the paper. It’s very important that these are both flipped over for tracing purposes!
3. Trace your wooden letter, and then use the scissors to cut out the letter shape from the scrapbooking paper.
4. Flip over both the scrapbooking paper and the wooden letter so they are now face up.
5. Use the paper glue adhesive to glue the scrapbooking paper to the top of the wooden letter. Press firmly and set aside to let it dry while continuing with your other letters and scrapbook paper patterns.
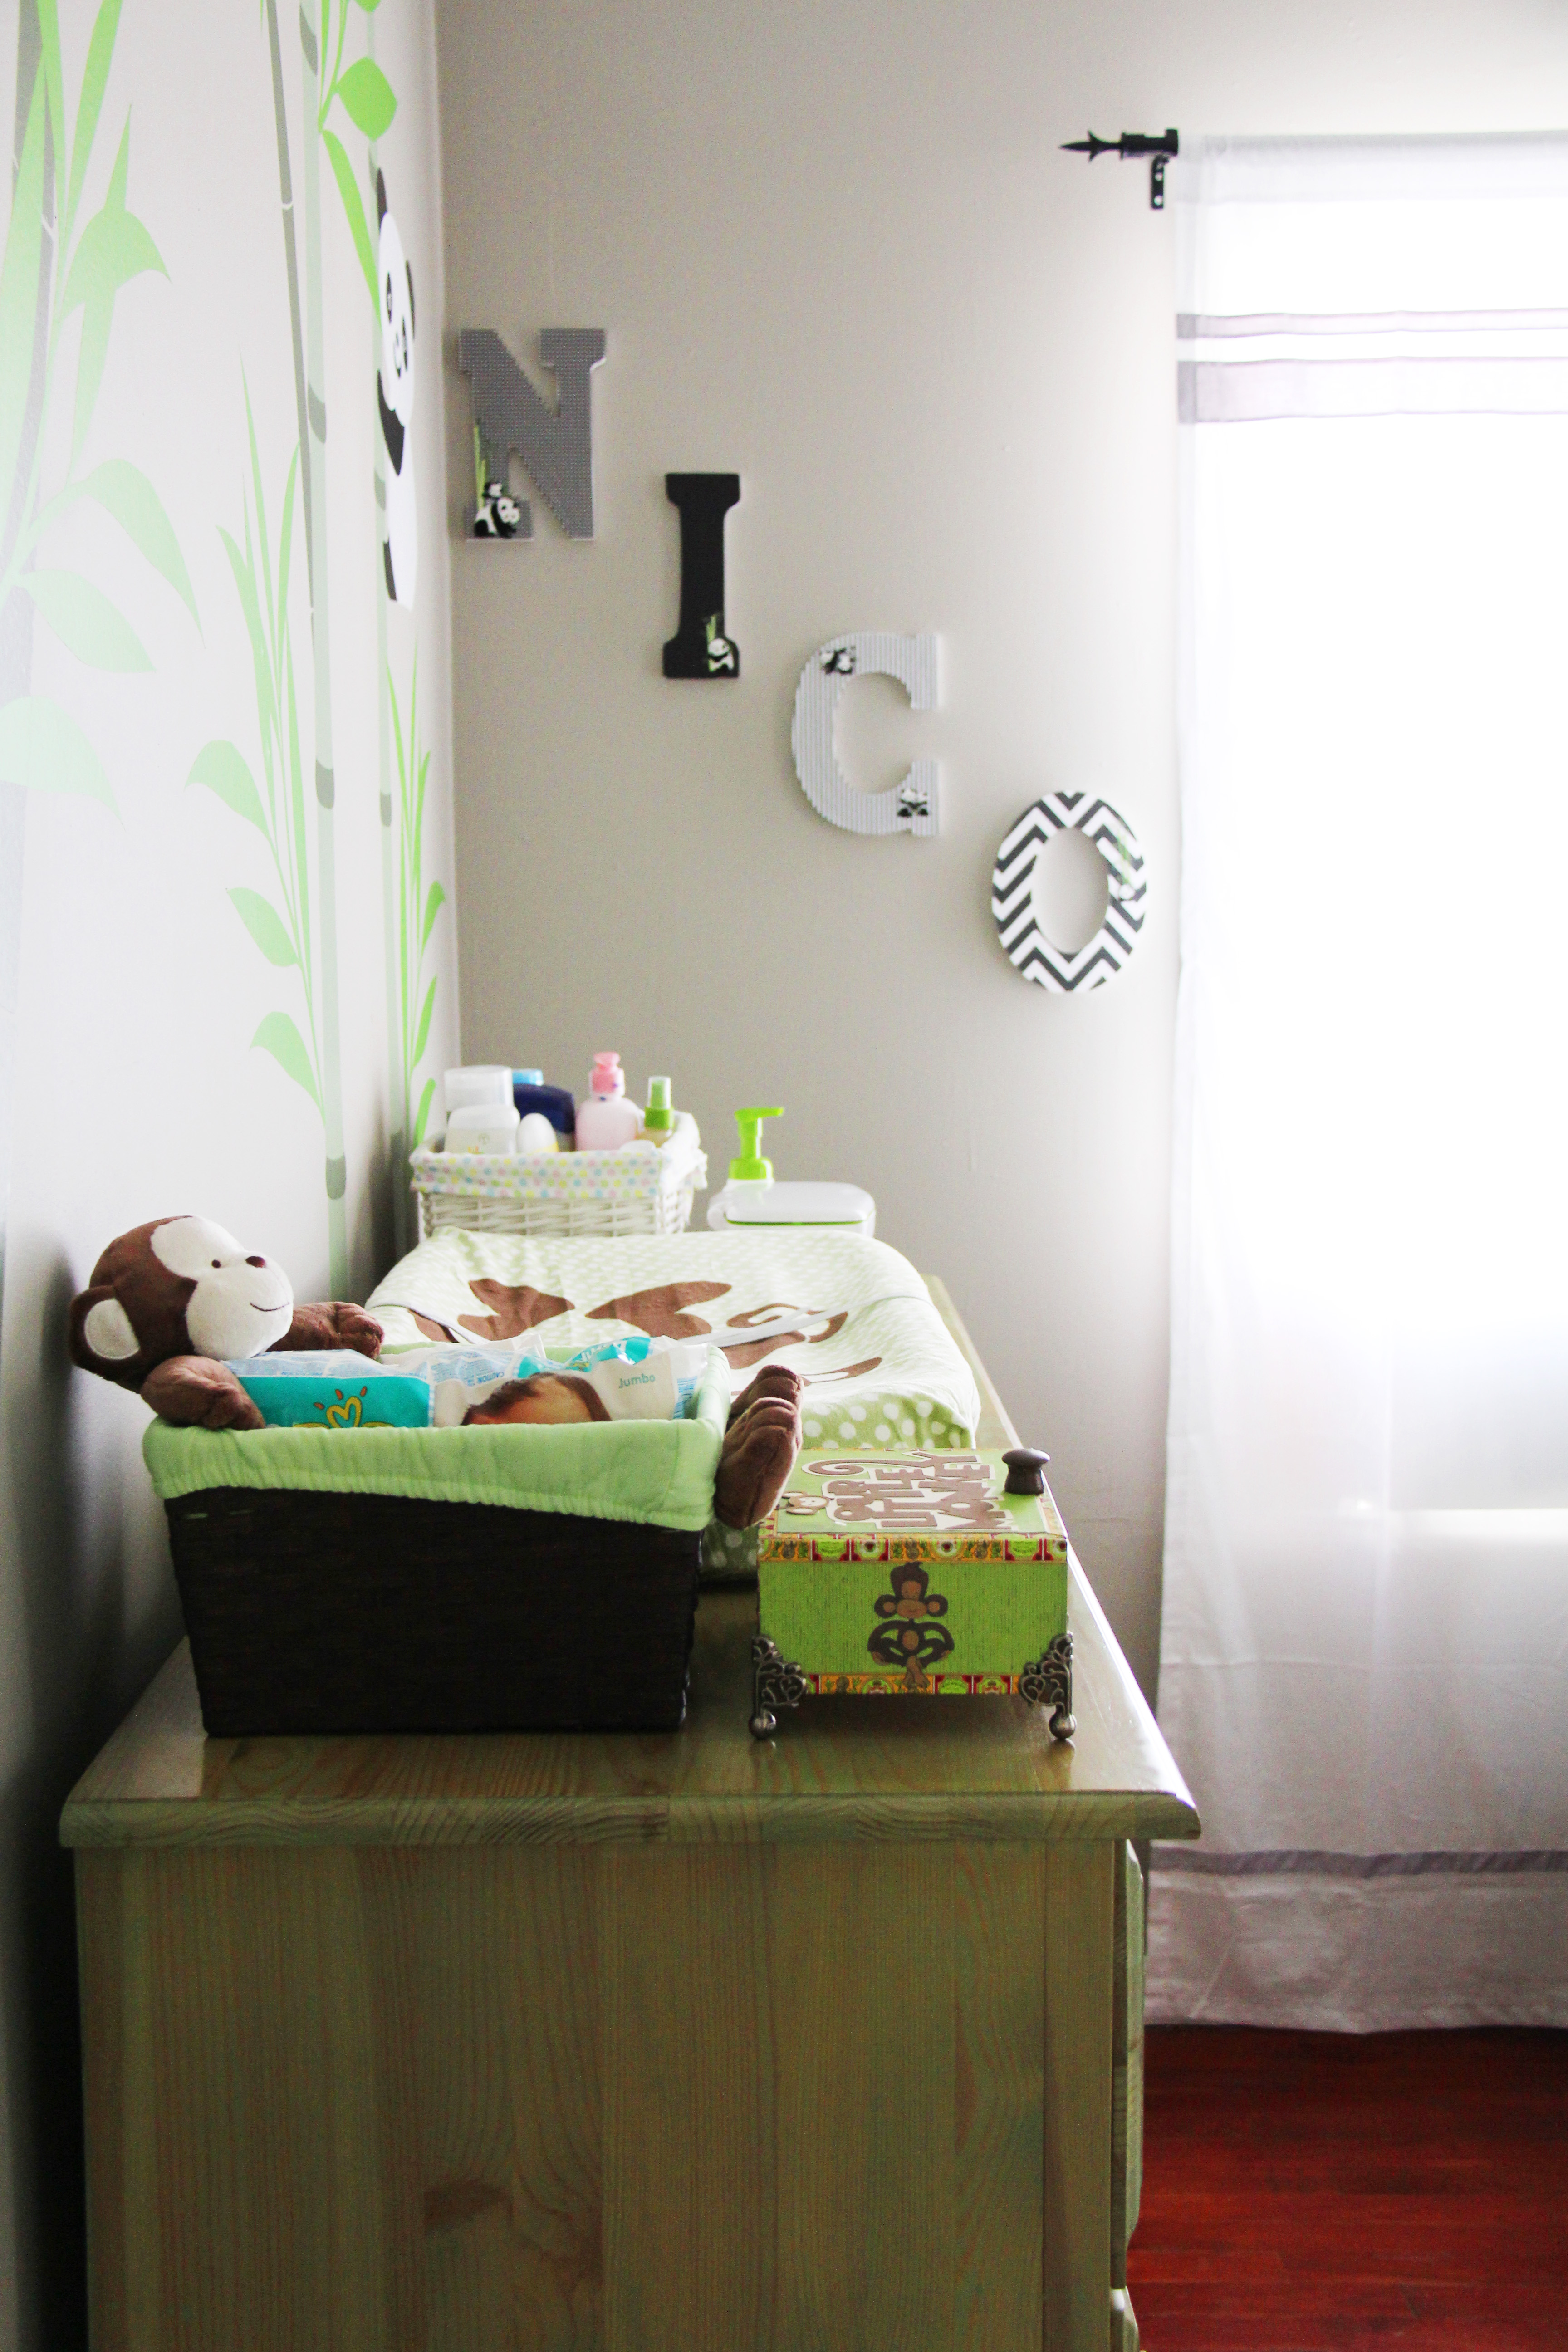
6. Once they are all dry, jazz up your letters with some fancy stickers or other types of adornments.
All finished and super easy!