Goodnight Zoo {Plus a Giveaway!}


Personalized Set of Two

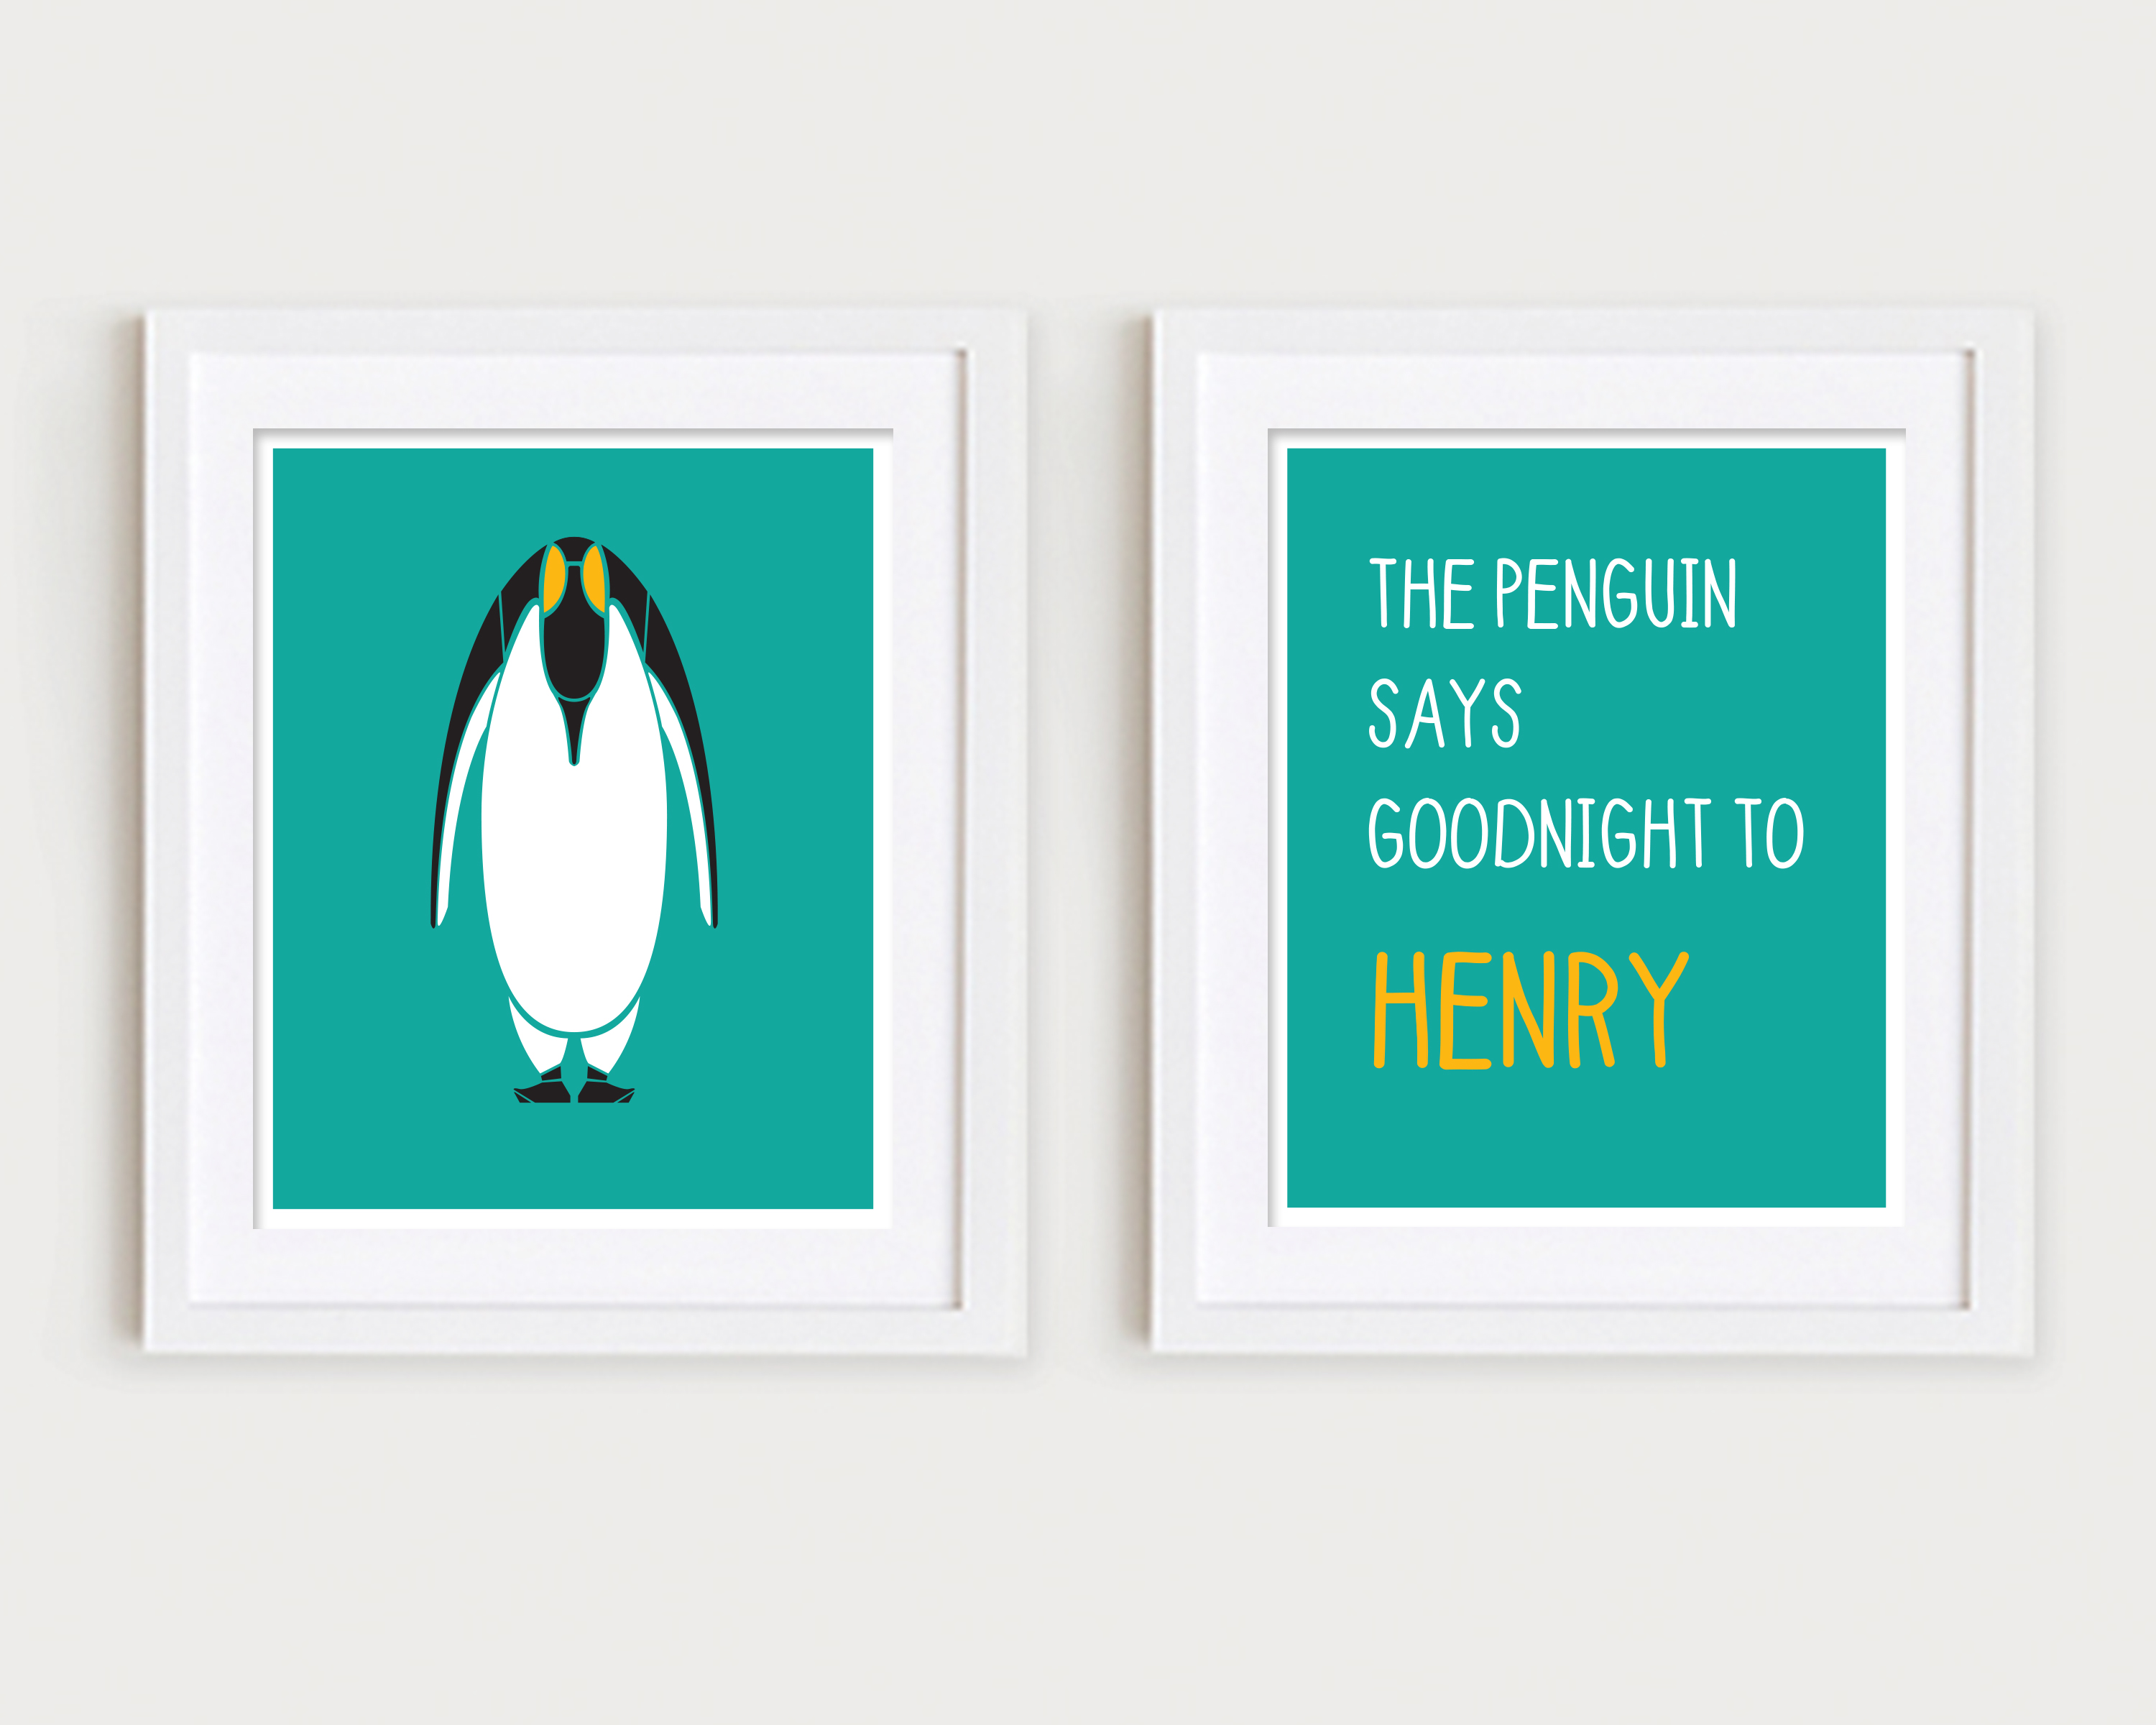
An artist and friend of mine, Hailey O’Connor has recently opened up her own Etsy Shop called Goodnight Zoo where you can find the most ADORABLE nursery art!  I just love animals, and these pieces of art struck me as both beautiful and perfect for a little one.  Since I know a lot of moms, moms-to-be, and people who know parents read this blog, I thought this could be the perfect gift for the holiday season, and just had to share her shop!  You can purchase the prints as singles or sets, and she also has a wonderful hand painted collection as well!

On top of that, one lucky popcorn and pandas reader will be able to take home one of these stunning prints for free!  That’s right.  The talented Hailey is giving away one of these amazing animal creations!

To enter, all you have to do is “favorite” the Goodnight Zoo shop on Etsy and leave a comment below stating which print you like and how you would use it (for your own nursery, as a children’s holiday gift, for a baby shower, etc.).  You must enter using the Rafflecopter at the bottom of the post, and you can receive extra entries for tweeting the giveaway, following on Twitter, Instagram, Pinterest and more.  You have until Sunday (12/15) at midnight to enter, and the winner will be announced on Monday.

Set of 3 - Tall Giraffe

Set of 6

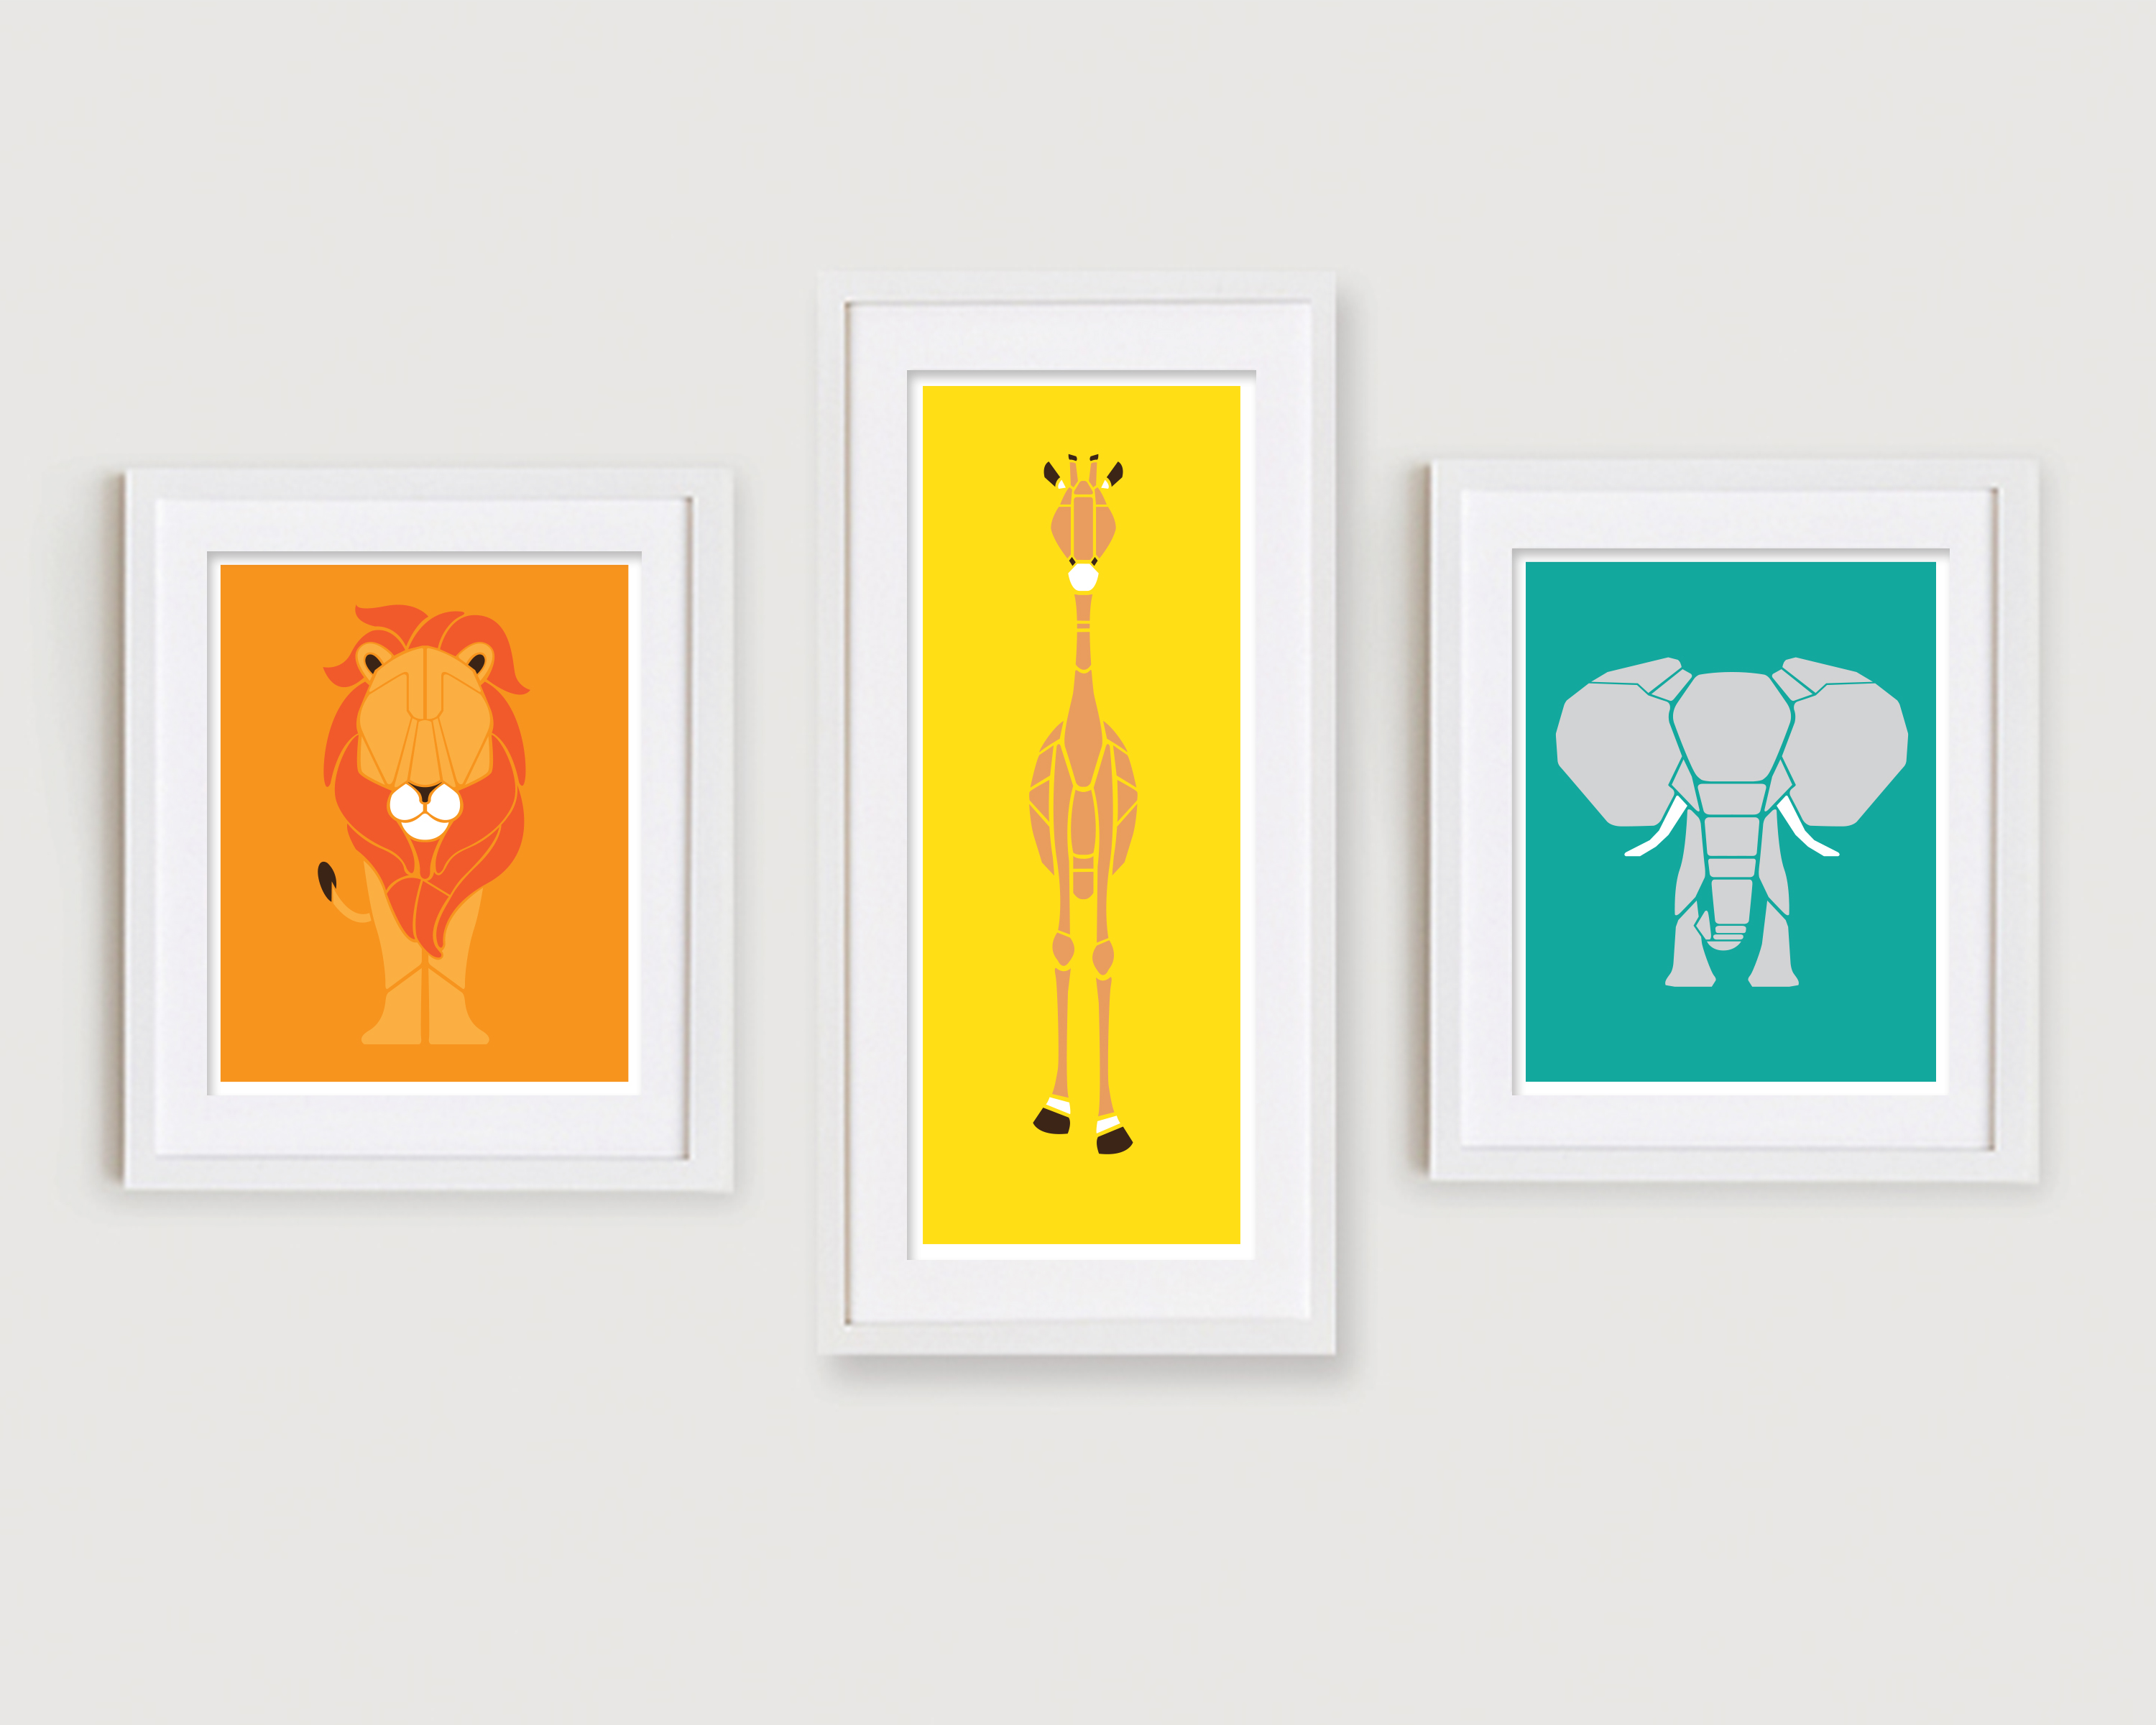
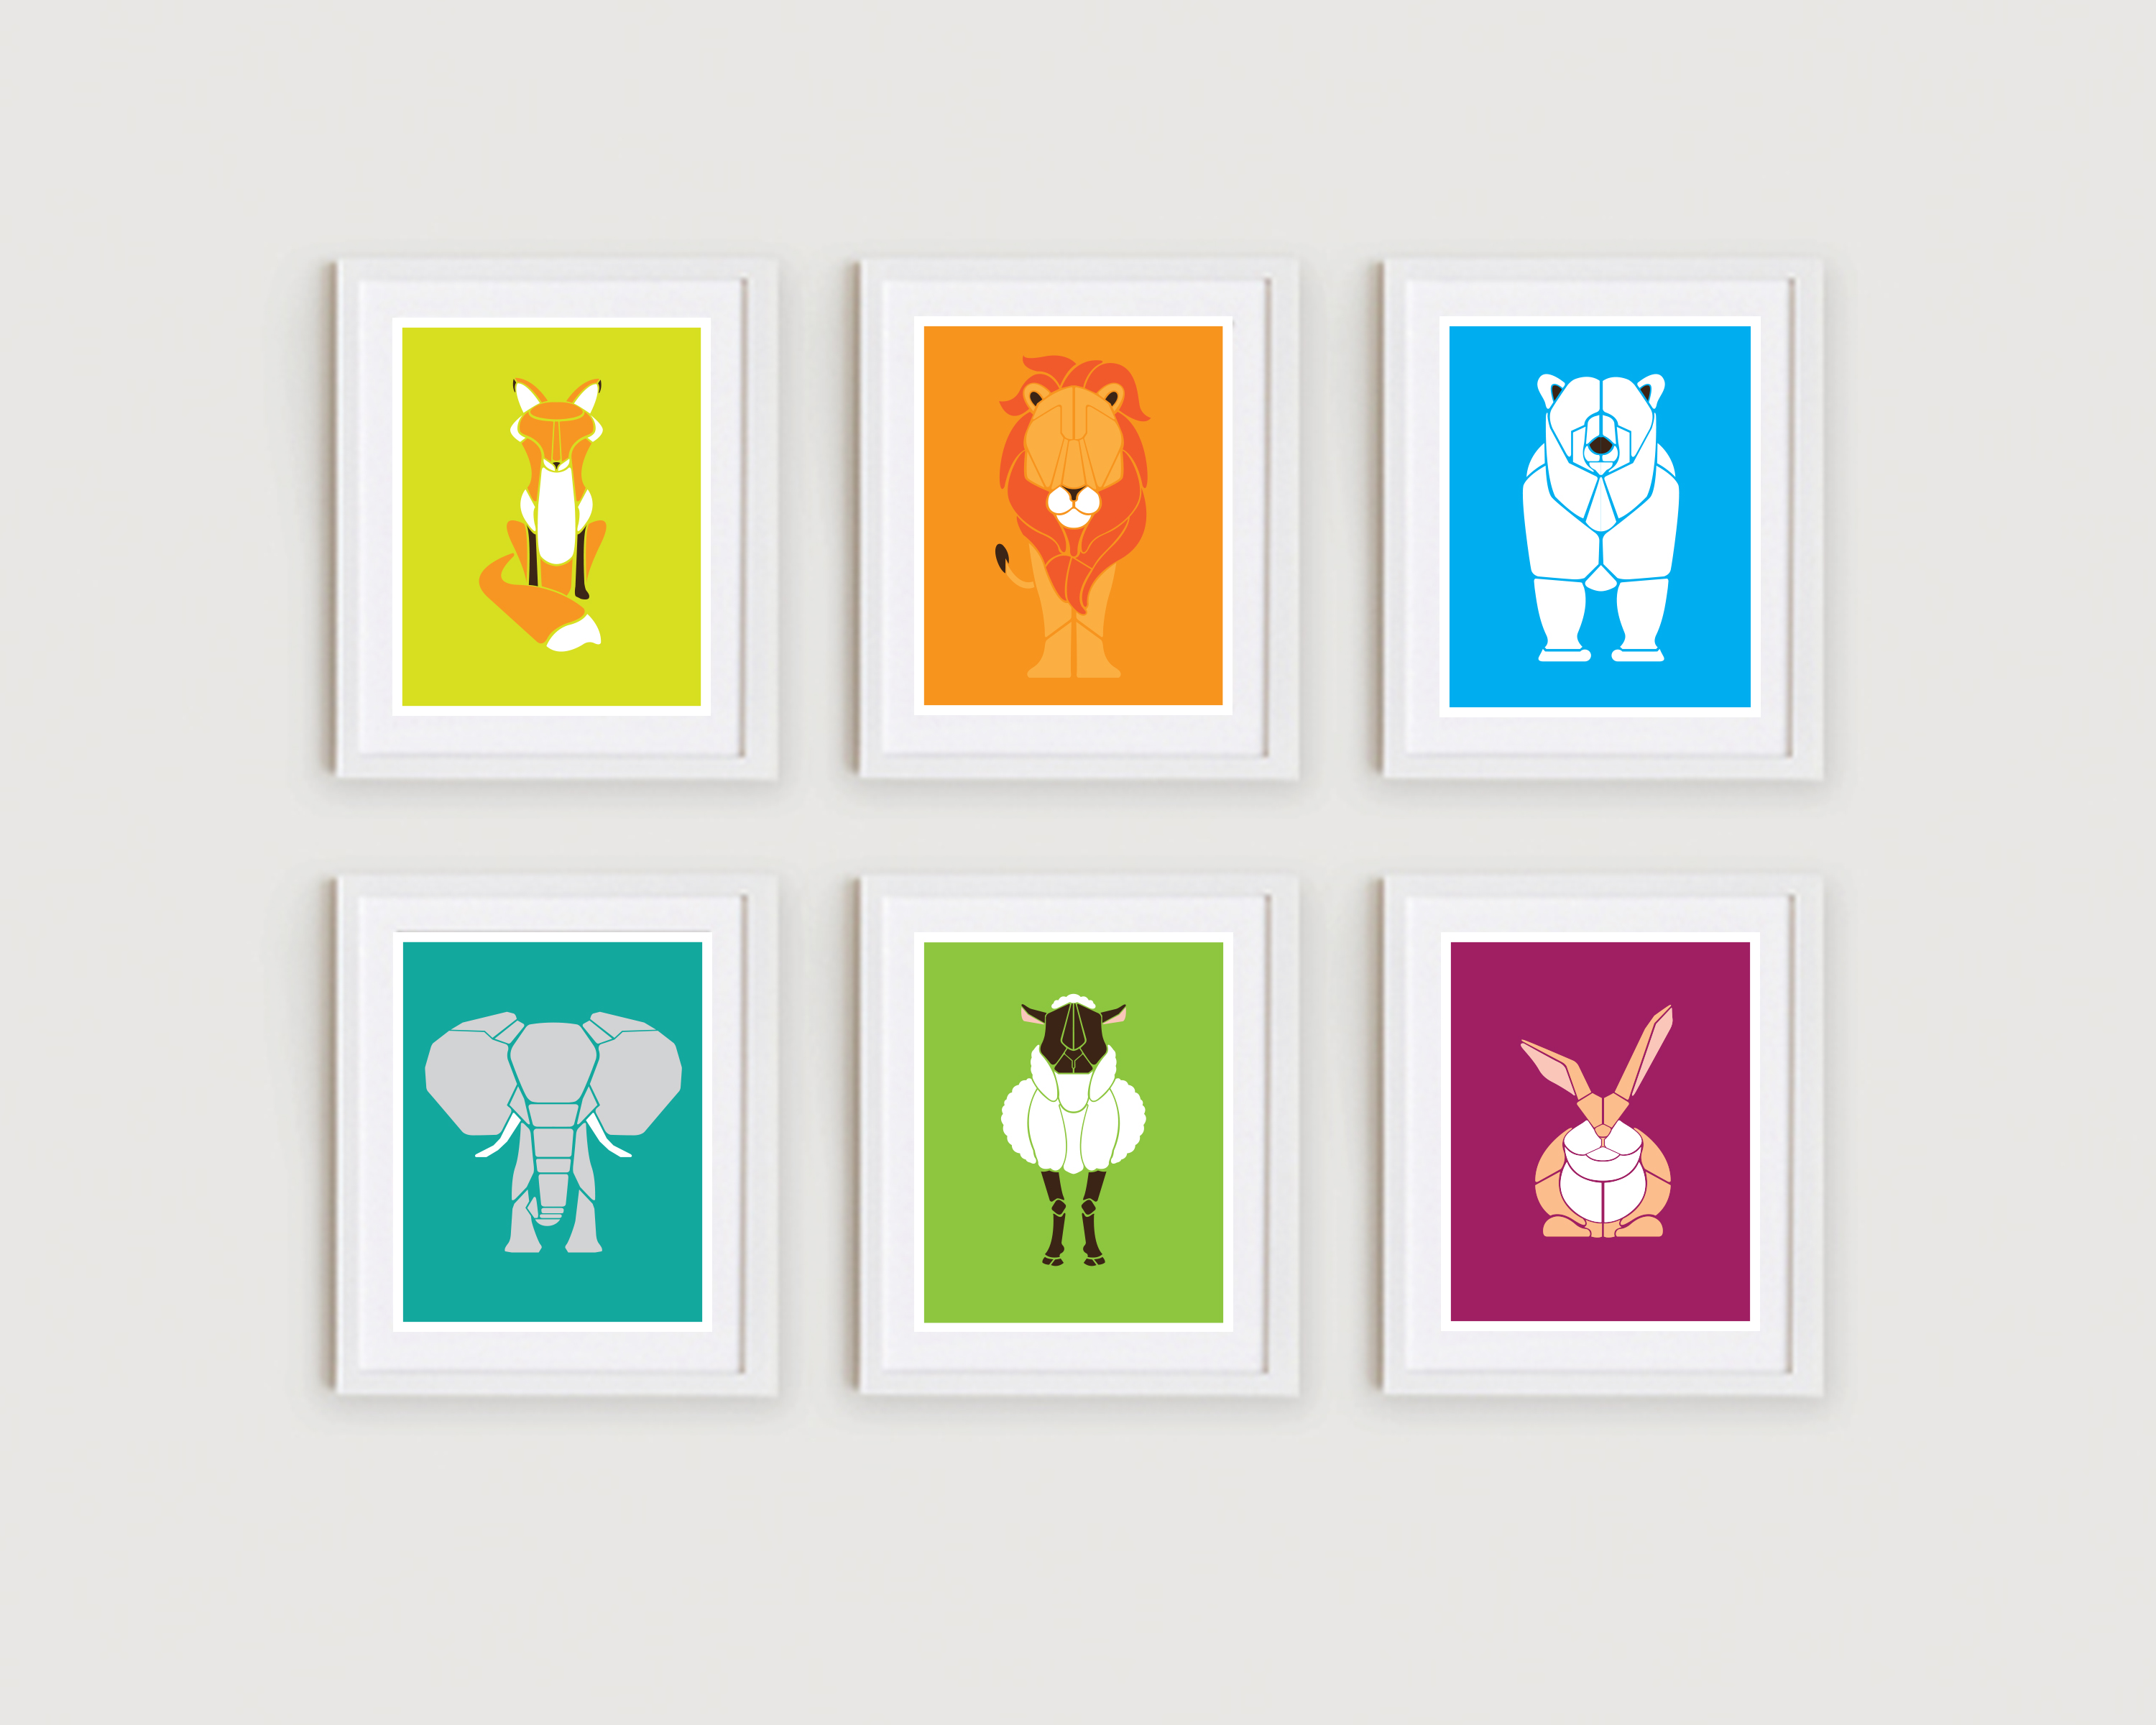
*All images are courtesy of Goodnight Zoo.*

Good luck and happy shopping!

XO,

Gina

Click here to enter the Goodnight Zoo & popcorn and pandas Rafflecopter Giveaway !

DIY: Decorate Wooden Letters for Nursery

I got this idea from a friend who recently had a baby, and I just loved her nursery letters!  I really appreciated her filling me in on how to make these yourself rather than spending tons of money to have them made, so I figured I would pass this idea along to all of you!  It’s simple, quick (it helps when you only have four letters to work with), and easily custom made for any name, color, or theme. Take a look and get crafty!

The Before:

IMG_9975_Layers_v1

IMG_9976_Layers_v1

Materials:

Wooden letters

Scrapbooking Paper

Scissors

Paper Glue

Scrapbook Stickers

Pencil

All of my materials were purchased at Michaels

How to DIY:

1.  Choose a scrapbooking paper print that you like and flip it over so you are looking at the back of the paper.  You can choose all the same or a variety of patterns in the similar color palette depending on your preference.

2.  Flip over your wooden letter and place that on top of the paper.  It’s very important that these are both flipped over for tracing purposes!

3.  Trace your wooden letter, and then use the scissors to cut out the letter shape from the scrapbooking paper.

4.  Flip over both the scrapbooking paper and the wooden letter so they are now face up.

5.  Use the paper glue adhesive to glue the scrapbooking paper to the top of the wooden letter.  Press firmly and set aside to let it dry while continuing with your other letters and scrapbook paper patterns.

6.  Once they are all dry, jazz up your letters with some fancy stickers or other types of adornments.

All finished and super easy!

IMG_0192_Layers_v1

IMG_0195_Layers_v1

Enhanced by Zemanta